Team:Washington/appsetup
From 2013.igem.org
| (One intermediate revision not shown) | |||
| Line 109: | Line 109: | ||
</br> | </br> | ||
| - | <u><b>Supplemental:</b></u></br></ | + | <u><b>Supplemental:</b></u></br> |
| + | <html><h1 id='Intensity'><p align=right><a href="#Intensity"><font size="3"></font></p></a></h1></html> | ||
| + | |||
| + | <html> | ||
<b>Changing Intensity</b></br> | <b>Changing Intensity</b></br> | ||
1. Follow step 1 to 4 on the protocol above.</br> | 1. Follow step 1 to 4 on the protocol above.</br> | ||
Latest revision as of 21:18, 27 September 2013
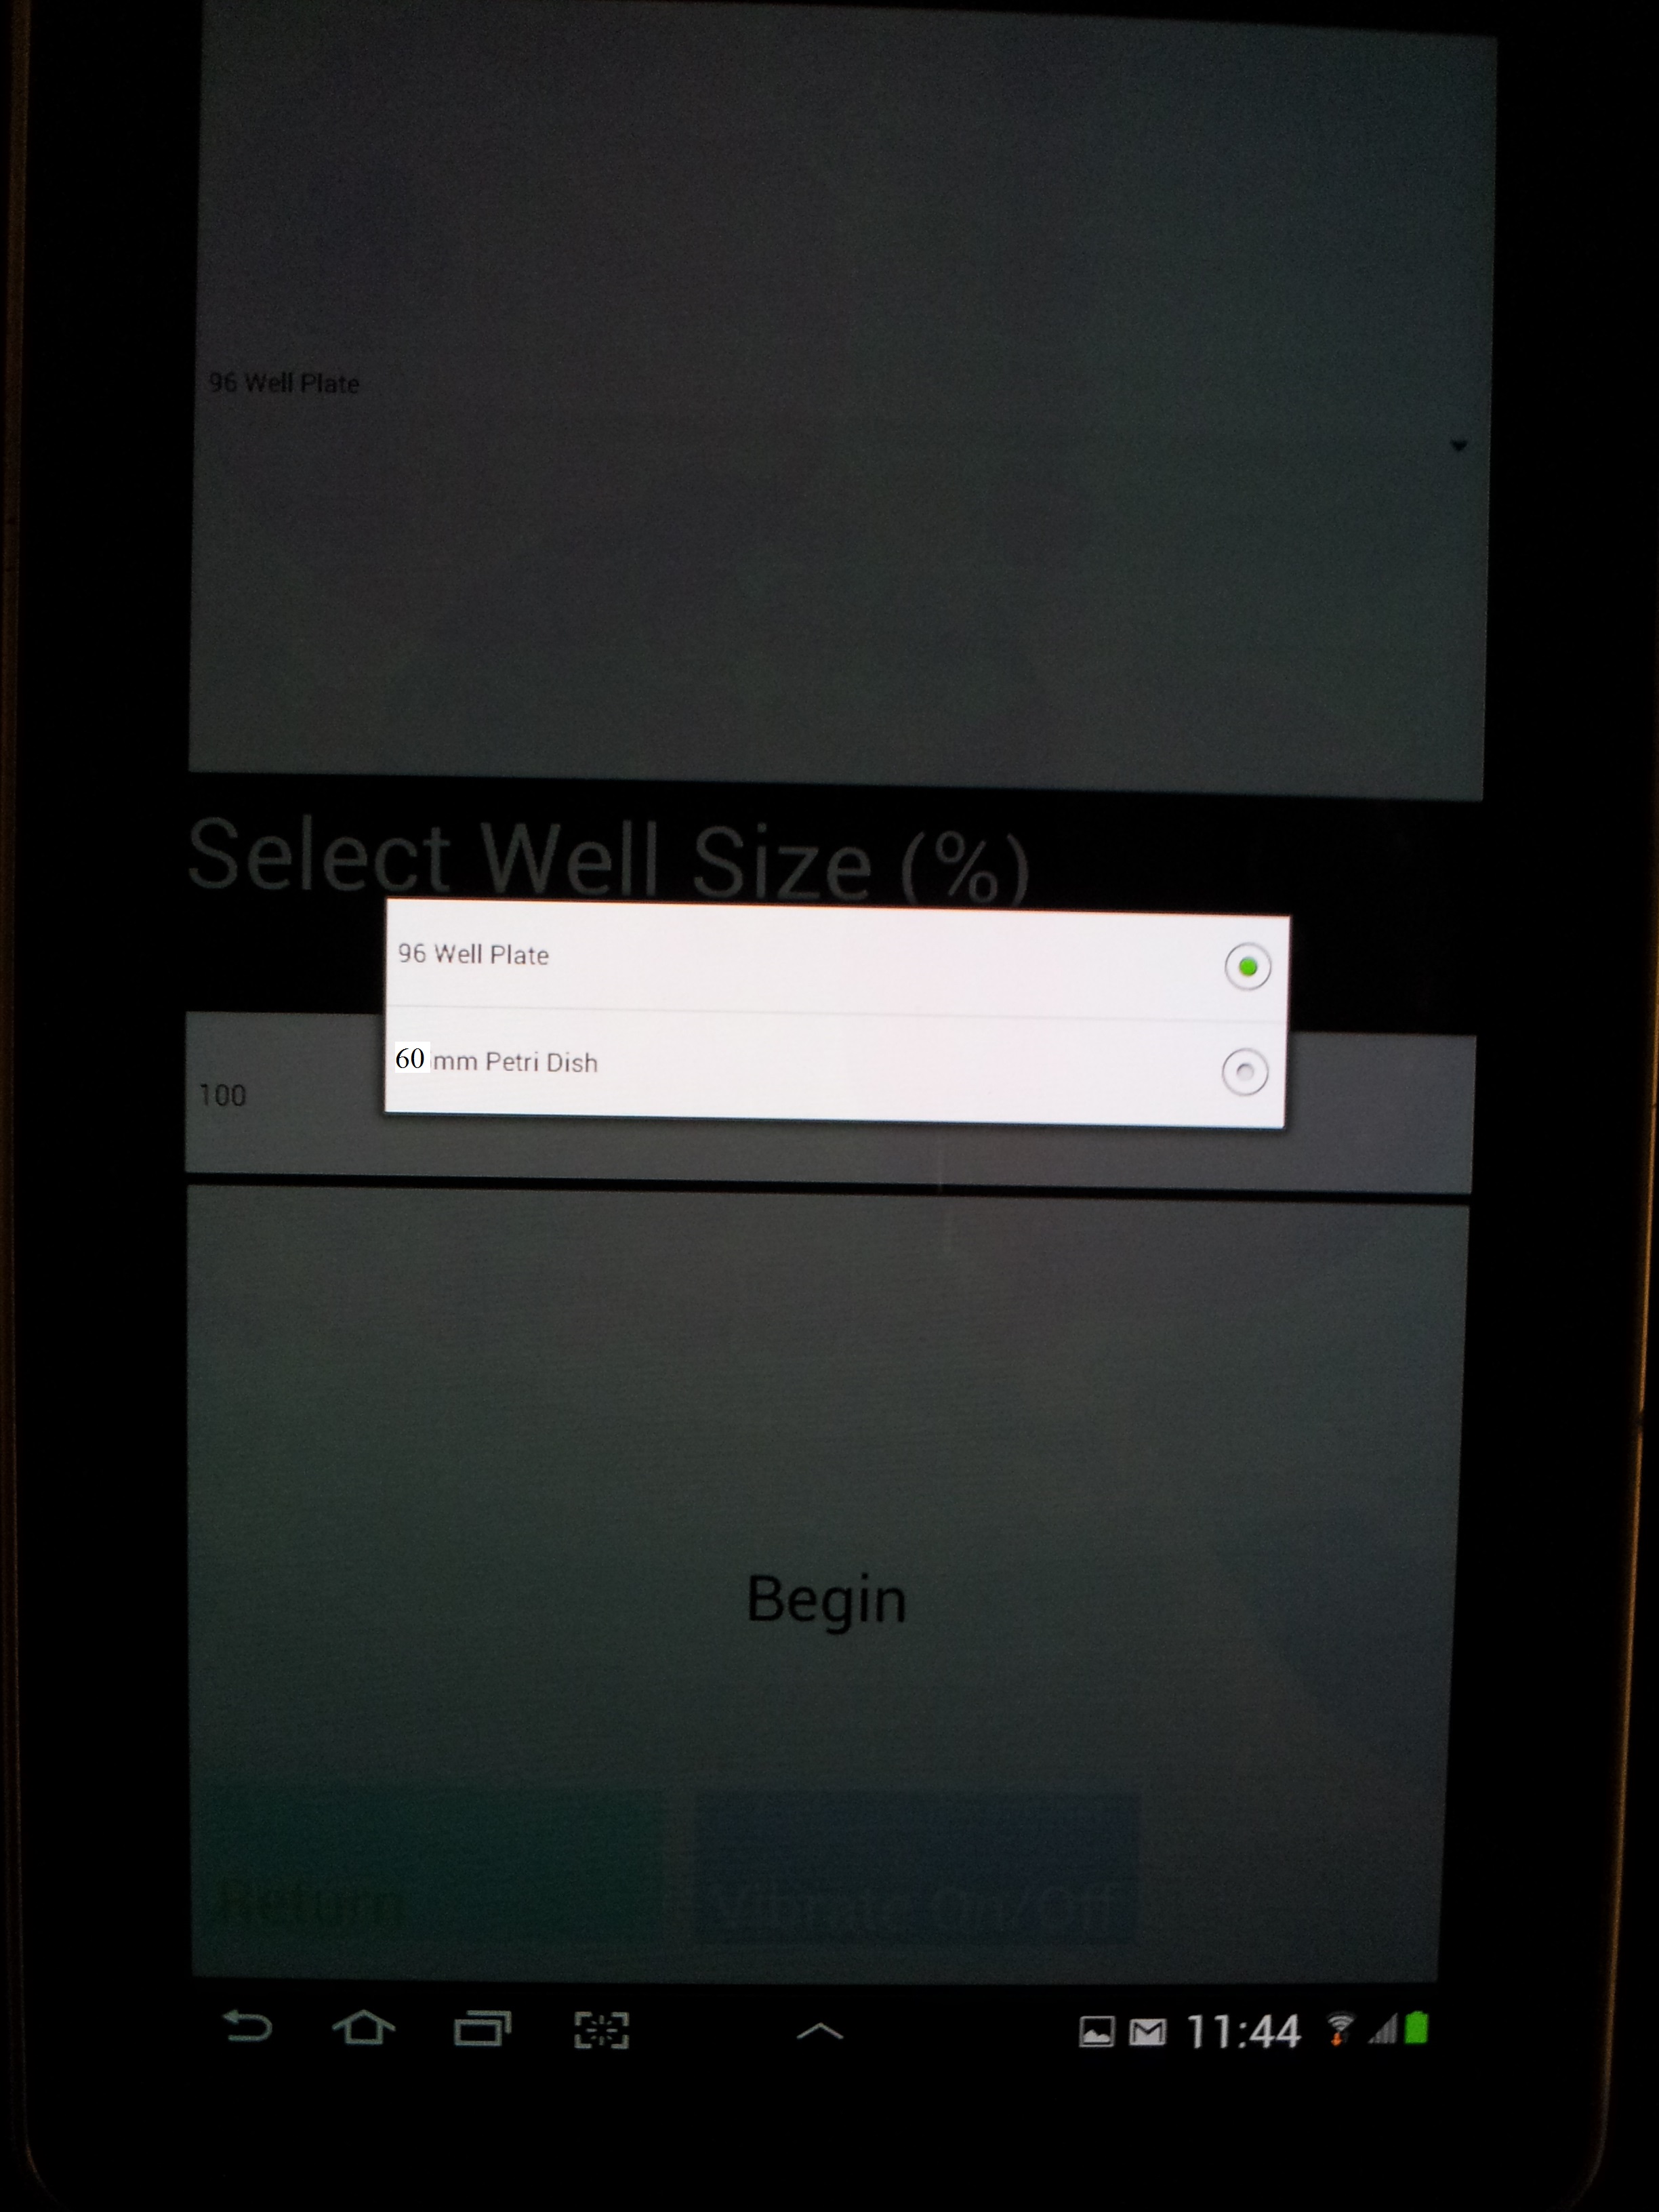
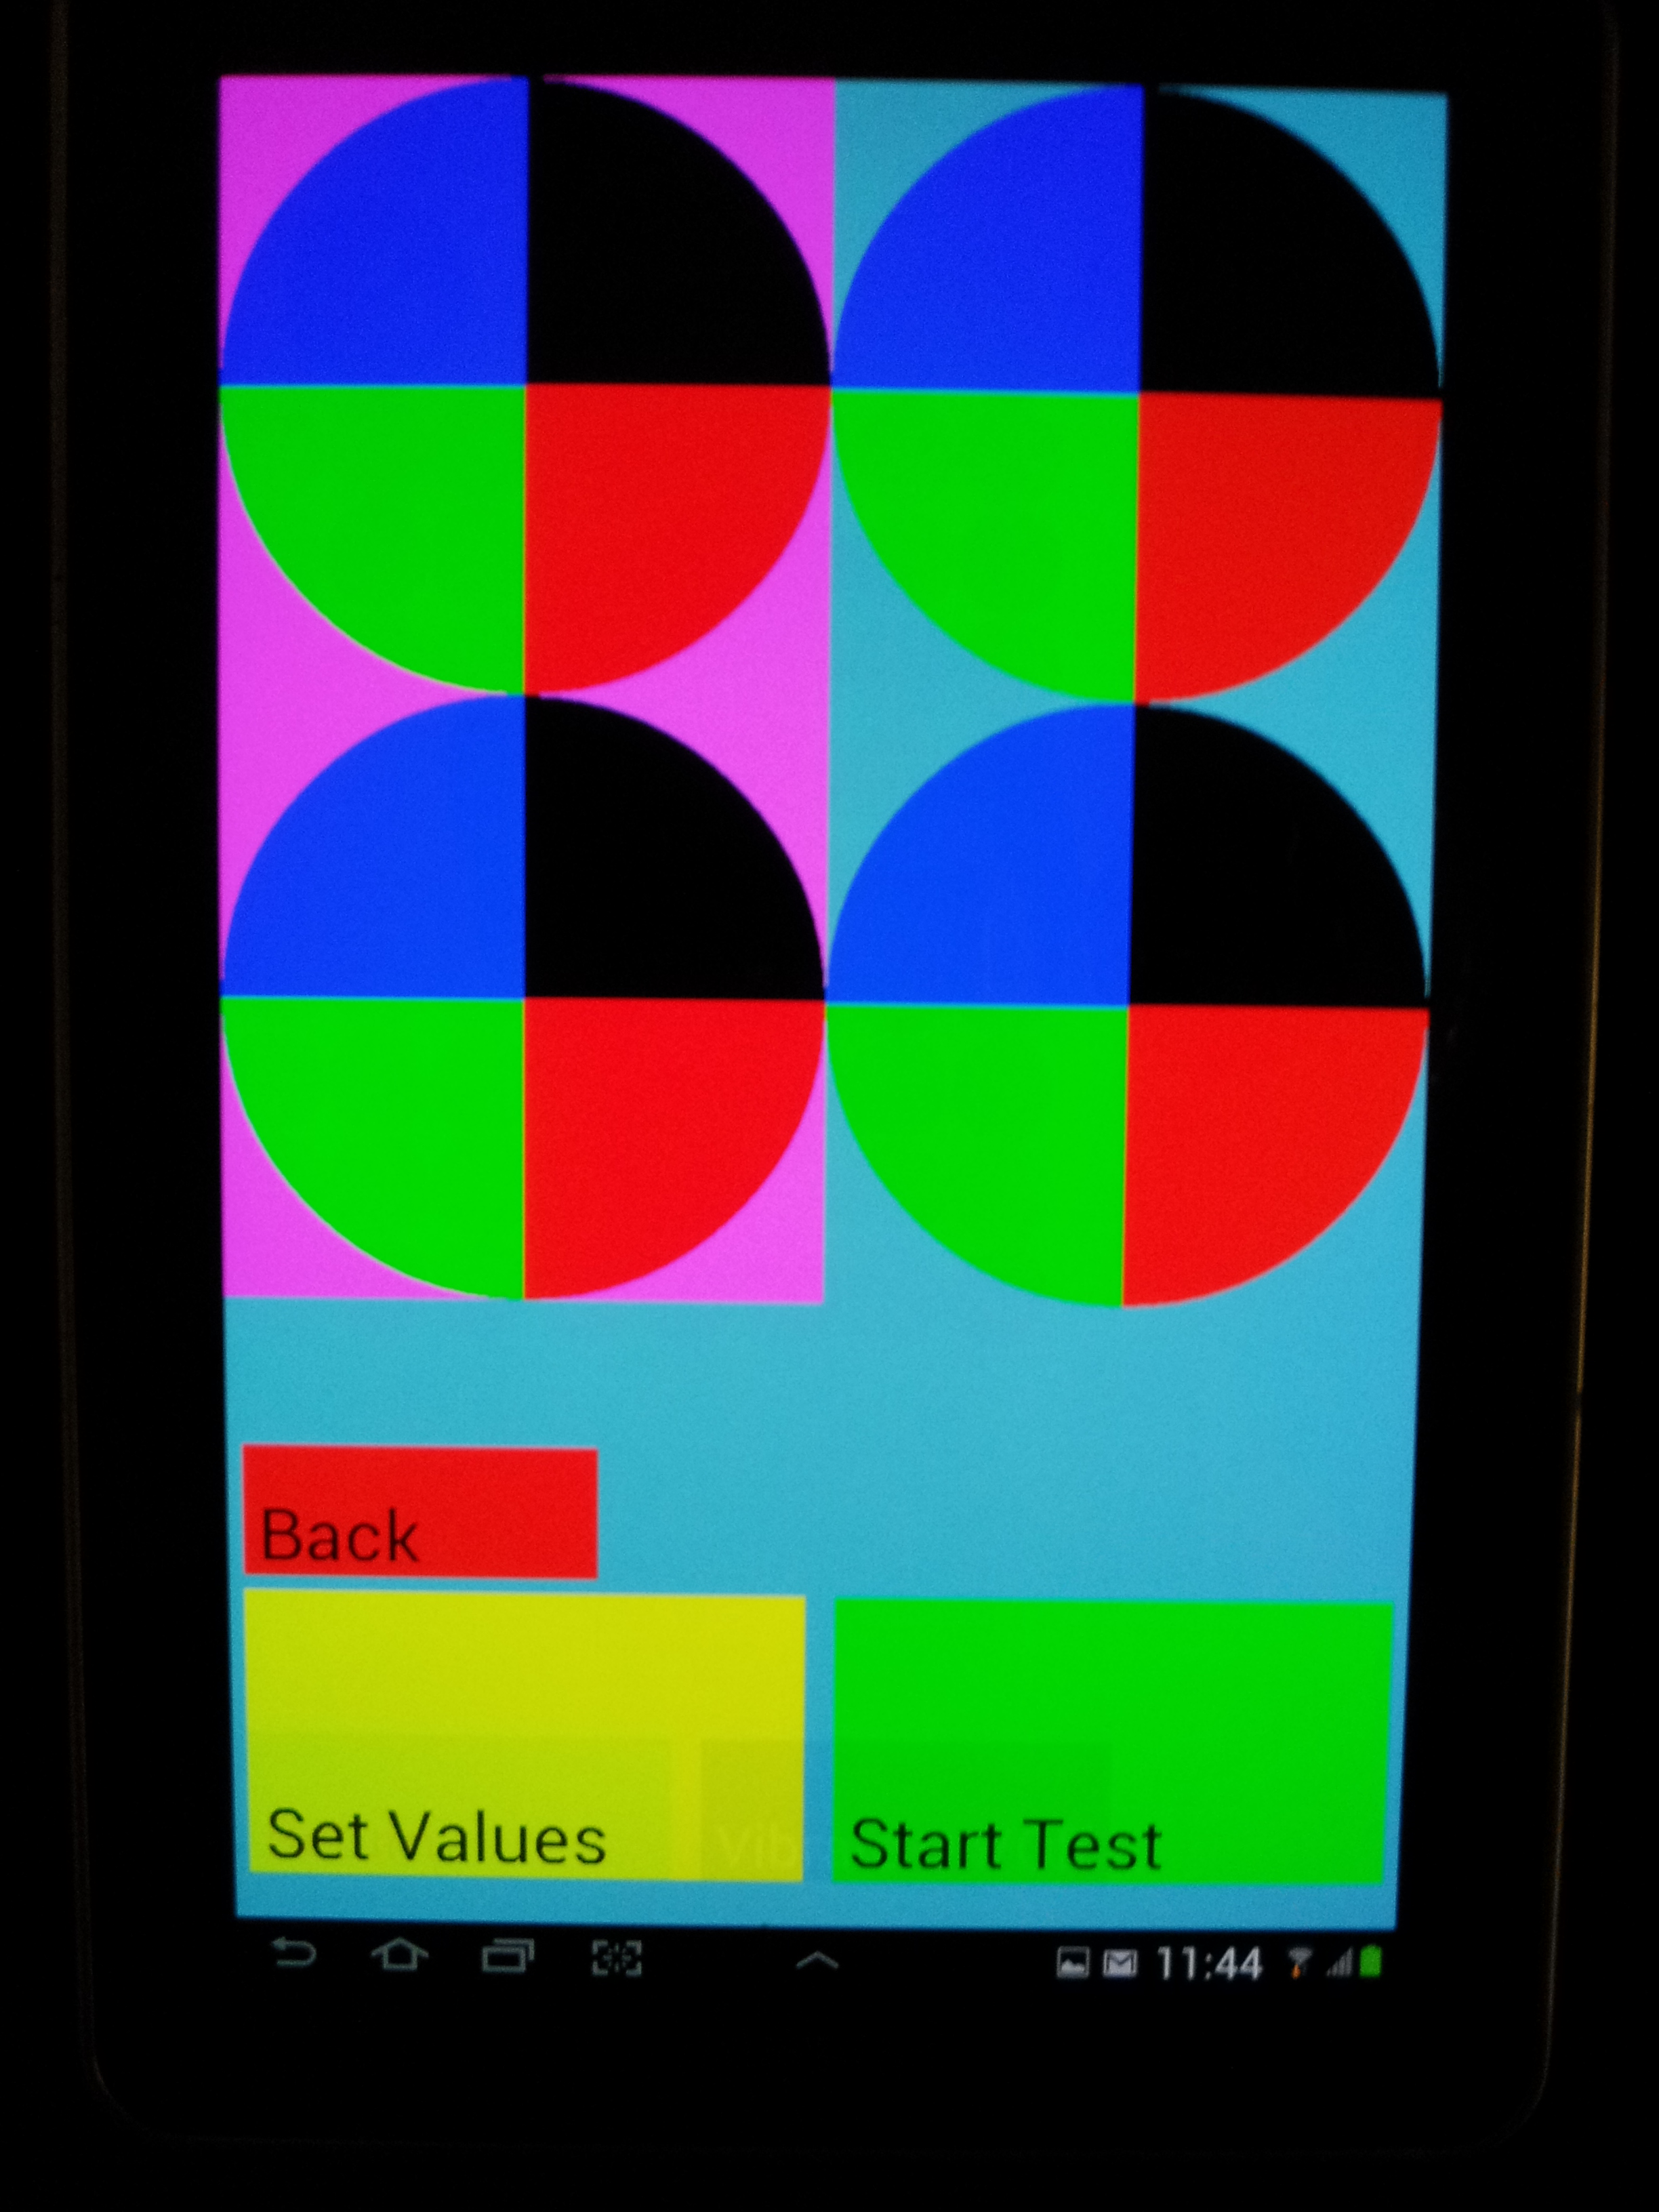
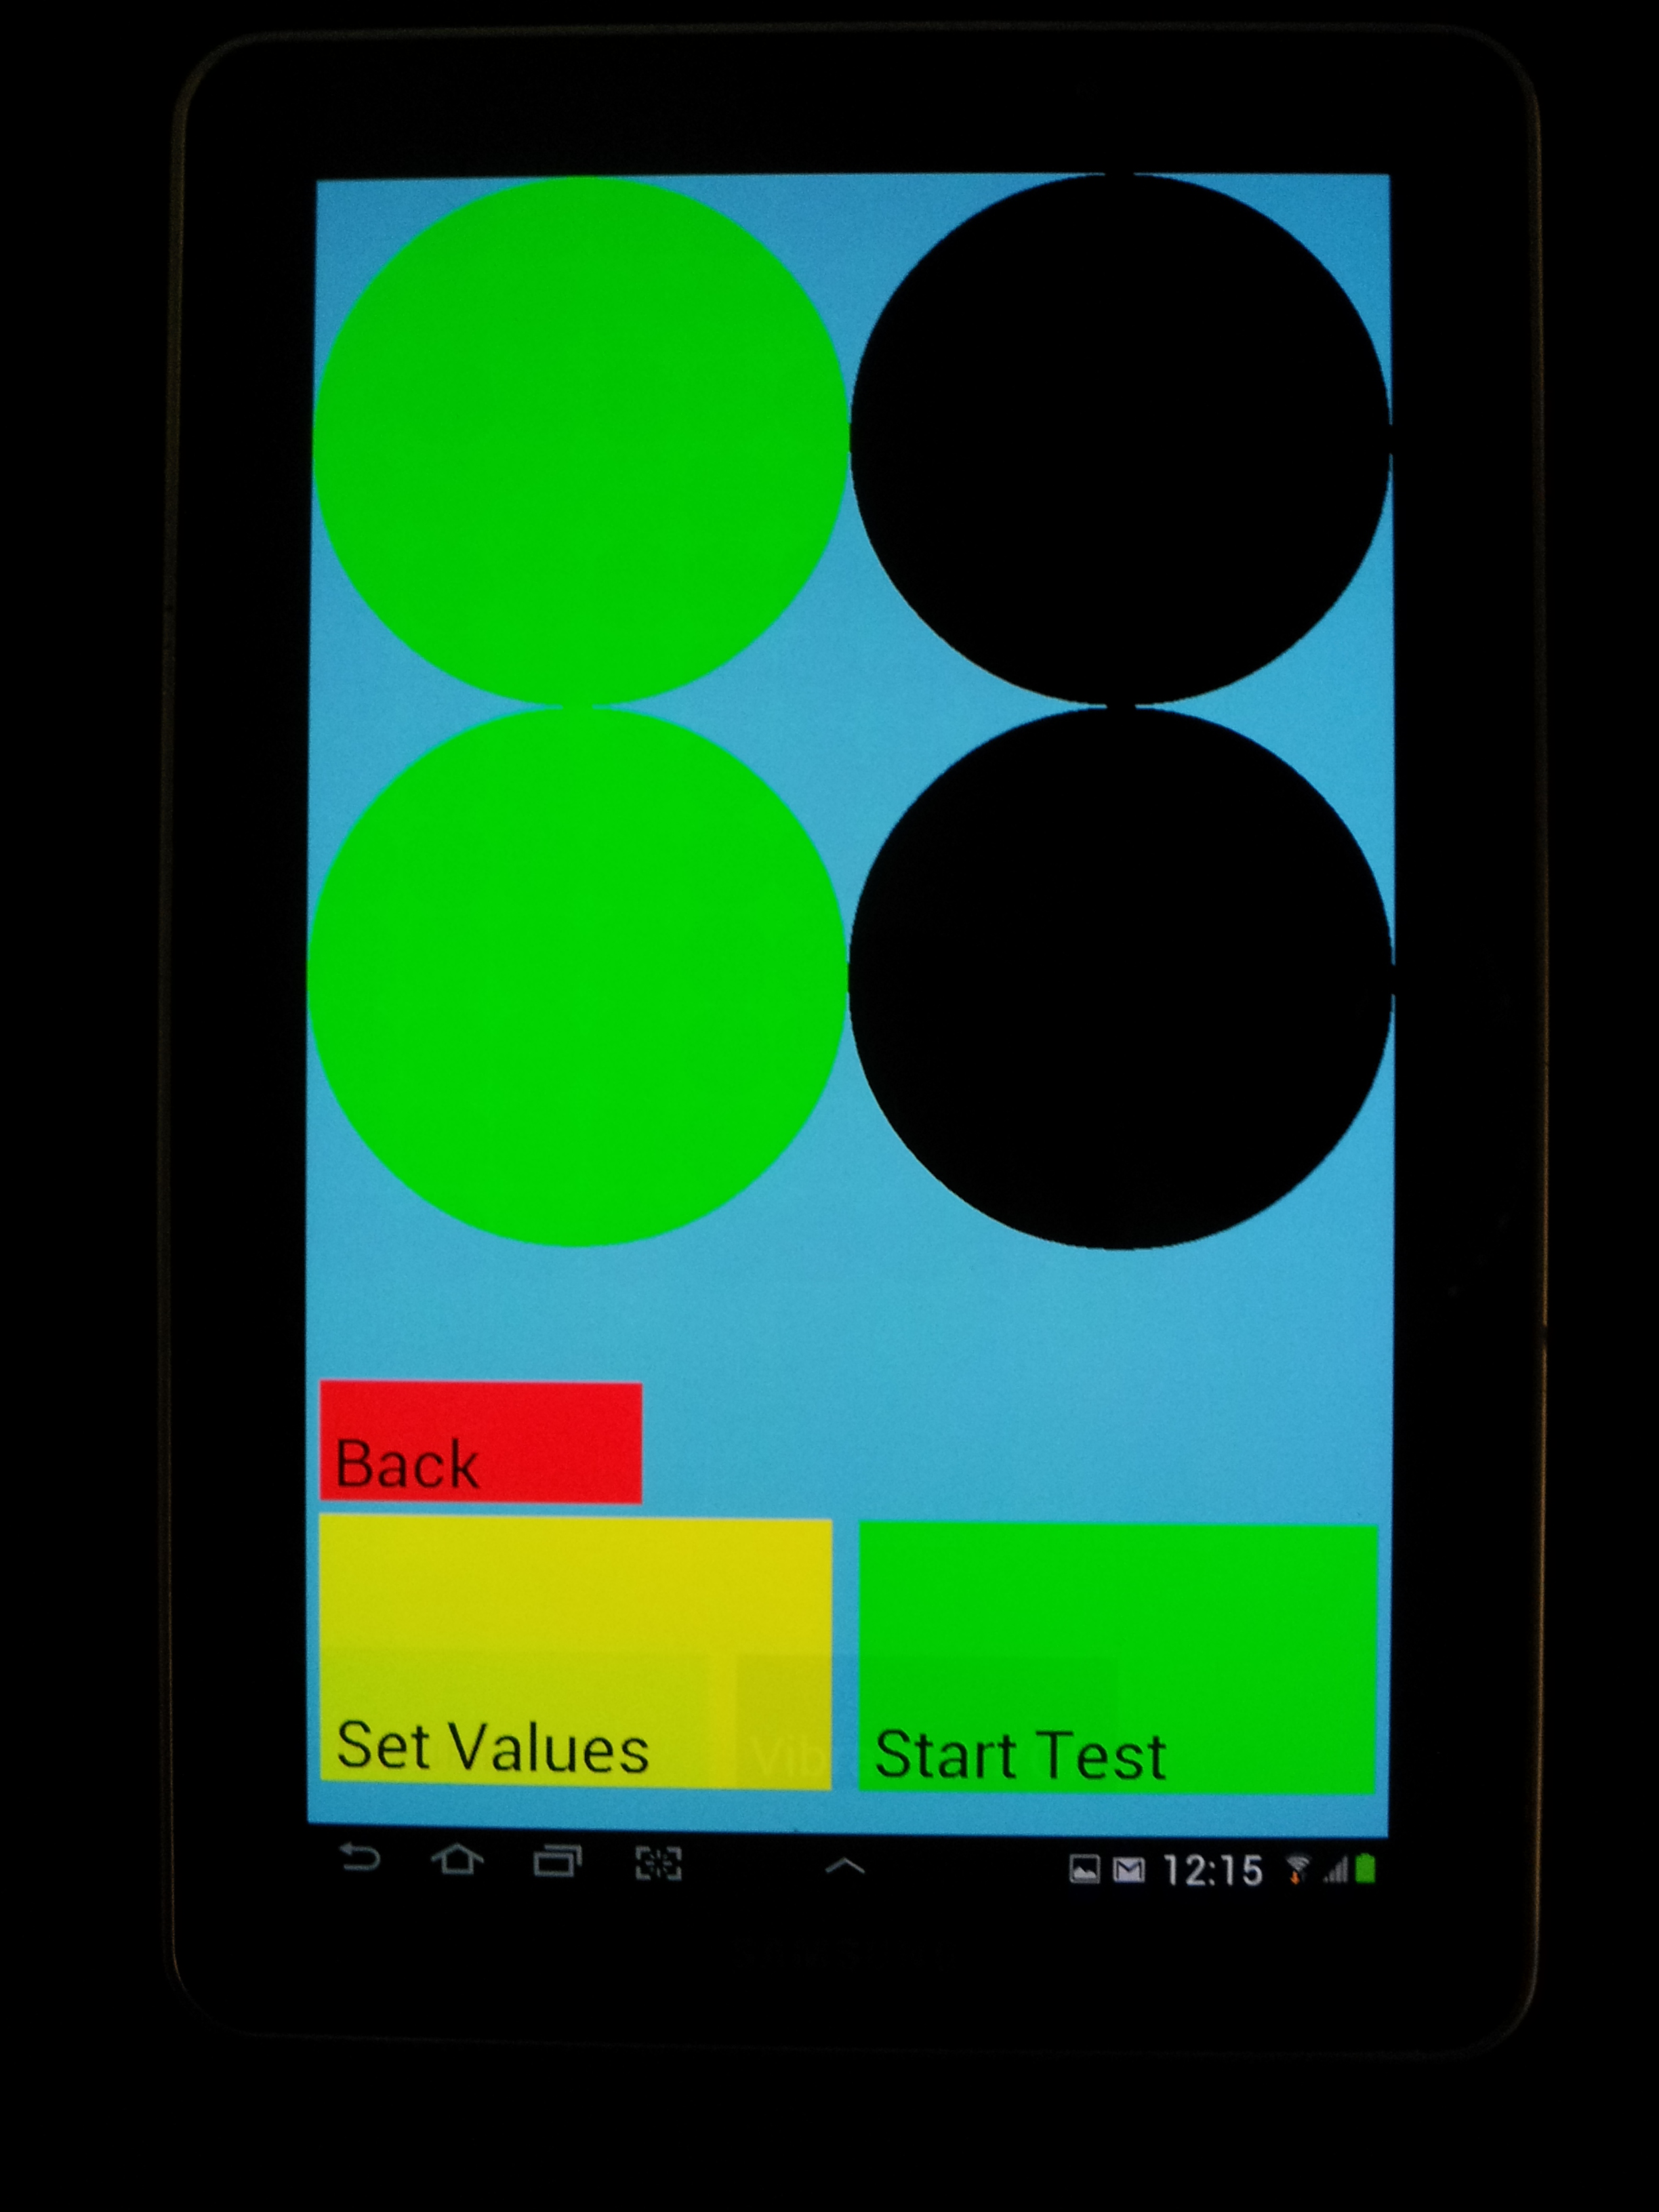
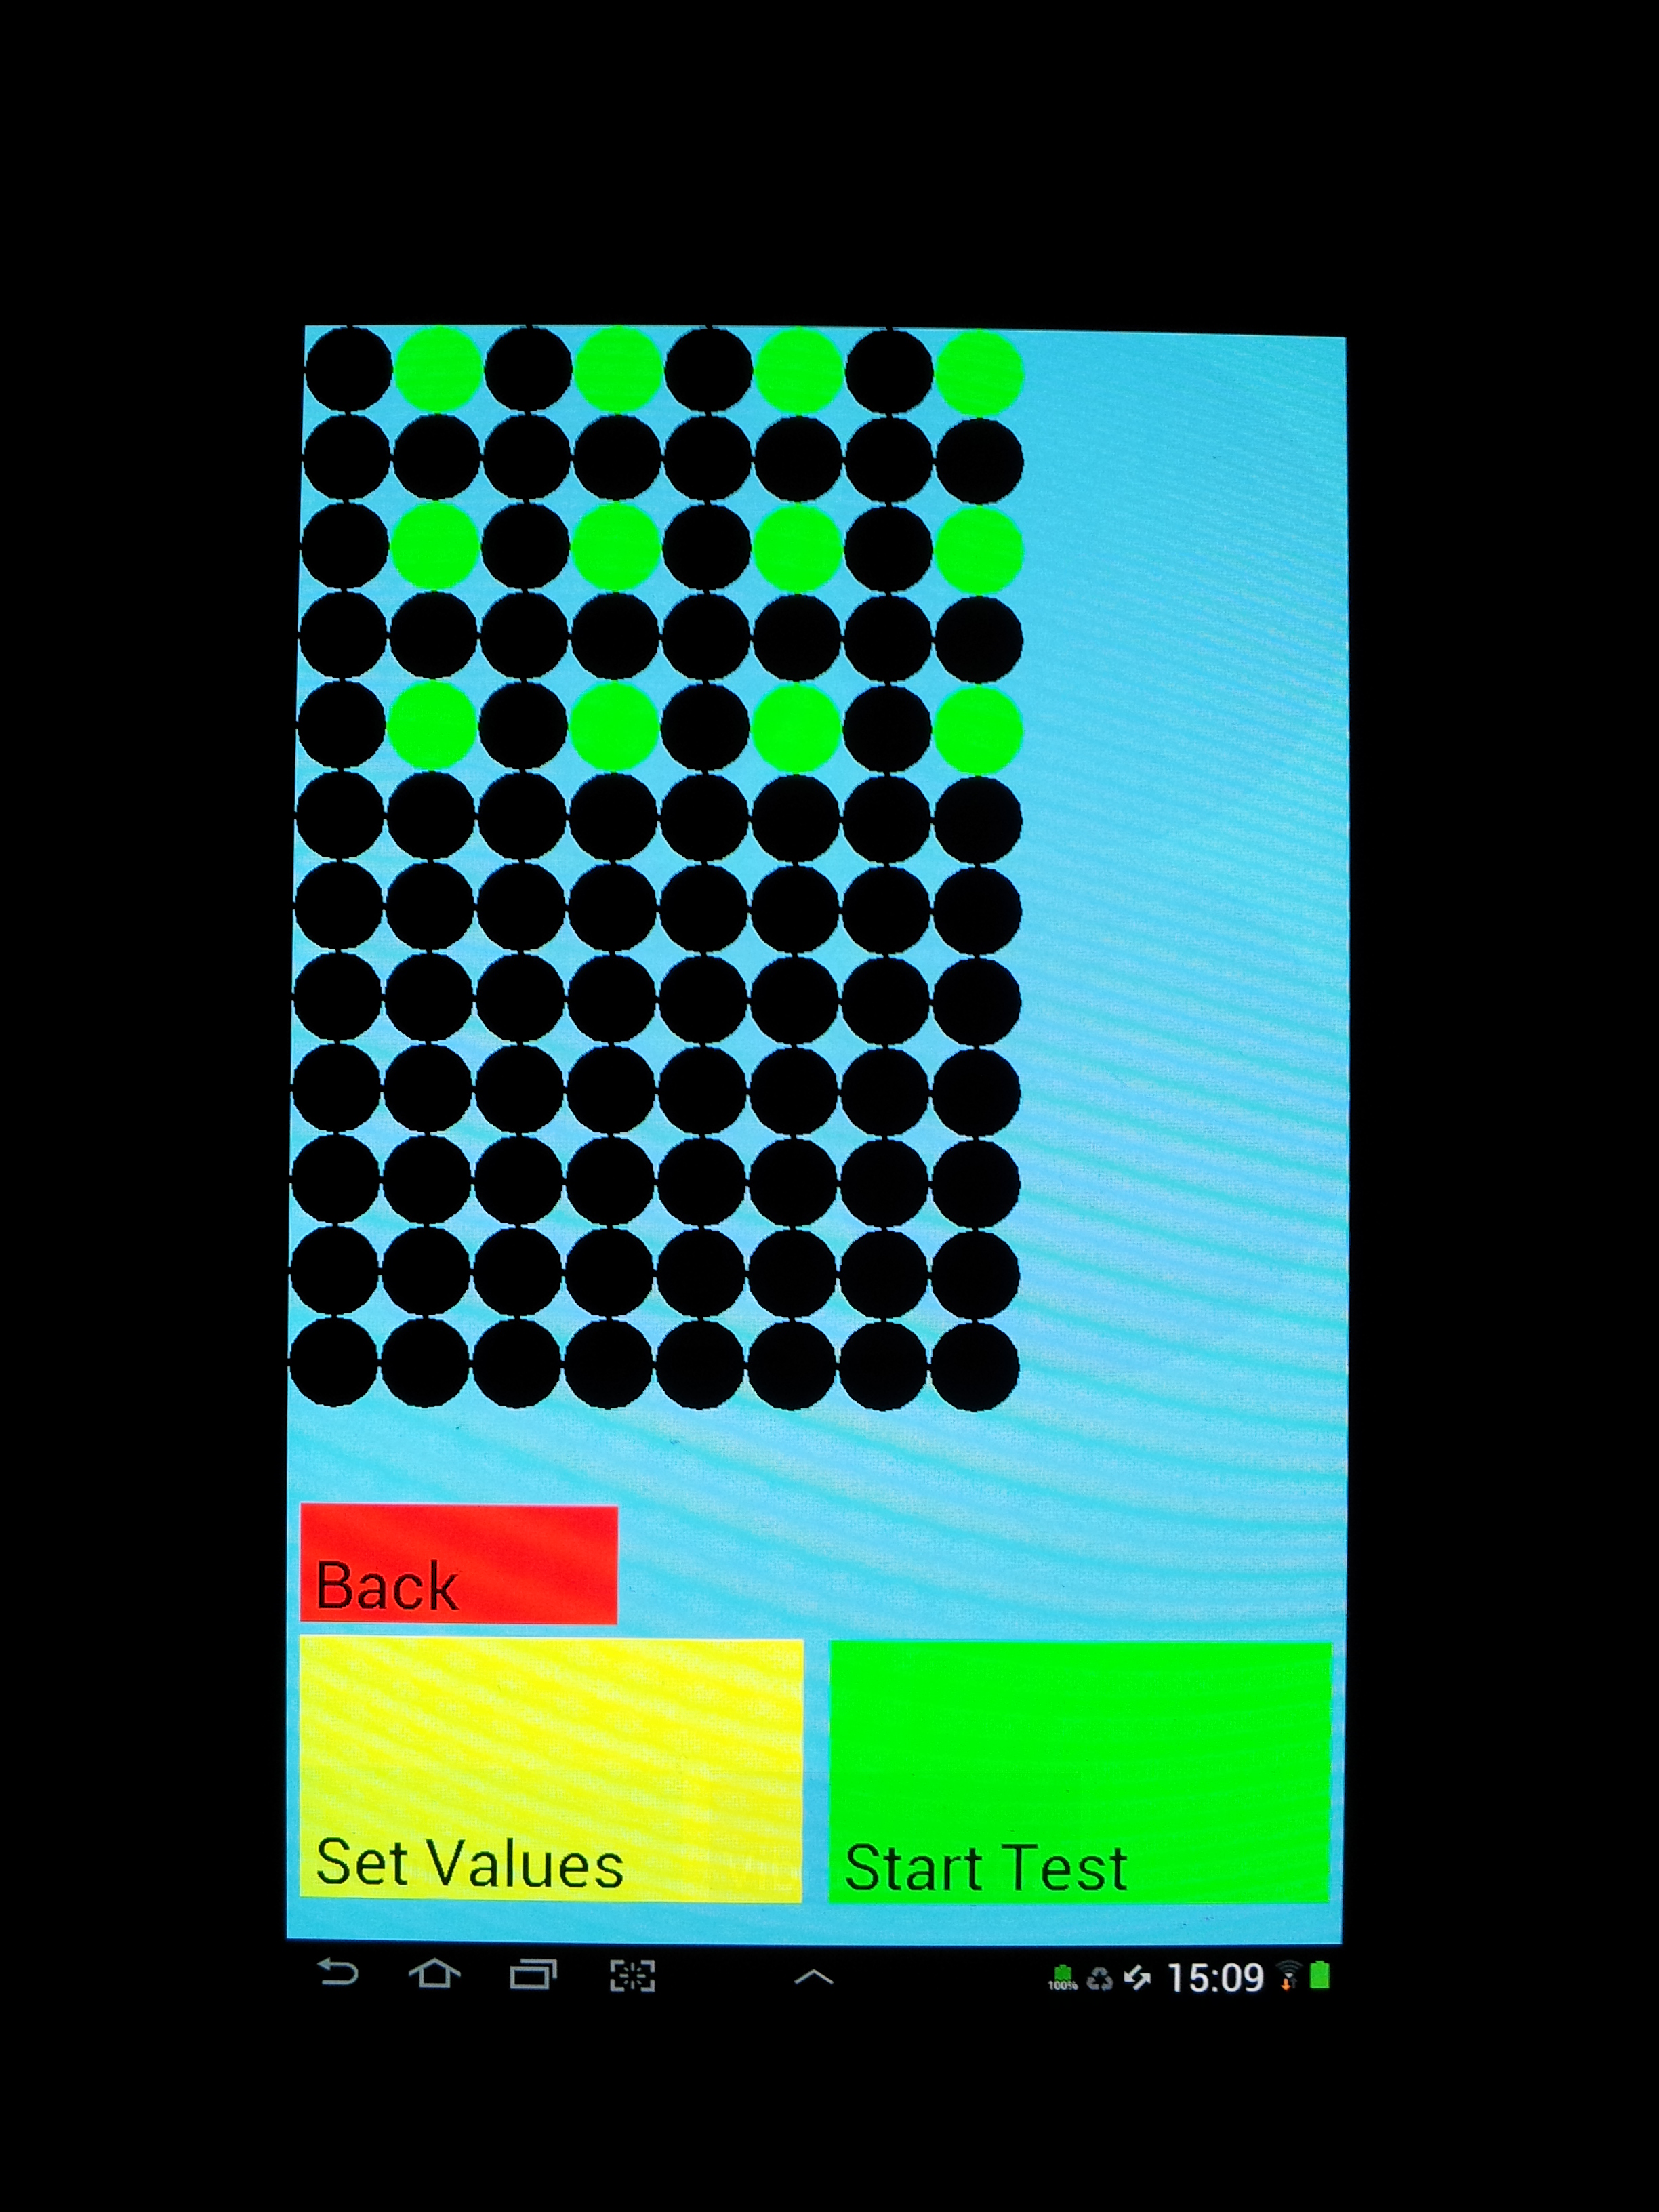
How to start the app 1. Start the E.colight app. 2. Select from petri dish (100 mm or 60 mm) or 96 well plate format For 60mm petri dishes, go to step 3A. For 96 well plate, skip to step 3B.3A. Use your finger to highlight the appropriate wells. To make green wells refer to step 4A, for dark wells, refer to step 4B.
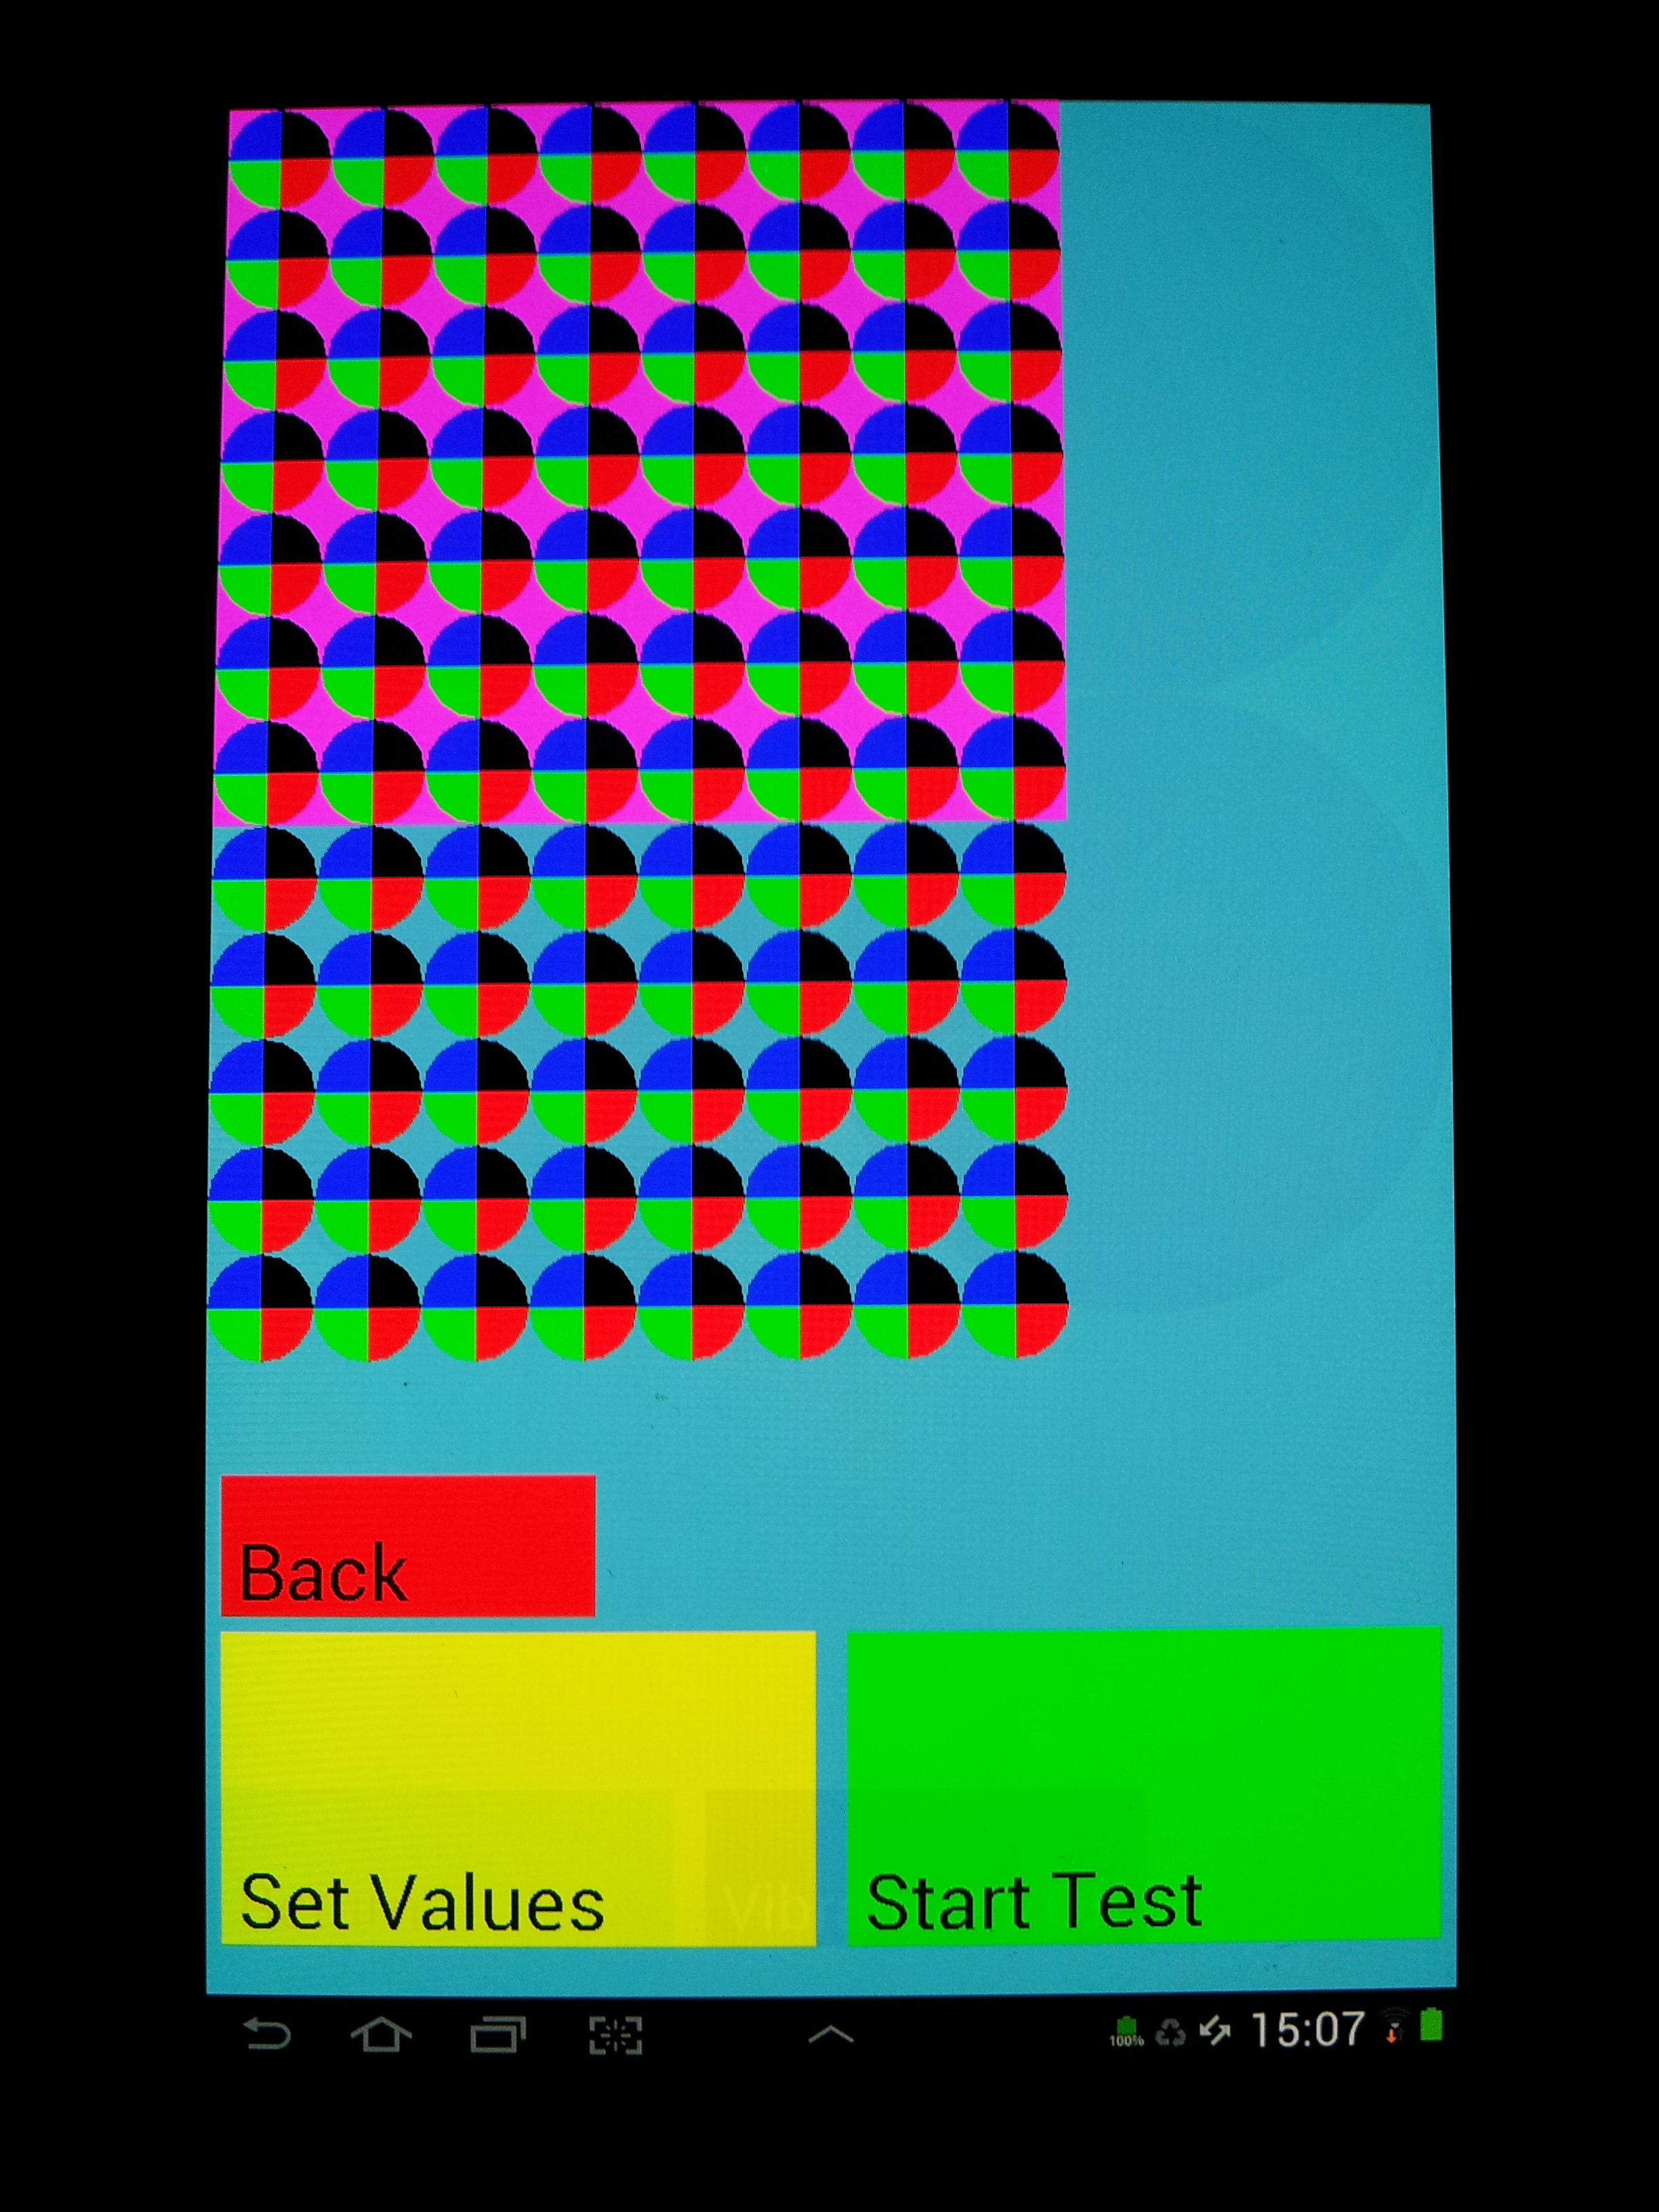
3B. Use your finger to highlight the appropriate wells. To make green wells refer to step 4A, for dark wells, refer to step 4B.
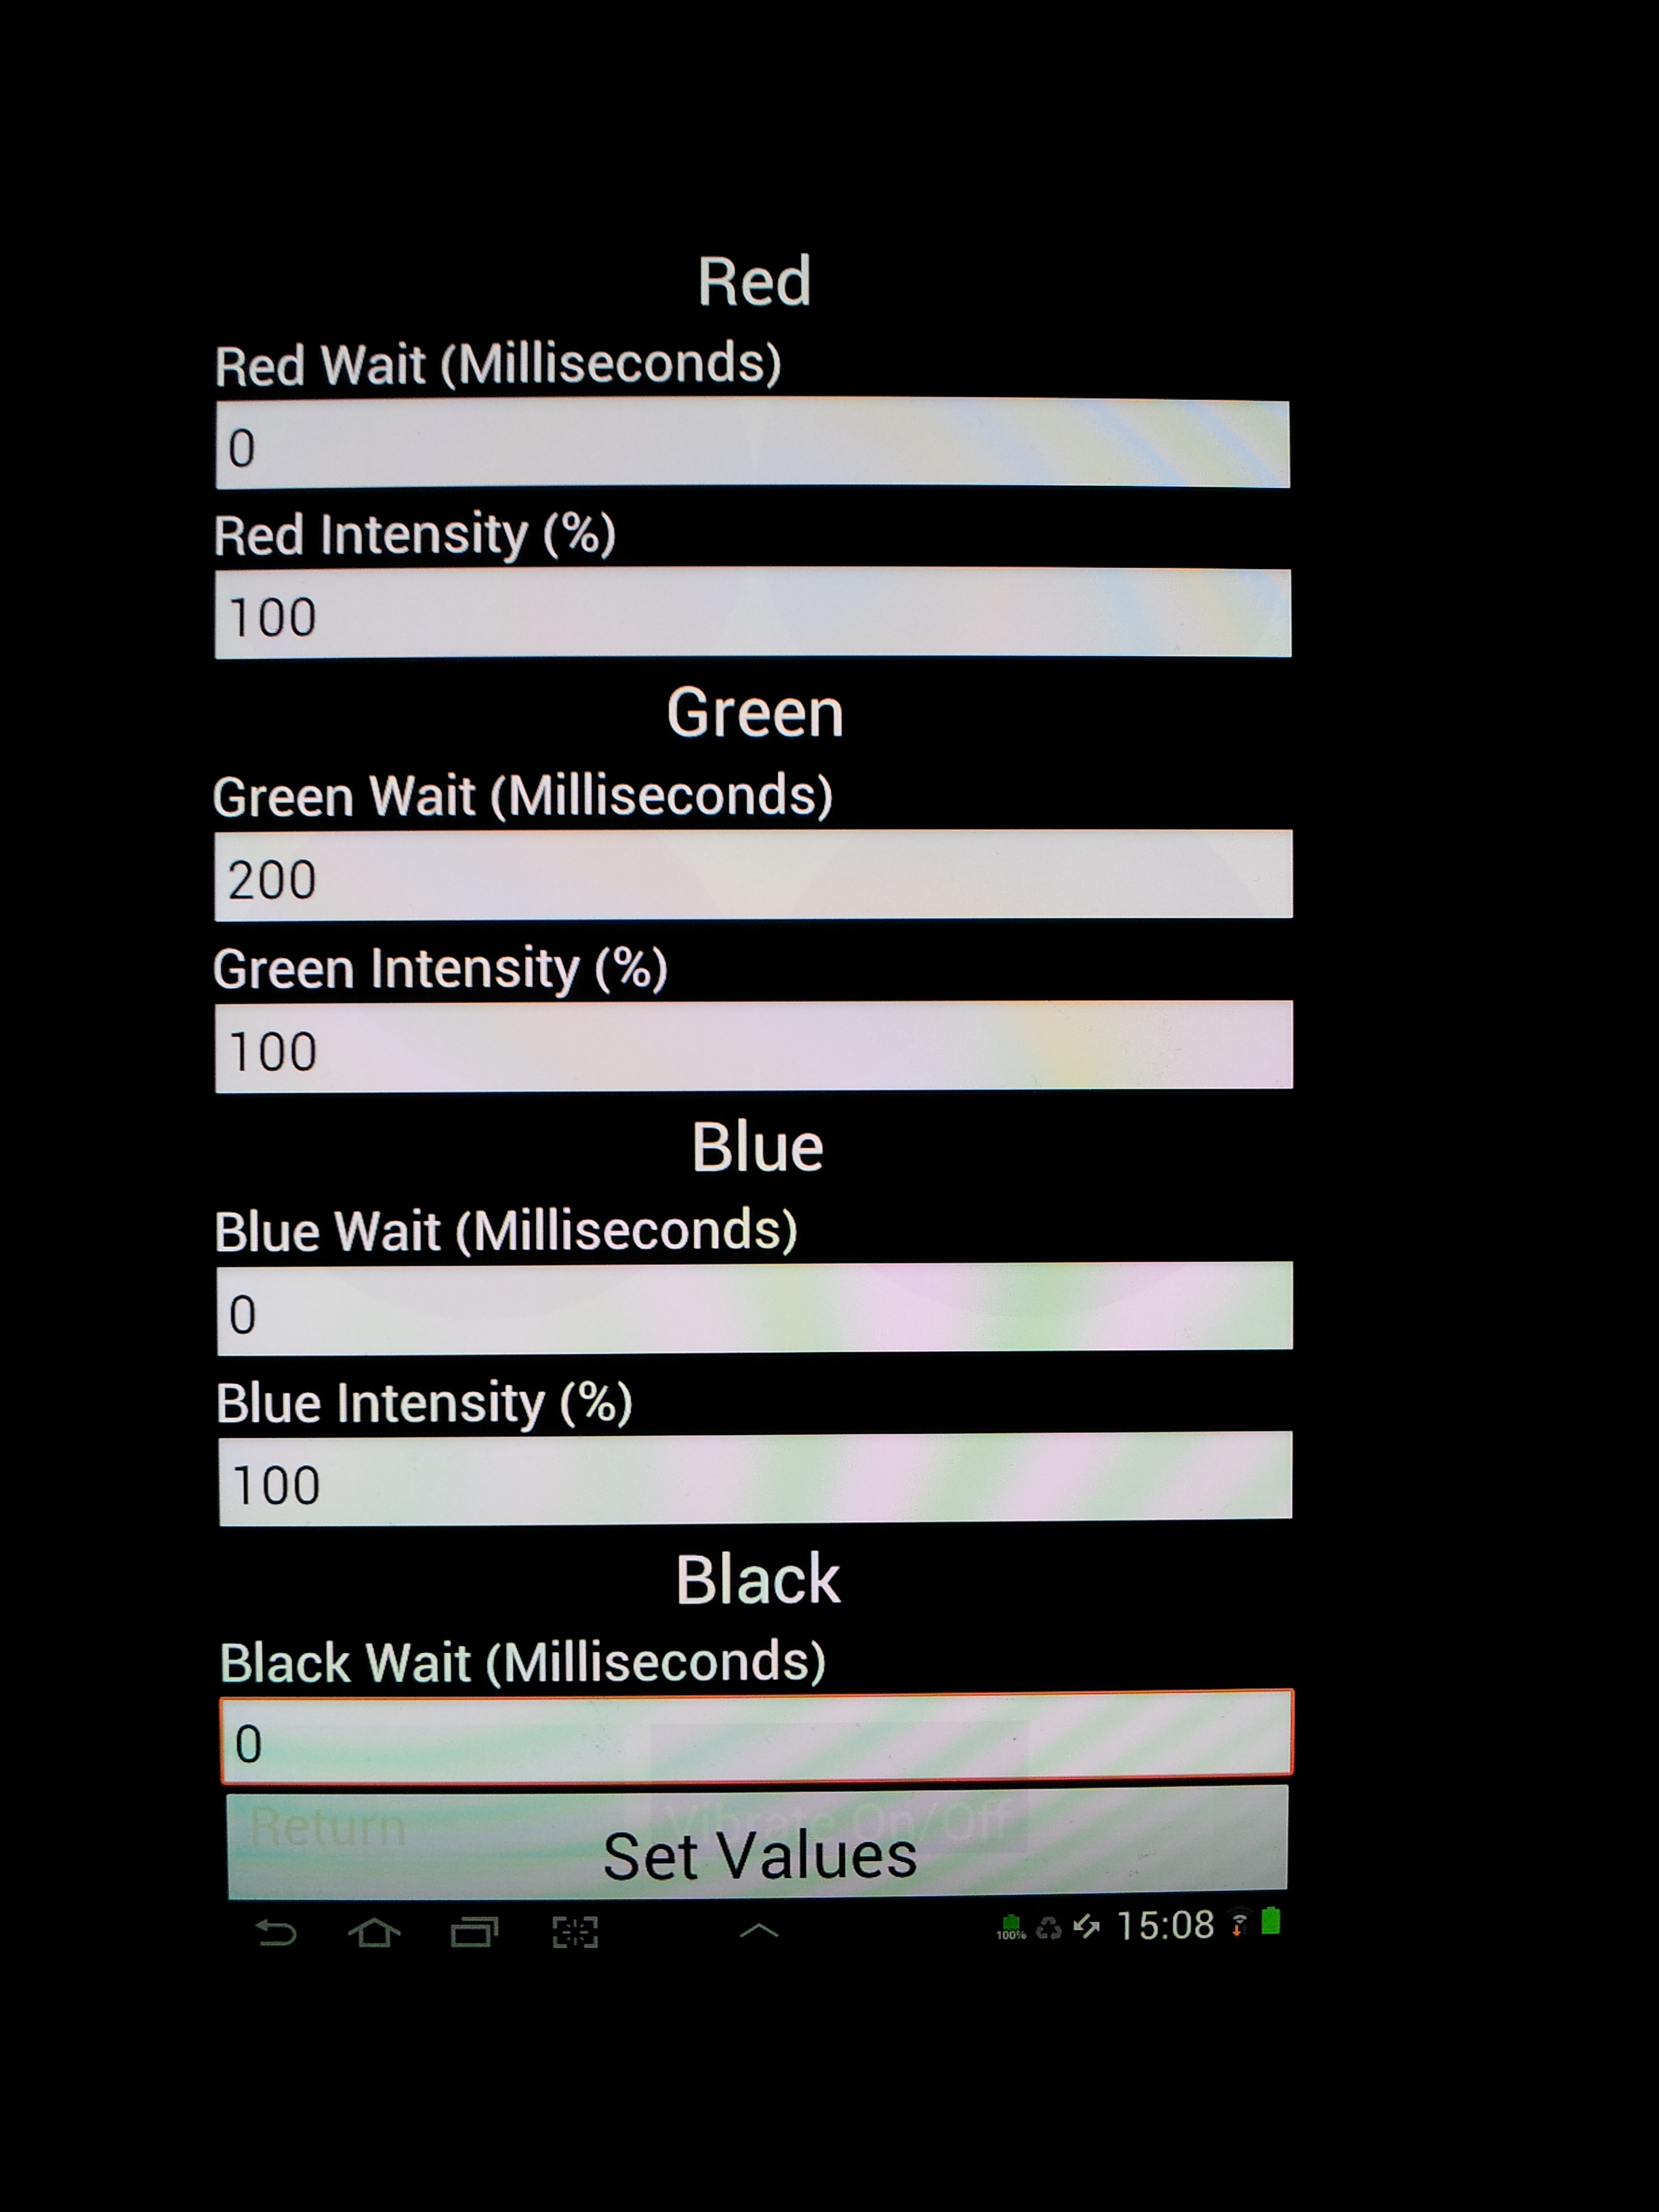
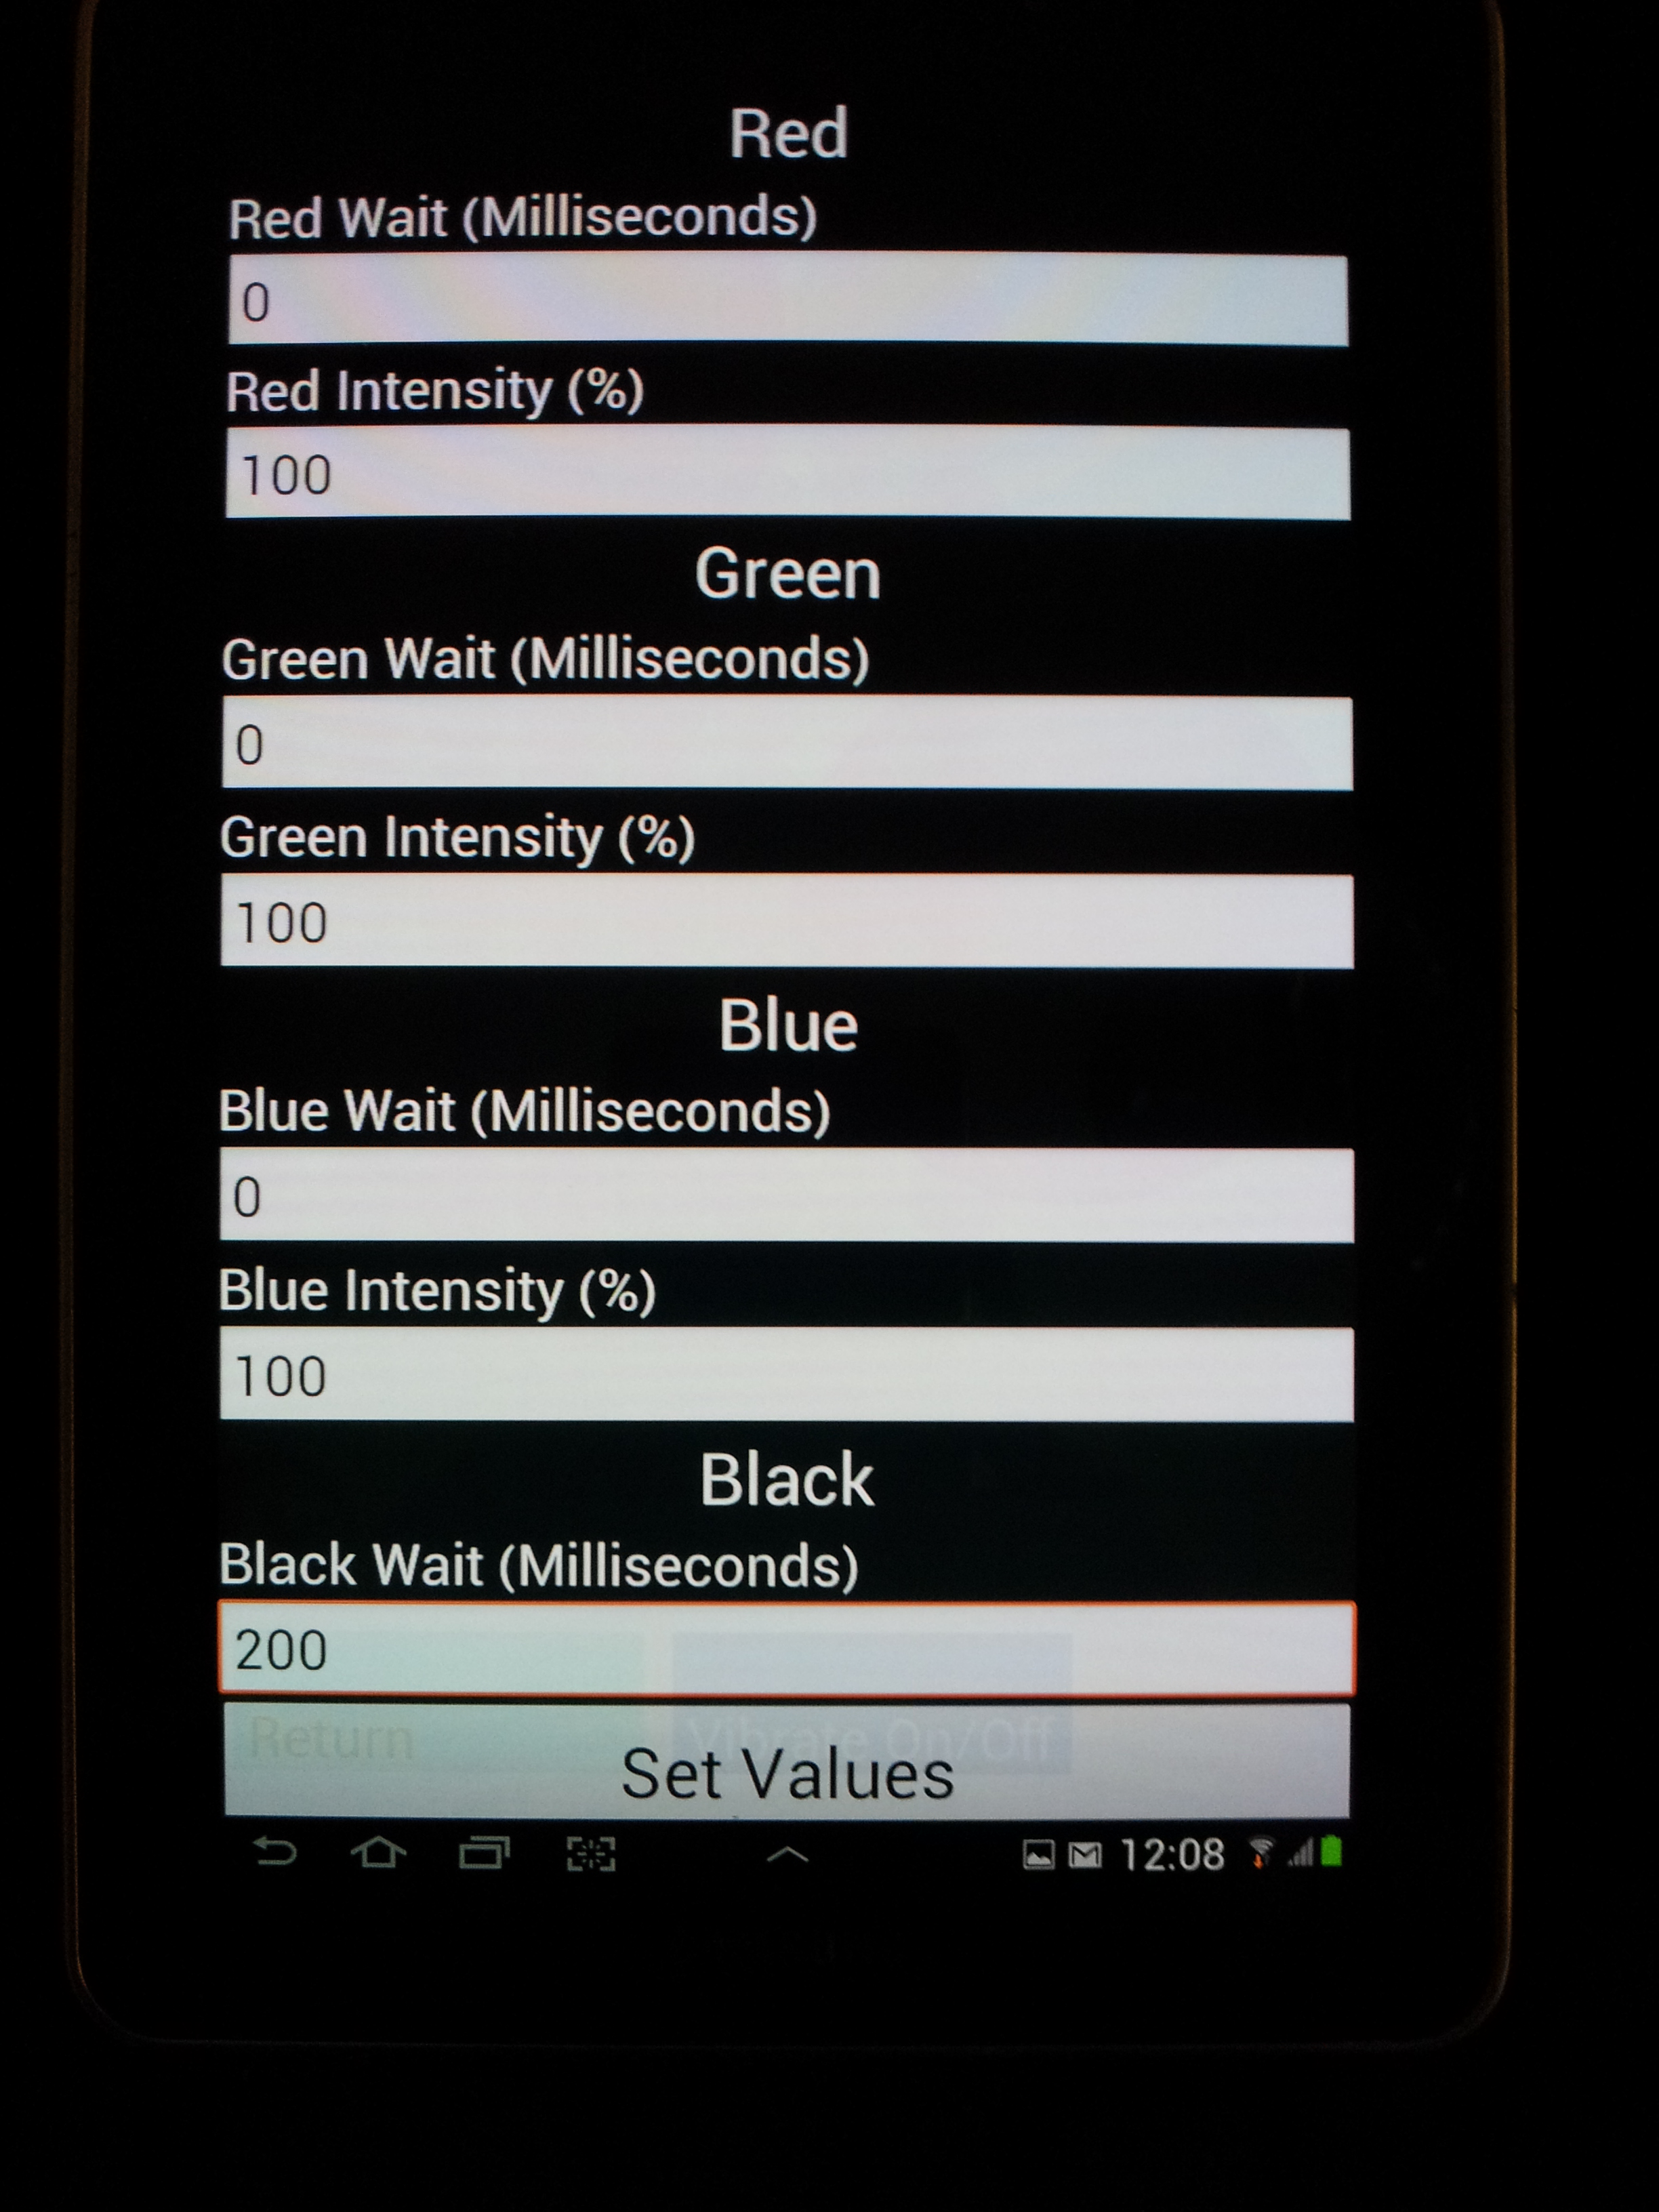
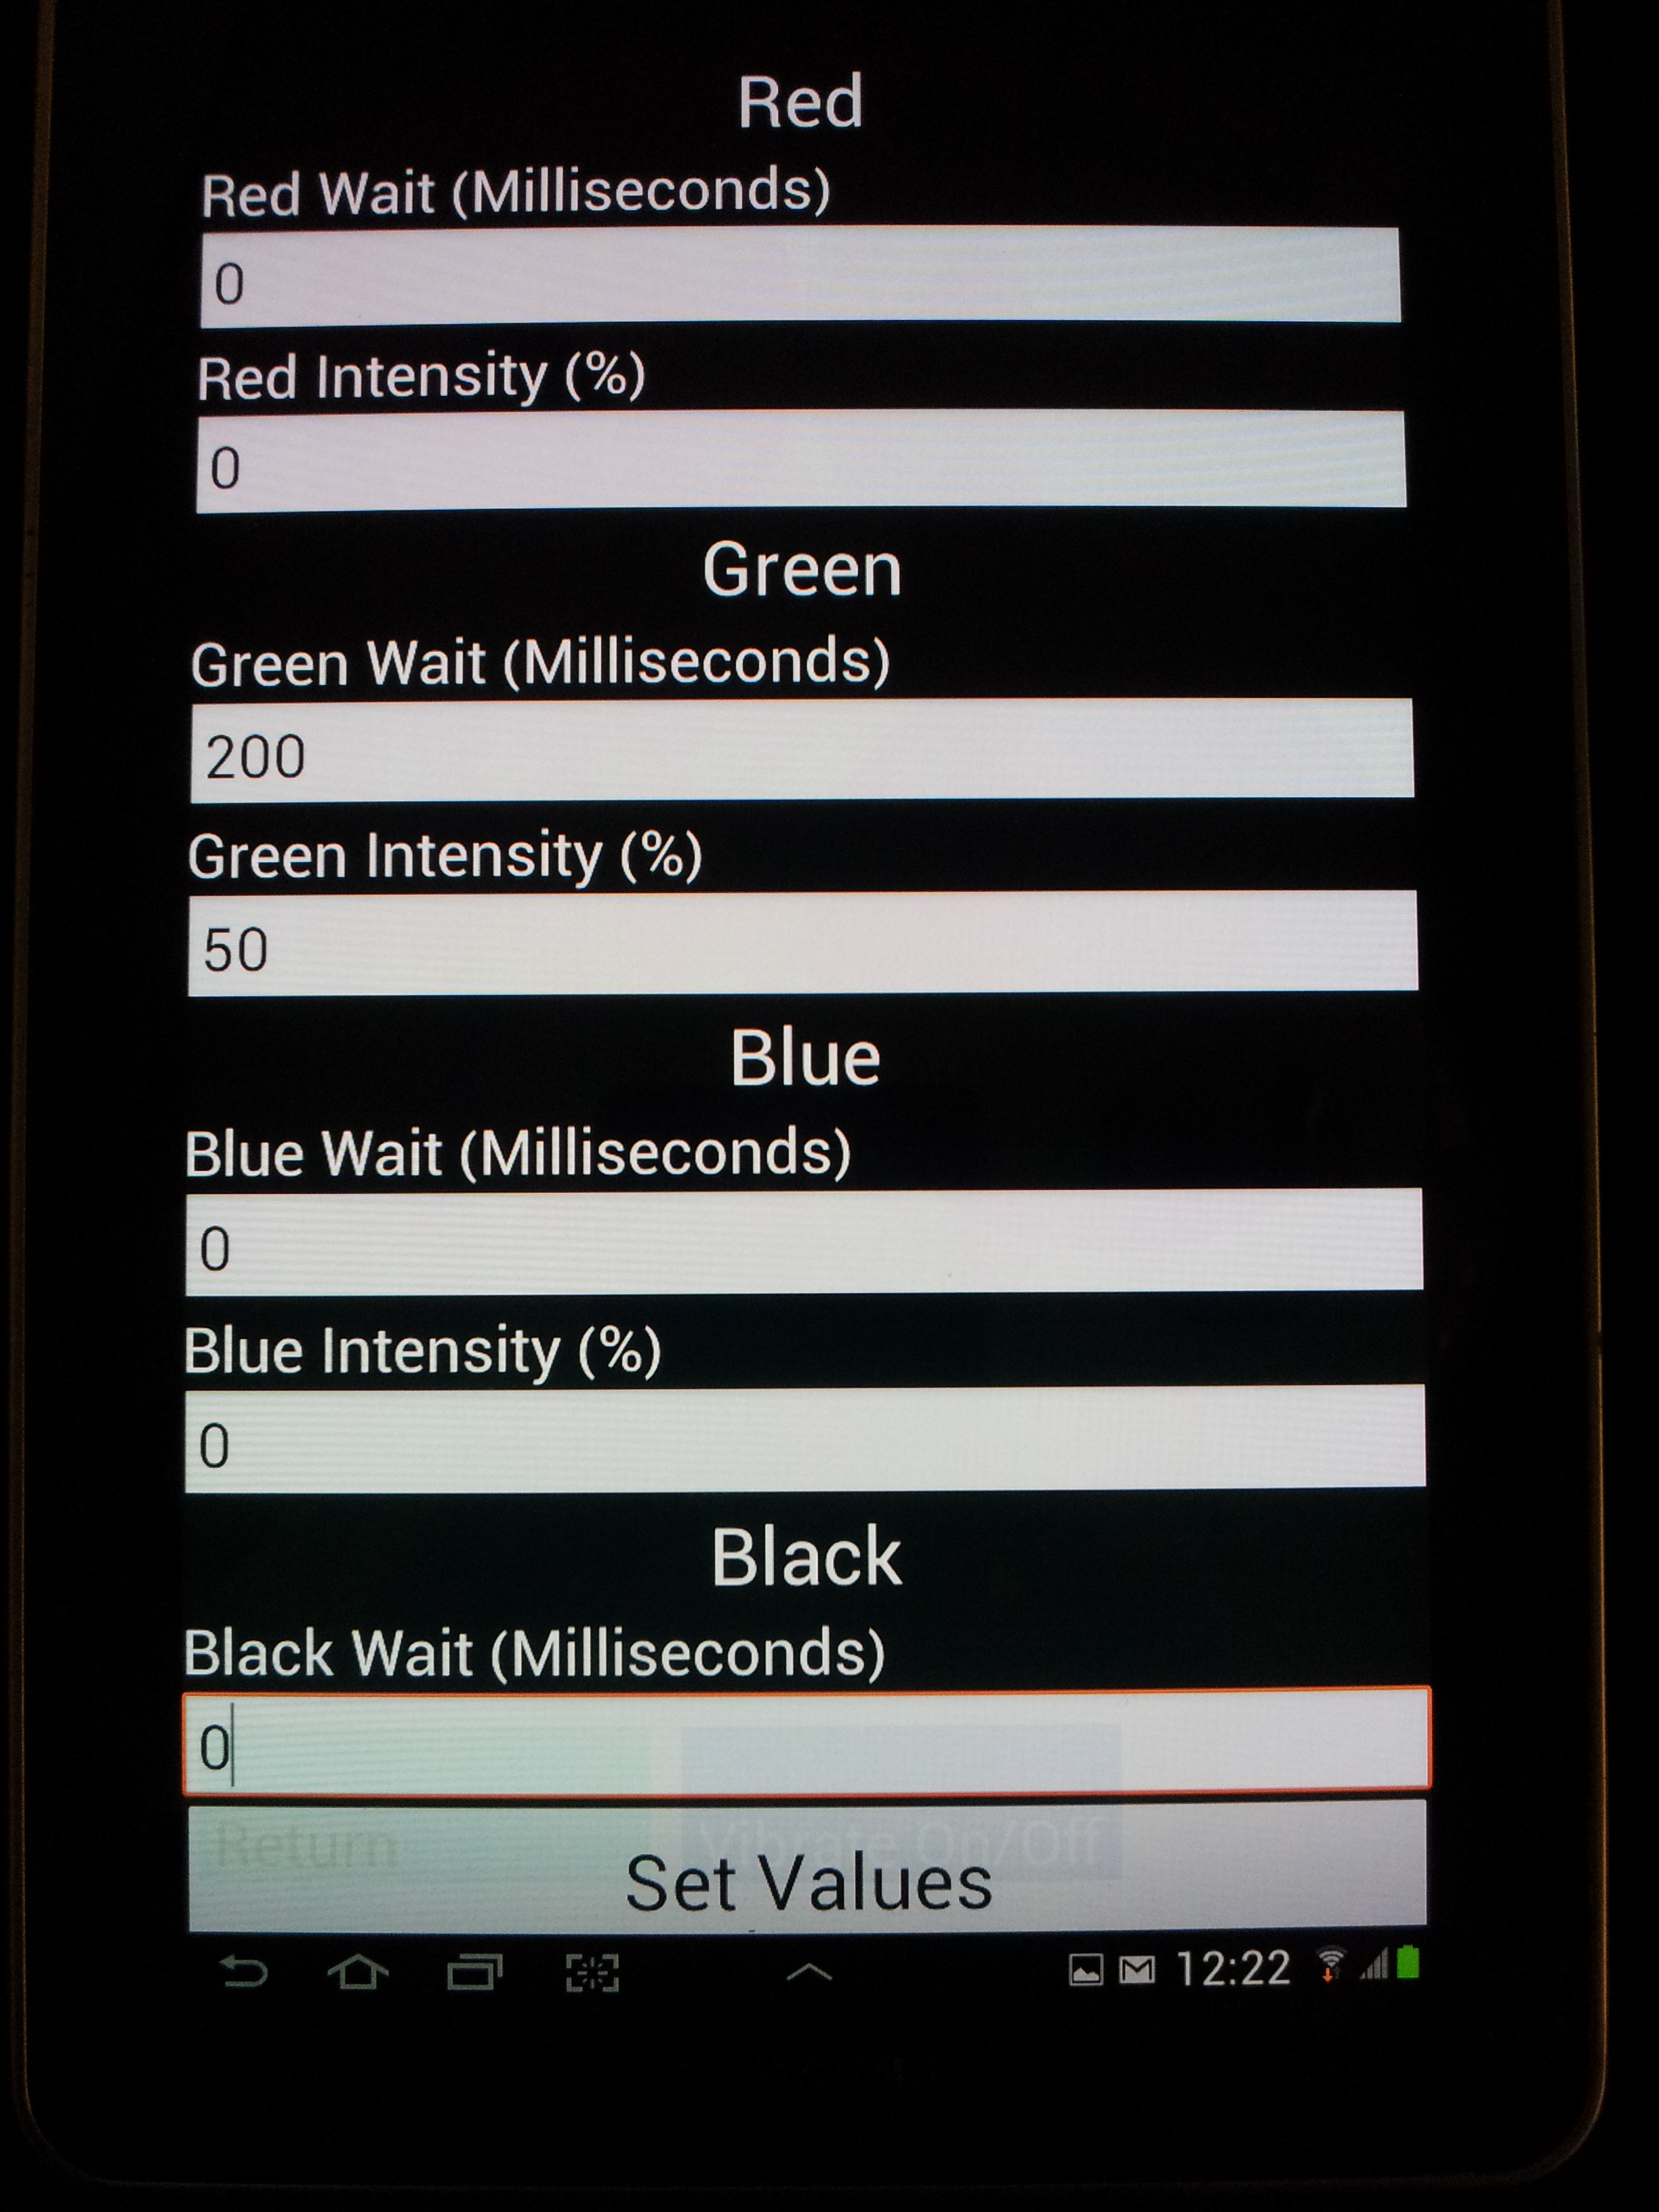
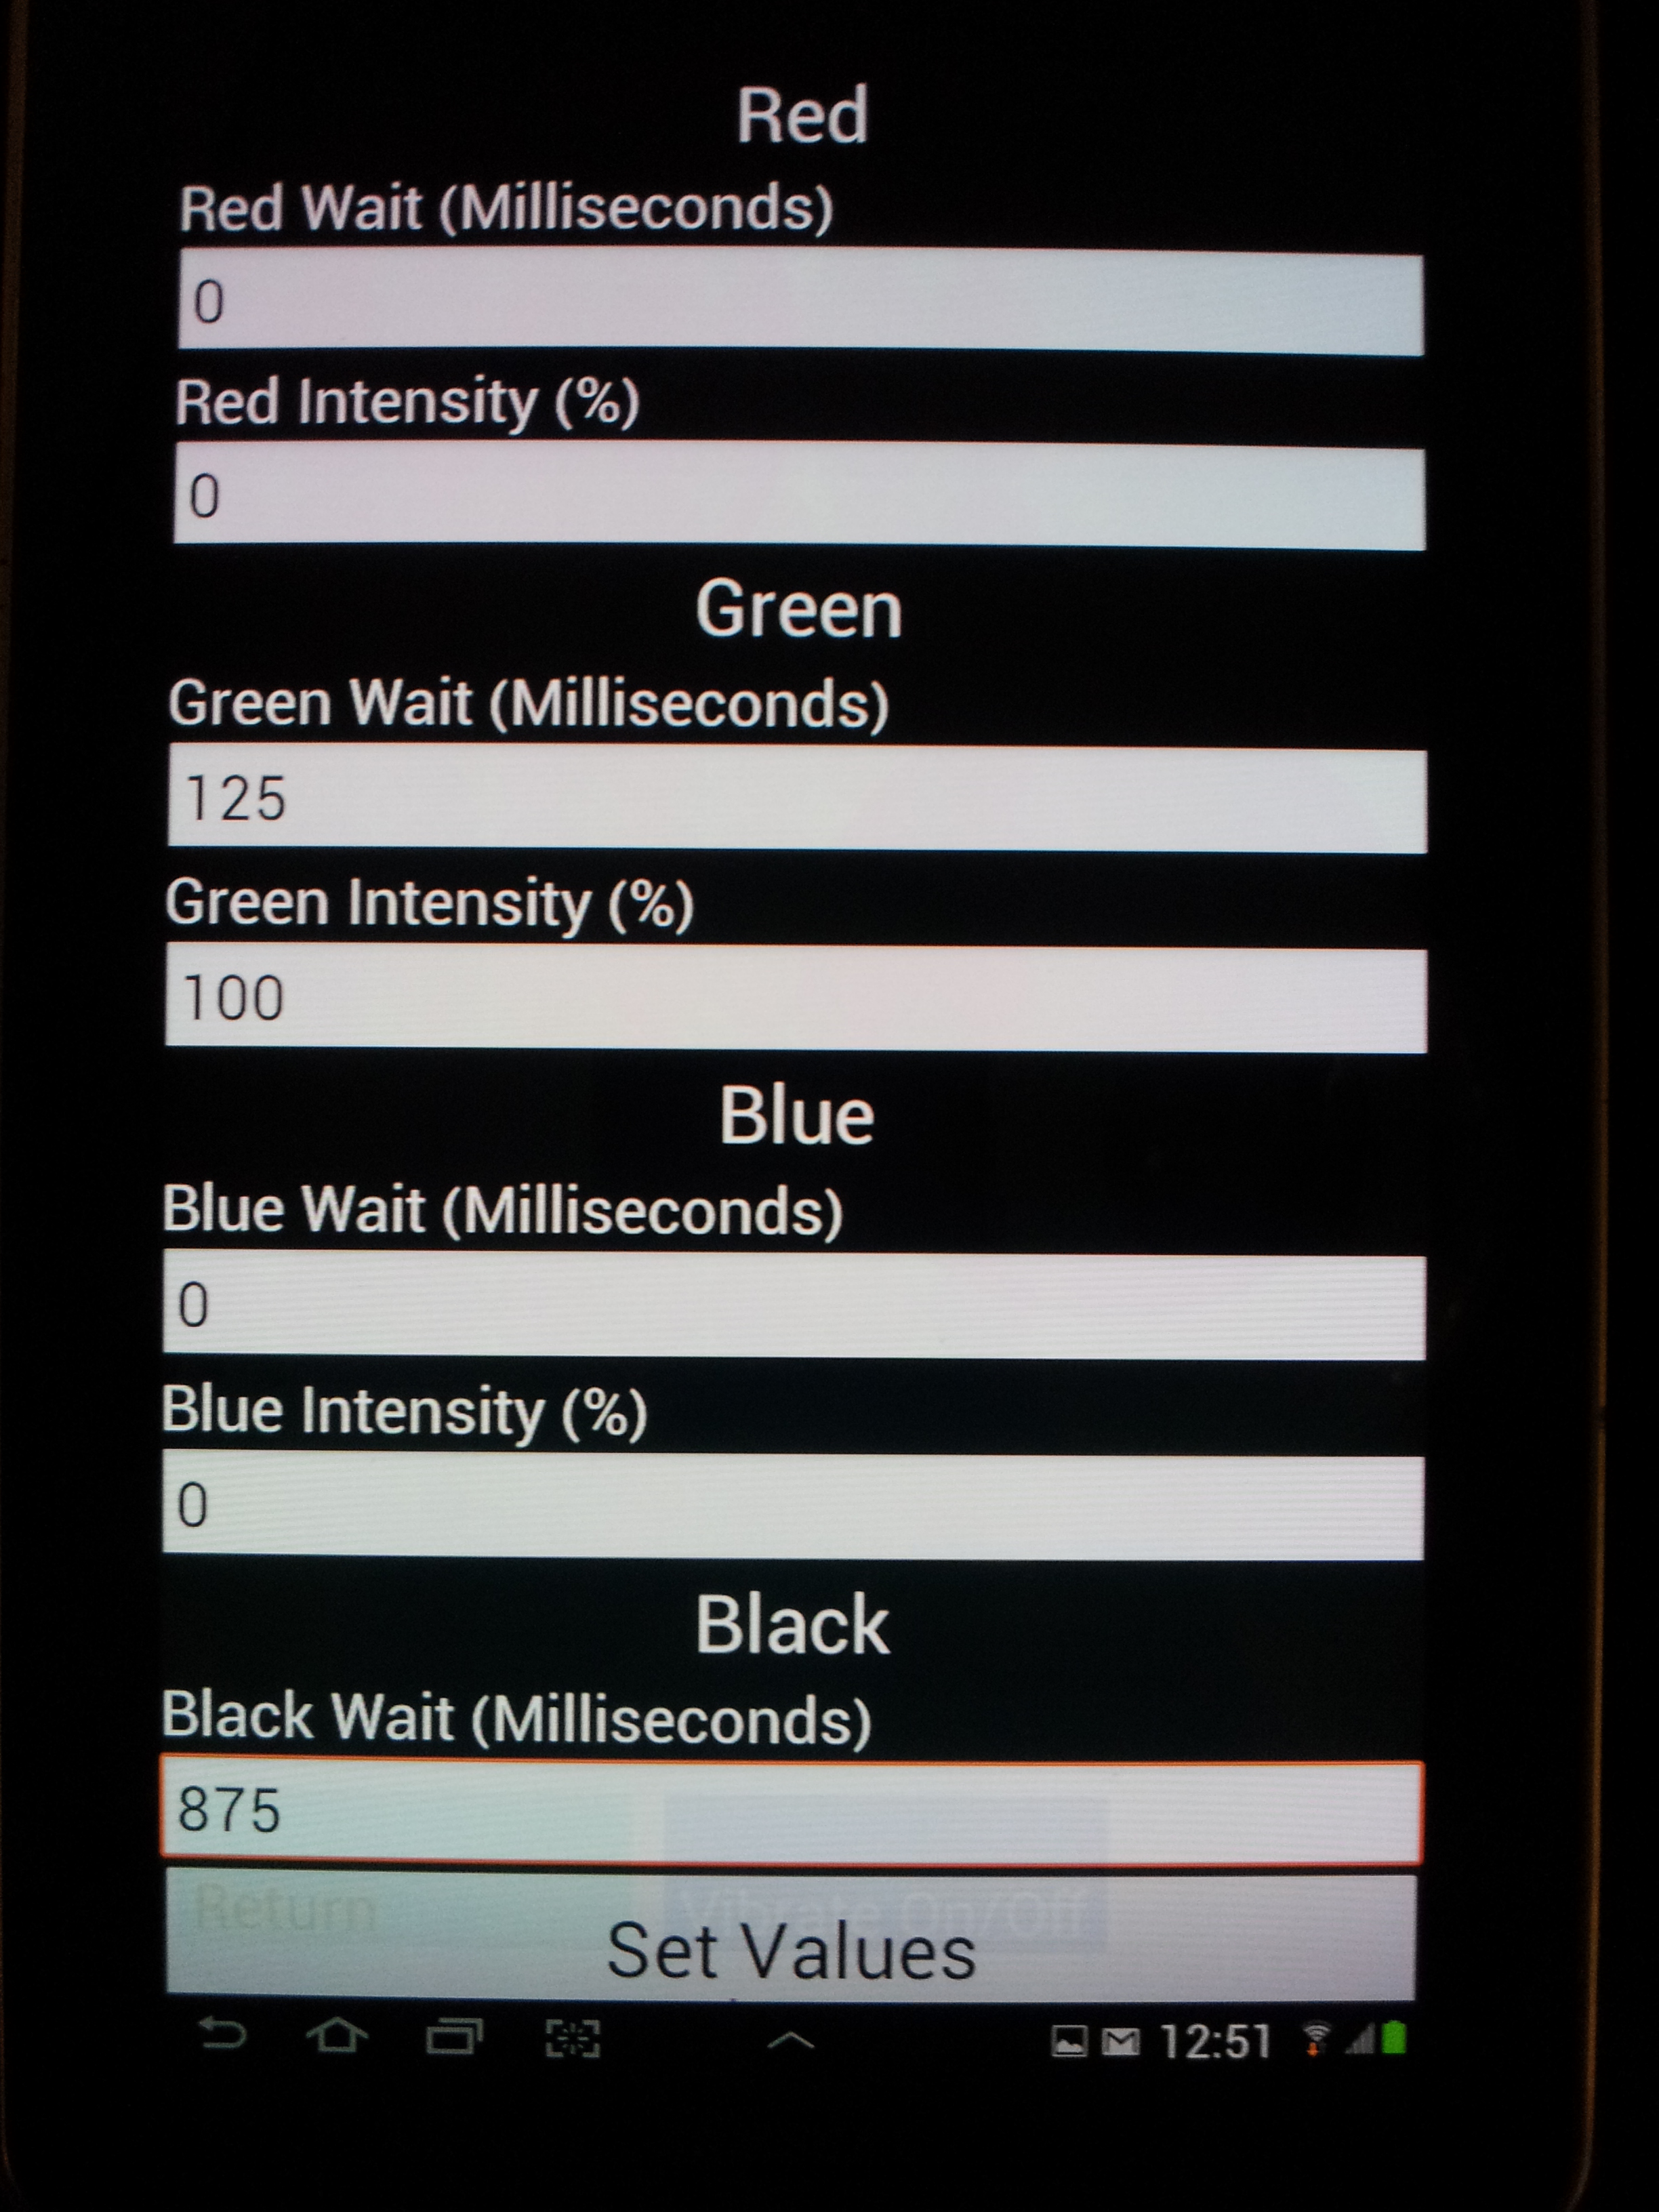
4A. Press 'Set Values'. Set Red Wait (milliseconds) to 0. Set Green Wait (milliseconds) to 200. Set Blue Wait (Milliseconds) to 0. Set Black Wait (milliseconds) to 0. To change intensity or to setup blinking experiments refer to supplemental.
4B. Press 'Set Values'. Set Red Wait (milliseconds) to 0. Set Green Wait (milliseconds) to 0. Set Blue Wait (Milliseconds) to 0. Set Black Wait (milliseconds) to 200. To change intensity or to setup blinking experiments refer to supplemental.
5. Press 'Set Values' to return to the experiment screen.
6. Press 'Start Test' Supplemental:
Changing Intensity 1. Follow step 1 to 4 on the protocol above. 2. Change intensity between 0% to 100%. (0% is completely dark)
3. Follow step 5 to 6 on the protocol above.
Blinking 1. Follow step 1 to 4 on the protocol above. 2. Change the Green Wait (Milliseconds) to 125 and Black Wait (Milliseconds) to 875 to have alternating color expression the wells. You may vary the time depending on your experiment from 0 millisecond to 60000 milliseconds maximum
3. Follow step 5 to 6 on the protocol above.
 "
"


