Team:Exeter/Results
From 2013.igem.org
Green Light Module
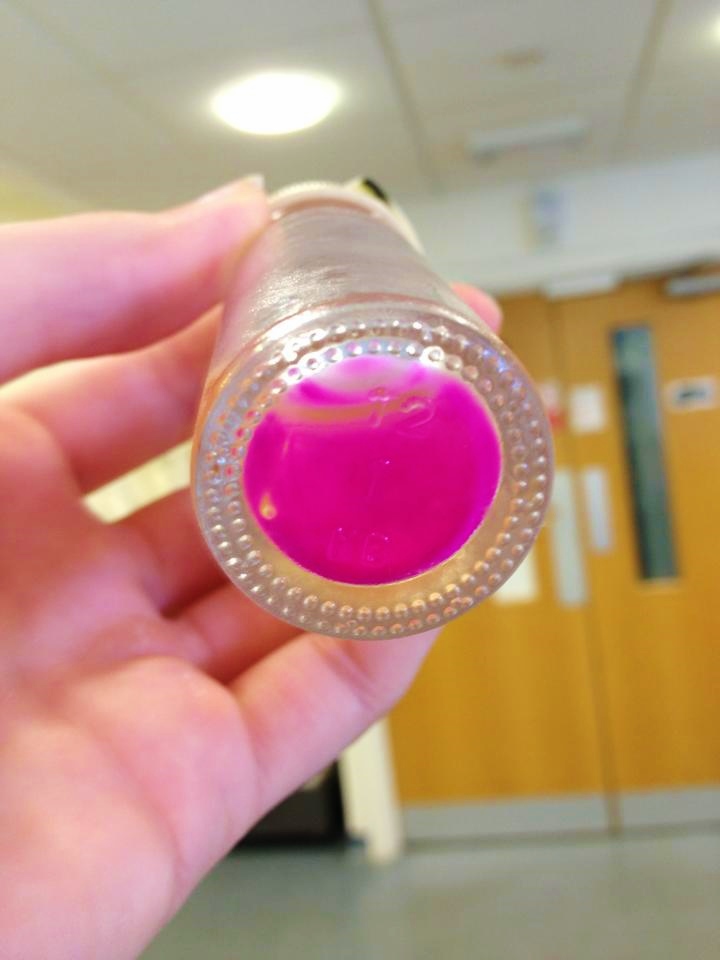
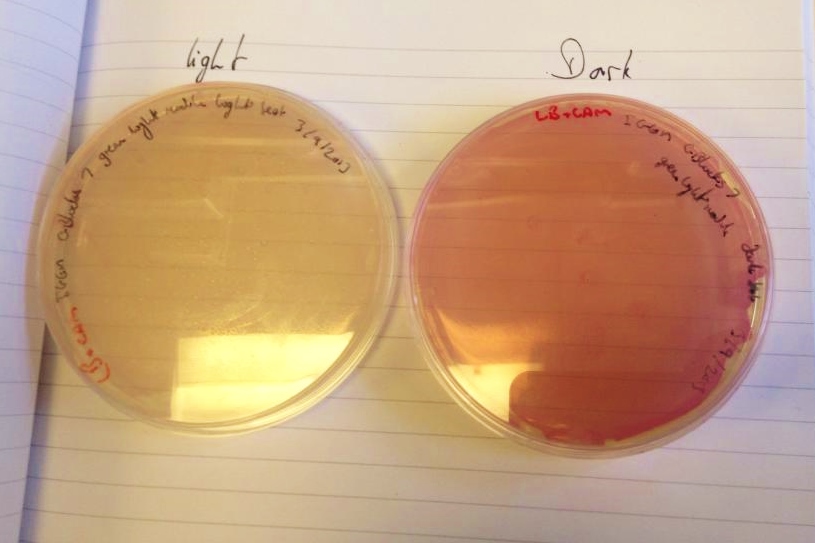
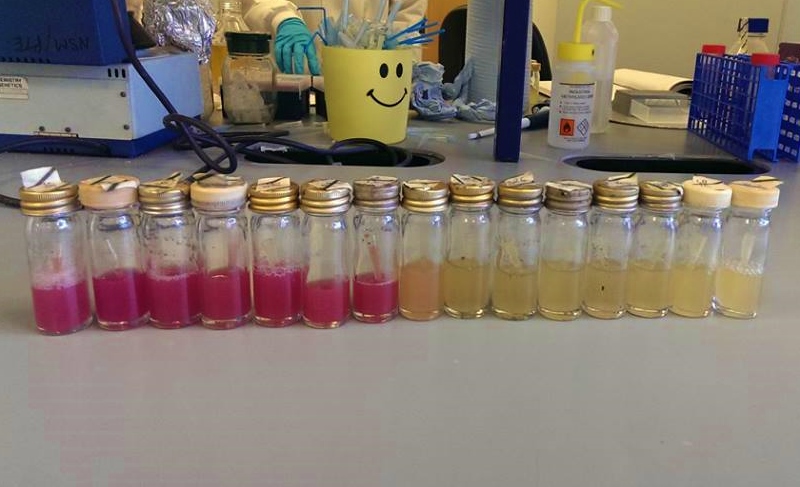
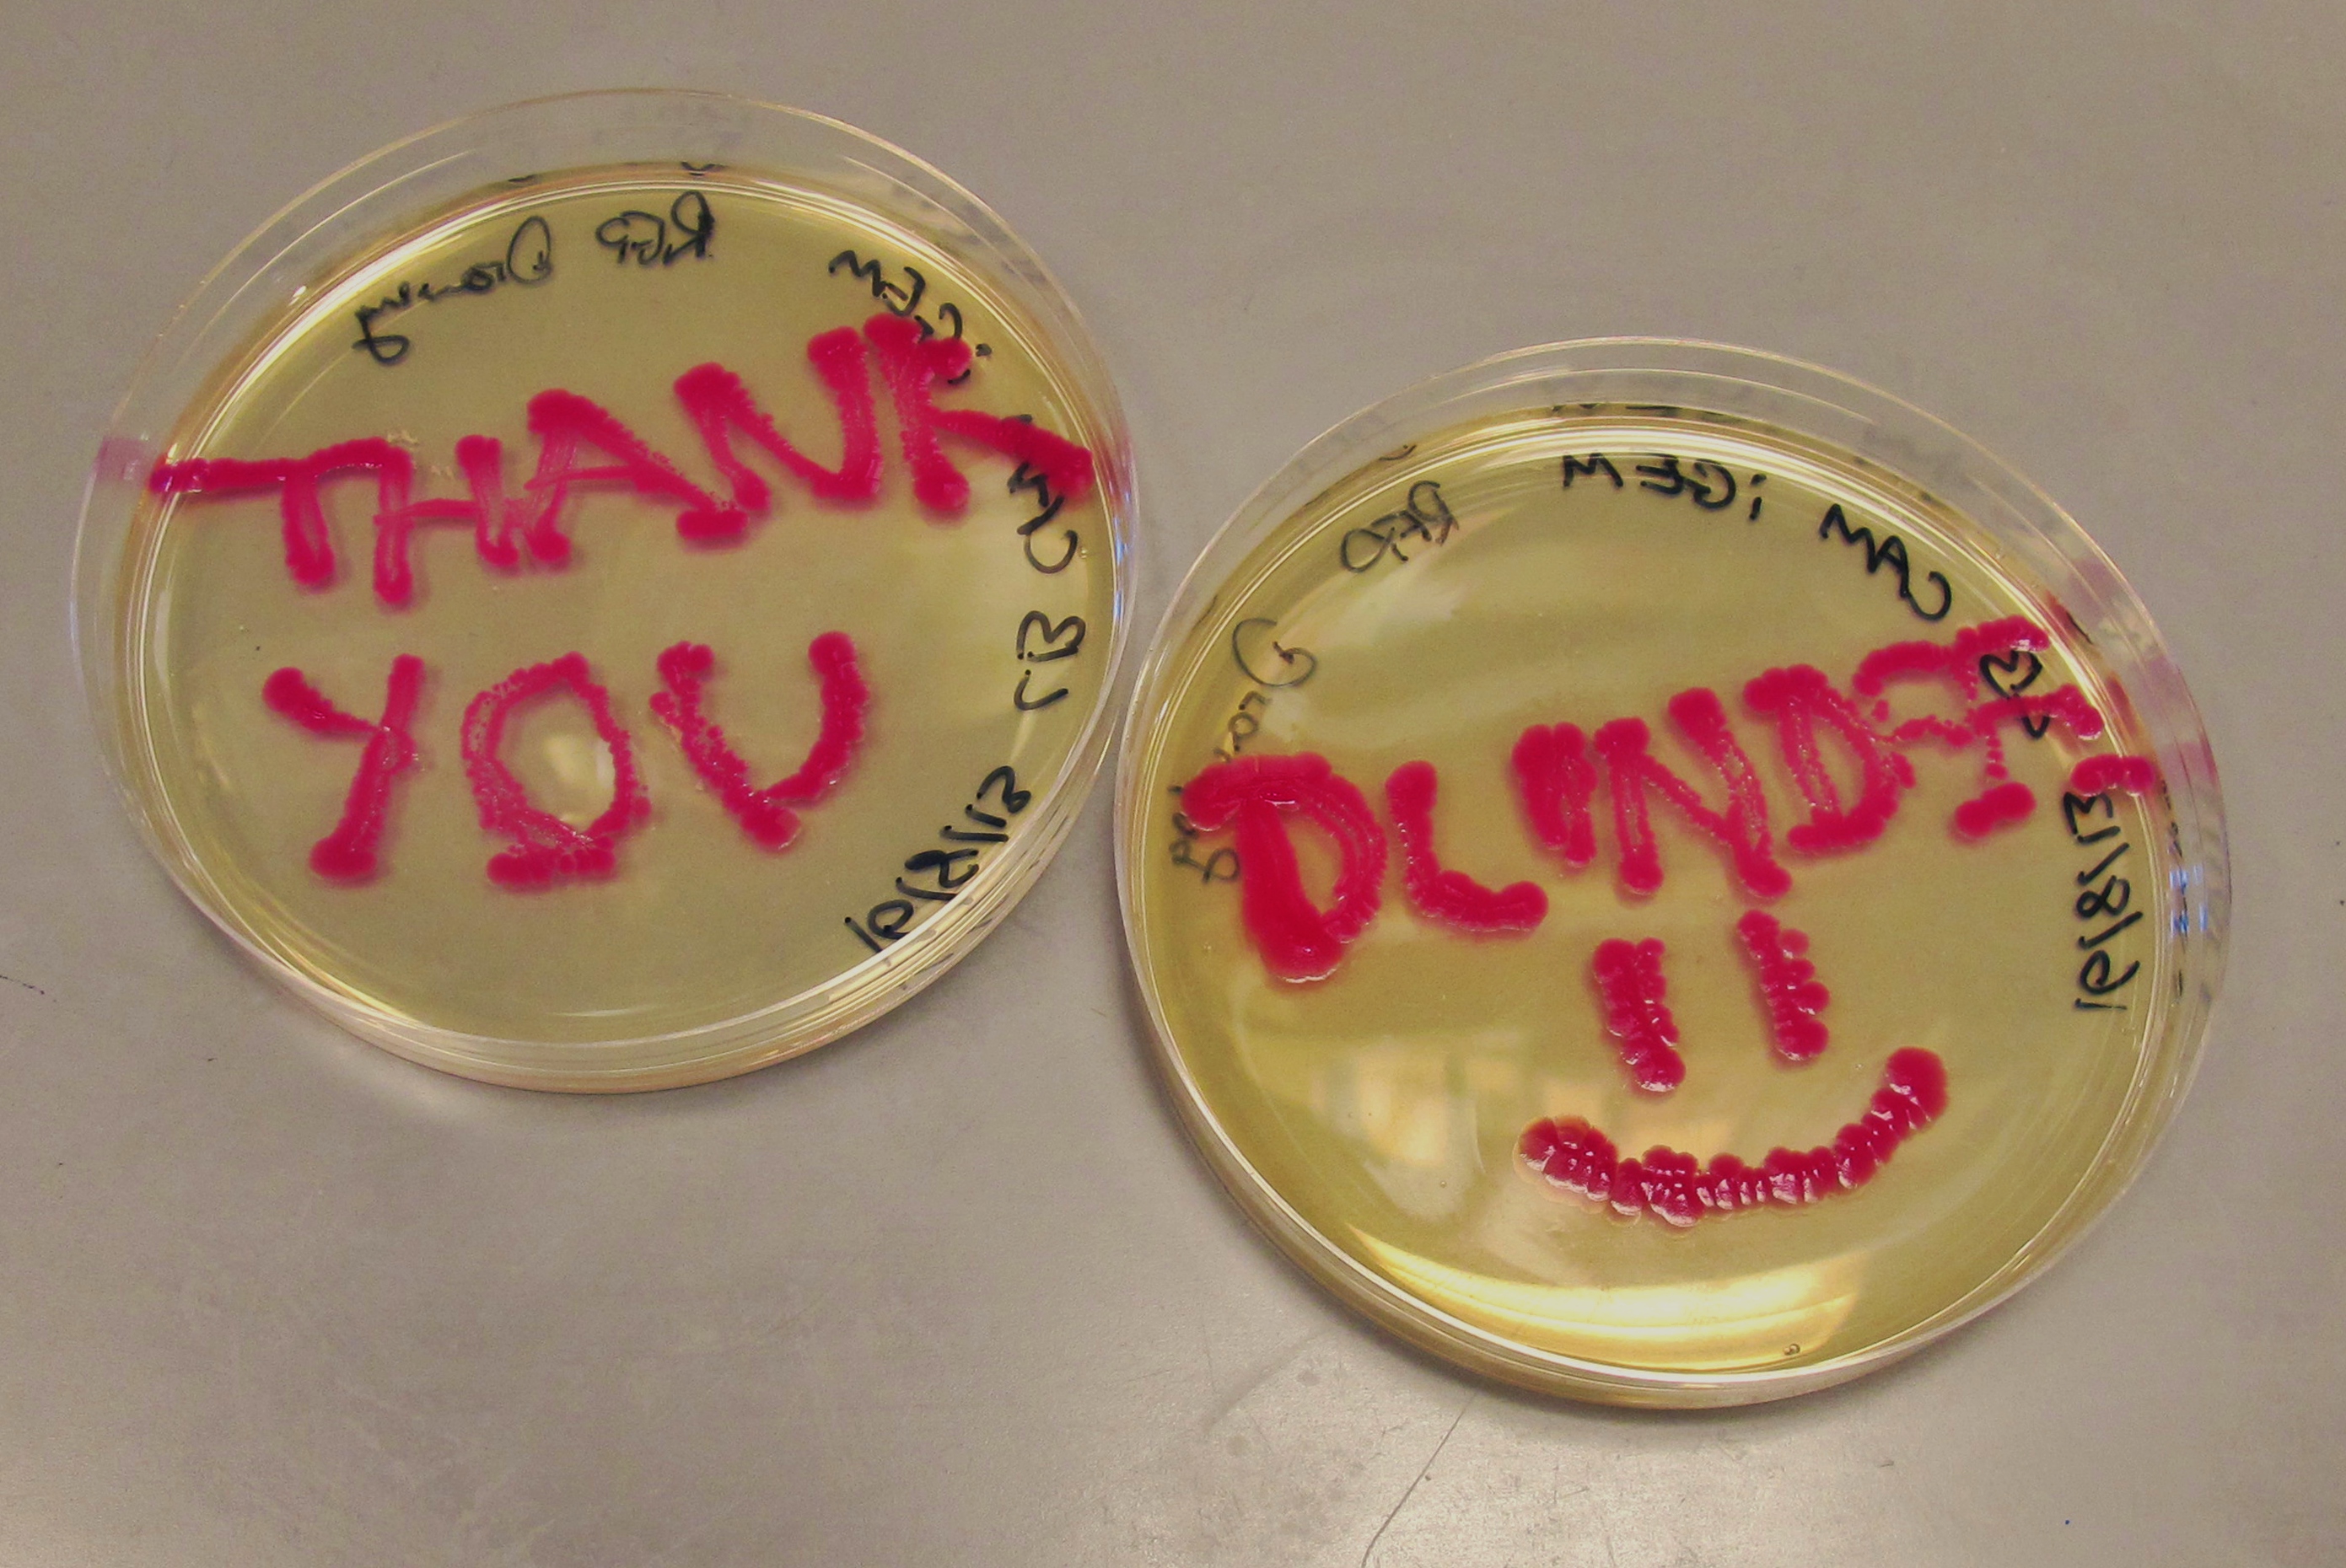
We have had marked success with our Green Light Module. Not only is the magenta pigment bright and evenly synthesised, but we have also managed to show magenta synthesis is inhibited by exposure to white light. We are currently working on showing that green light specifically switches off magenta production.
| our vibrant magenta pigment | clearly show magenta pigment | grown in dark vs. light |
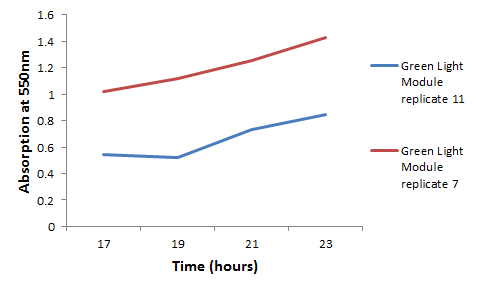
We chose some of the cultures that were showing the strongest colour development and remade liquid cultures of them. We then ran these through a [http://en.wikipedia.org/wiki/Ultraviolet%E2%80%93visible_spectroscopy UV-Vis Spectrophotometer] the next morning and across the day. Both cultures clearly showed an increase in absorption across the day; it is reasonably safe to assume that this is due to continued synthesis of magenta pigment.
Cyan pigment
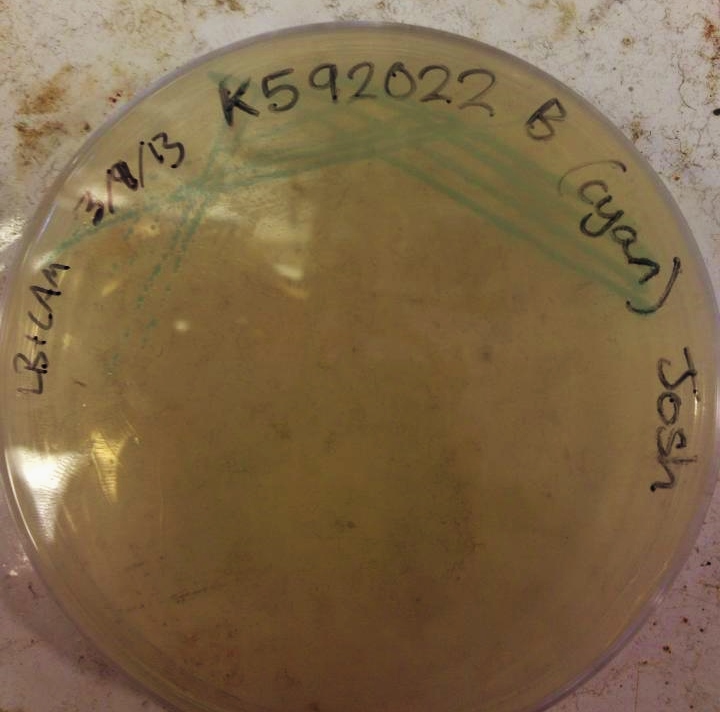
We managed to get our cyan pigment working in the labs after some difficulties with our digestions/ligations. The pigment takes a while to develop, over 24 hours compared to magenta's overnight development, but the colour is reasonably strong and is produced evenly by the cells. However, more time has been invested in the cyan pigment which is responsive to red light (see "Planned Post-Freeze Work").
Red Light Module output Brick with BglII and BamHI restriction sites
| assembly parts showing superfolder GFP |
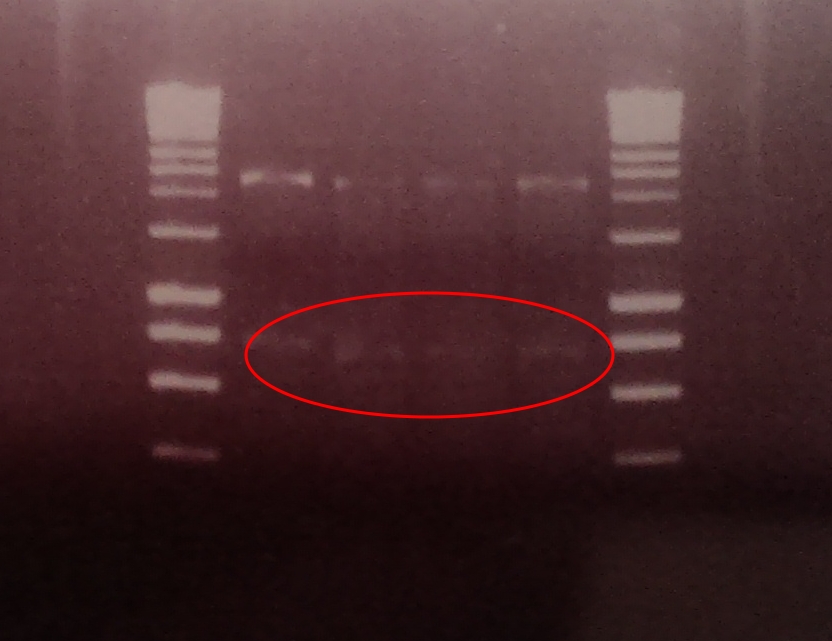
| output bricks showing band at around 950bp |
Our output brick for the Red Light Module includes the ompC promoter which is specific to the protein [http://en.wikipedia.org/wiki/Porin_response:_osmoregulation_in_E.coli OmpR]. This is followed by an RBS and a restriction site for BglII and the coding region for a [http://parts.igem.org/Part:BBa_E0040 GFP]. A second restriction site for BamHI follows, then a series of STOP codons to act as a terminator. The whole sequence is flanked by the iGEM prefix and suffix allowing the BioBrick to be used in 3A Assembly.
This BioBrick was built for us by IDT in their gBlock format. We designed the biobrick to contain a central GFP that is split between the two gBlocks, thus acting as a marker for a successful gibson assembly.
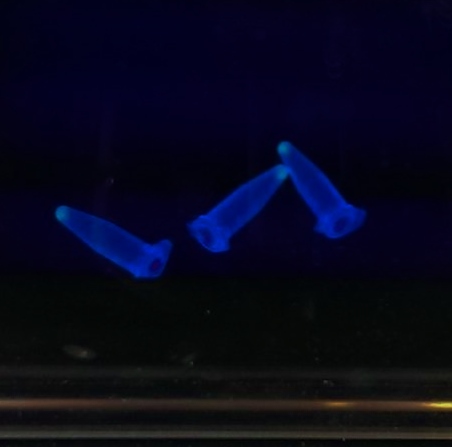
As the image shows, the two halves of GFP have been ligated together to form a complete, working protein in the successful Gibson assembly of our output bricks. GFP is constitutively expressed within DH5α cells as endogenous ENVZ phosporylates endogenous OmpR as a component of osmolarity sensing. Endogenous OmpR then binds to ompC. Thus our output brick is working as expected. In order to test whether the output brick can be implemented into the Red light pathway and ENVZ- strain should be used to avoid false positives.
A restriction digest was performed on 4 independent Gibson assembly products with BamHI and BglII to ascertain whether the restriction sites were implemented correctly into our brick. A gel electrophoresis of the digested parts showed two clear bands: plasmid DNA with ompC promoter and suffix at ~2300, and superfolder GFP coding sequence DNA at ~750. Both bands are in their expected position.
In order to insert a new part, we suggest following a standard primer based mutagenesis protocol to change the restriction sites to BamHI and BglII. Additionally when picking transformed colonies, screen for green fluorescence. These colonies' plasmids have ligated incorrectly. Colonies' plasmids that have no florescence should be miniprepped, digested and ran on a gel to check for the correct insert.
"Fixing" our images using pouring plastics
When working with modified organisms such as our colourful E. coli, you must always take into account that their exposure to the environment must be minimised. Once our bacterial photographs have "developed", we want to be able to preserve the image but prevent release of the bacteria into the environment. Considering that, once the image had been made, we can't reverse the process or use the bacteria to generate another picture, we can utilise techniques to fix the image with no concerns about keeping the E. coli alive.
Our initial idea was to insert a "kill-switch" into the bacteria to switch of the image development at a chosen moment, then seal the plates they were grown on to prevent any unwanted release. However, this seemed overly complicated considering that all we needed to do was kill the bacteria then seal them into a contained environment. We looked instead at trapping the cultures between layers of plastic.
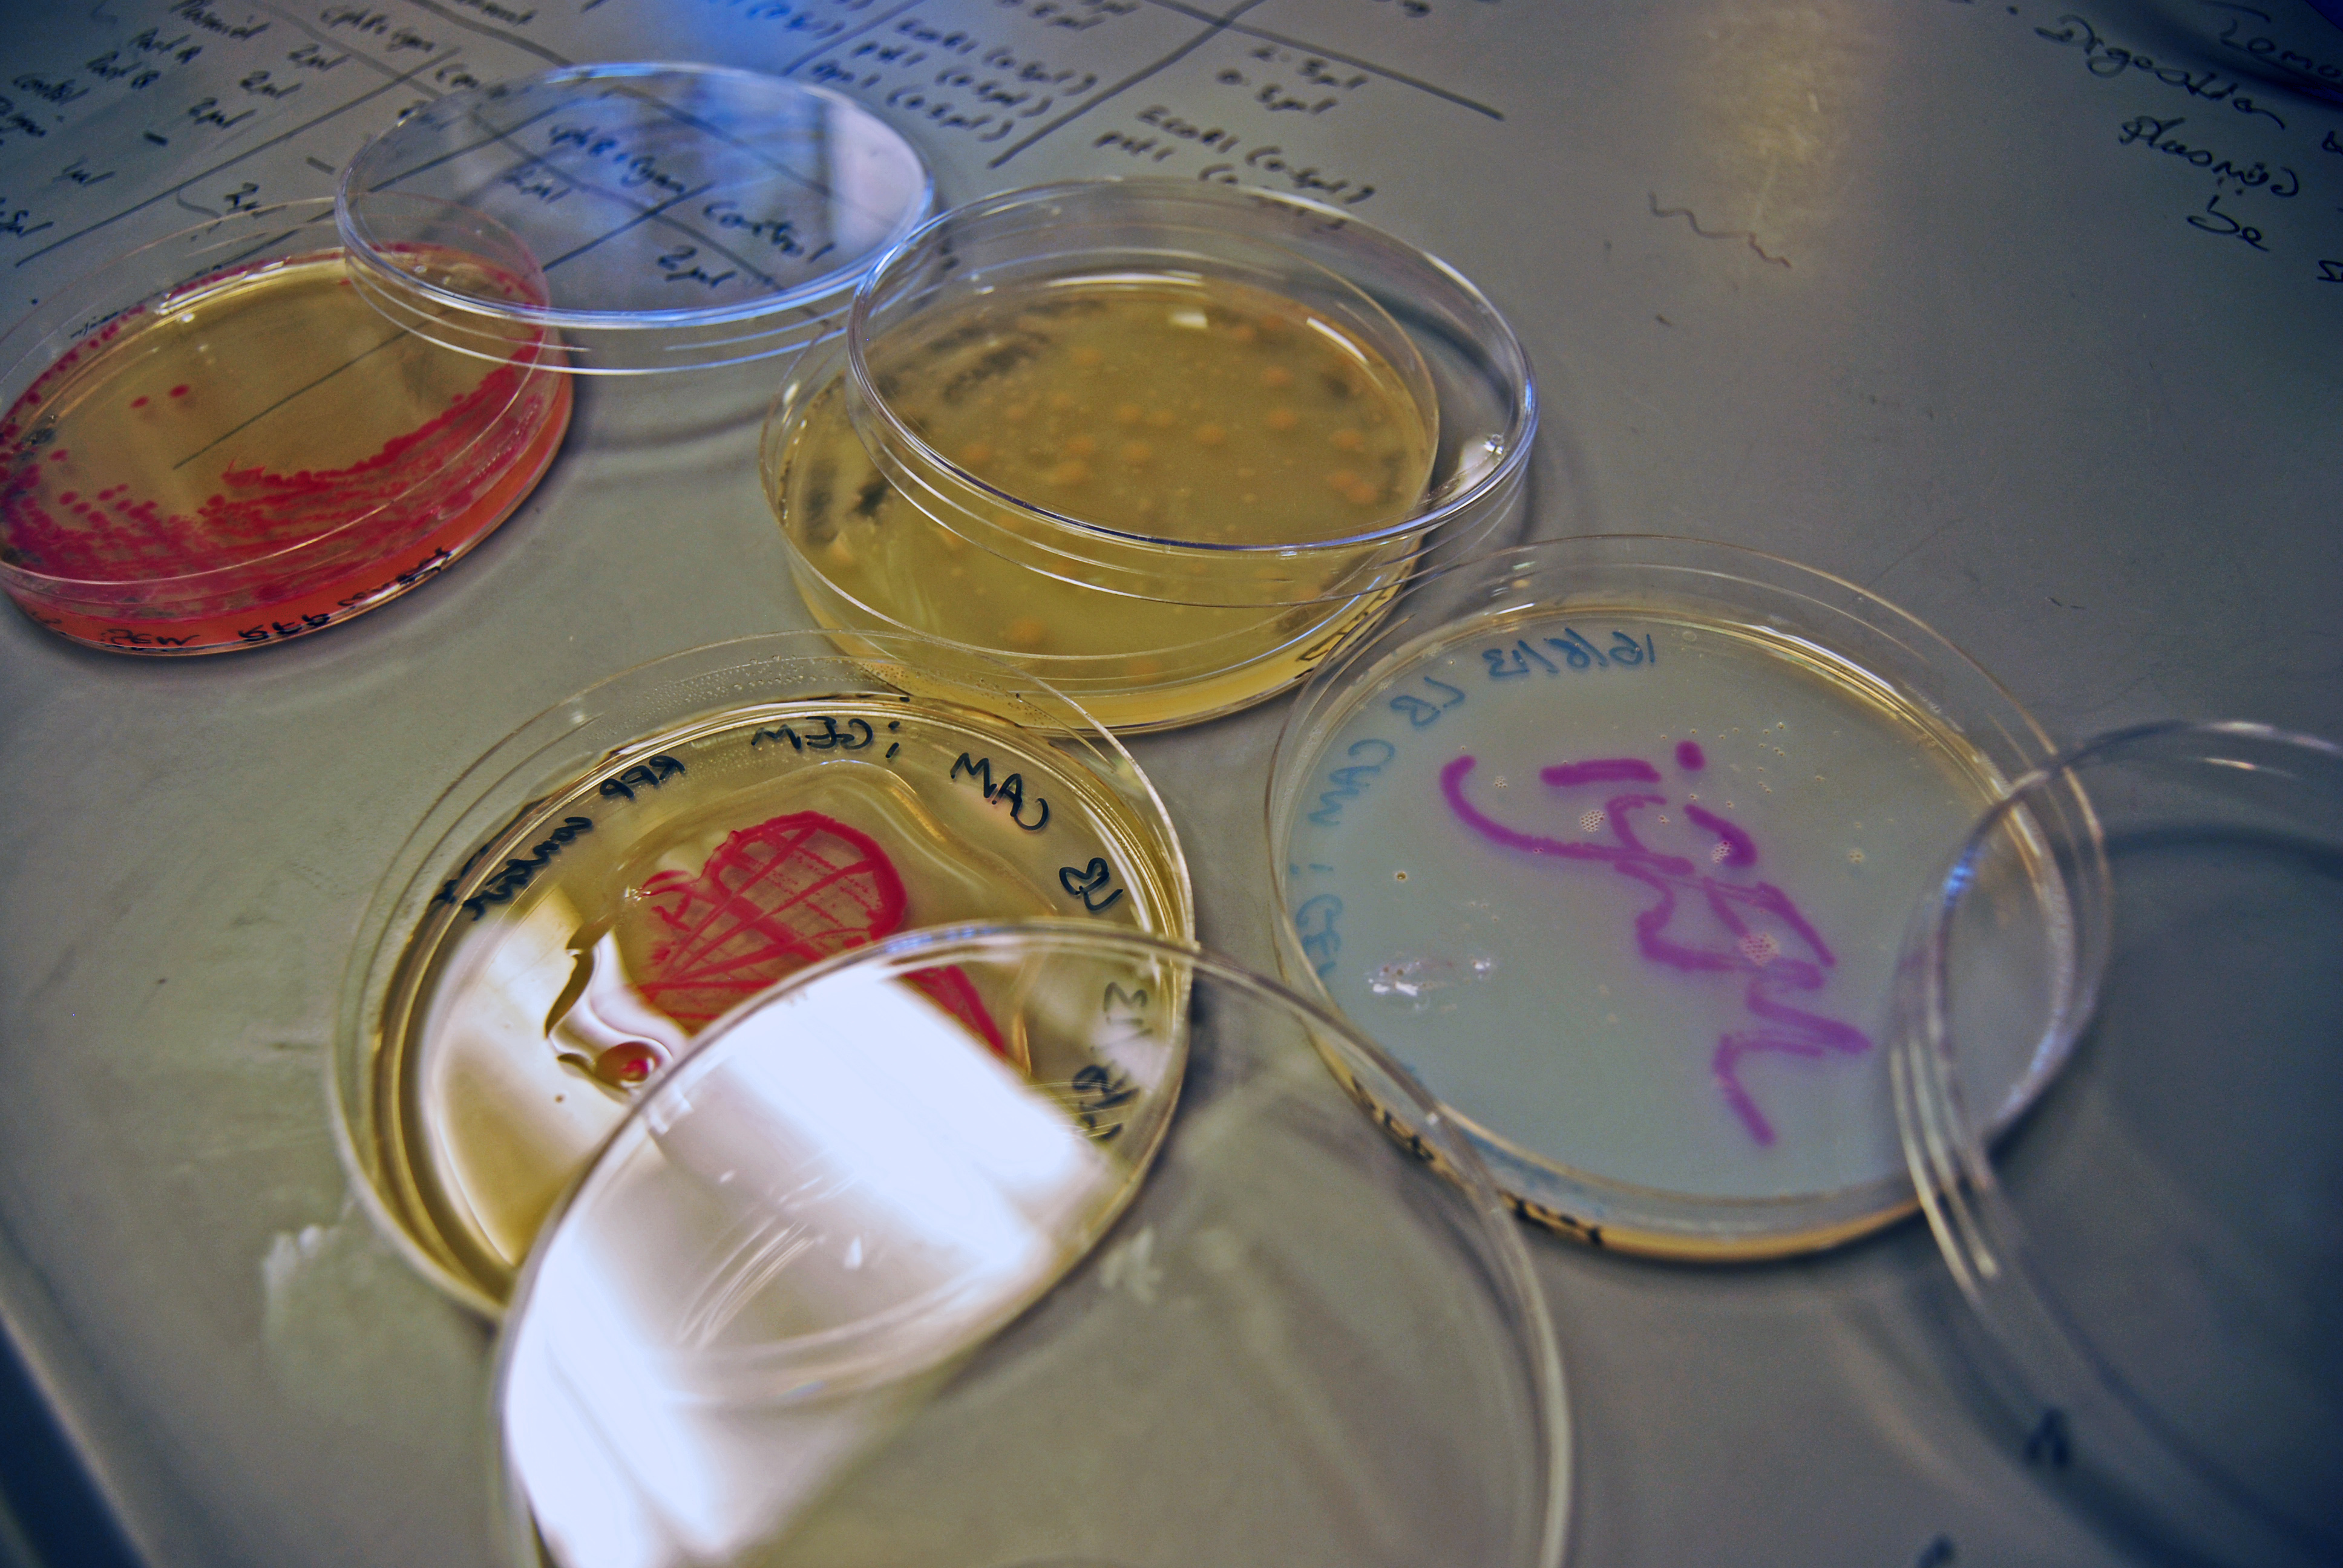
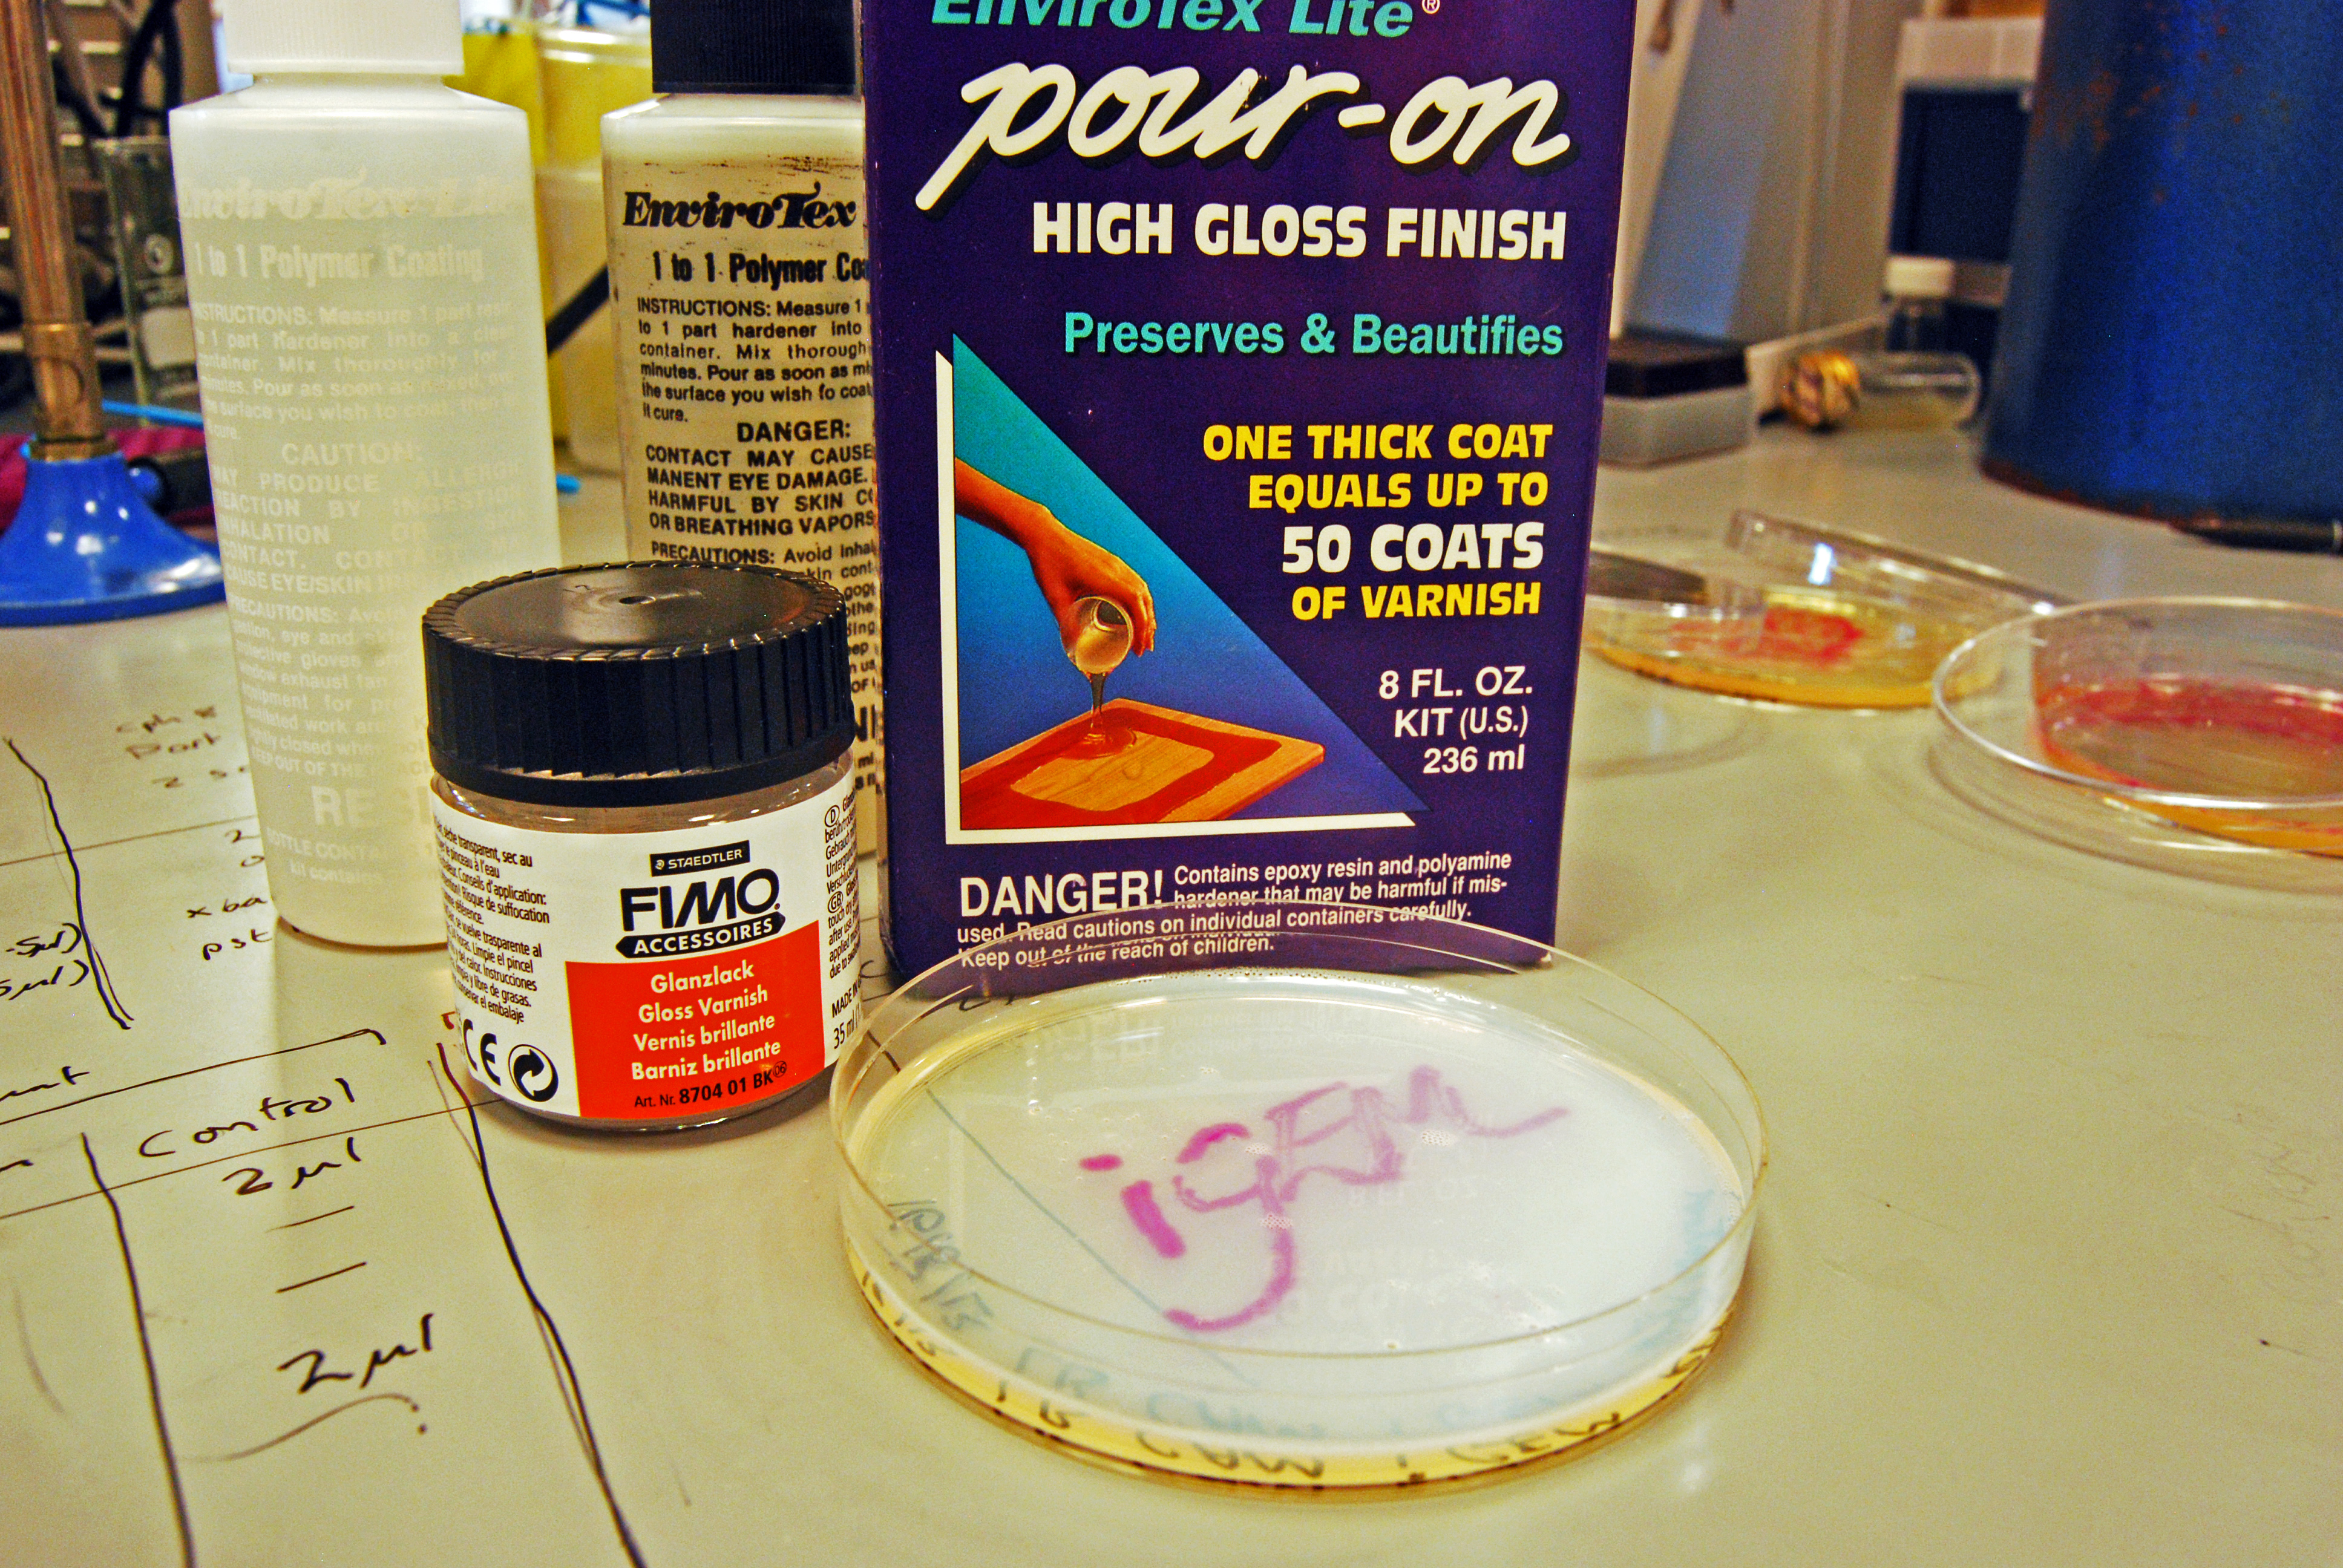
Our first test were using cultures of RFP, which exhibits a rich pink colour when grown overnight on LB agar plates overnight. We looked at using a clear, water based varnish (which is usually used for preserving craft works) and a thick, viscous epoxy resin.
The clear varnish was not particularly successful. It seems like the reasonably high water content of the agar plates prevented the varnish from setting, and instead of being clear, the varnish was cloudy and difficult to see through (see images).
The epoxy resin was initially far more successful. It formed a thick, clear protective layer over the cultures; when it was set, we were even able to peel the plastic off the plates. However, the resin appeared to react very aggressively with the bacteria. The colours leaked into the agar, and the colonies did not stay intact when we peeled off the plastic.
However, after we spoke to the members of the Exeter Camera Club (see our Outreach page) they offered some alternative techniques. We were recommended to try [http://en.wikipedia.org/wiki/Gum_arabic gum arabic], which is a natural gum derived from tree sap. It has been used extensively in [http://en.wikipedia.org/wiki/Lithography lithography], certain forms of historical [http://en.wikipedia.org/wiki/Gum_printing photography], watercolours and even the food industry. As it is a natural gum of polysaccharides and glycoproteins, it should react less aggressively than the epoxy resin but still form a protective layer. However, gum arabic is water-soluble, which may be an issue with the LB agar, which contains a high water percentage. Unfortunately, as we only spoke to the Camera Club the day before the Wiki-freeze, we will be unable to upload any results from experimenting with gum arabic to our site, but hopefully we will have some pictures to bring to Lyon.
Planned "Post-Freeze" Work
Blue Light Module
Our Blue Light Module, which is being built by DNA2.0, will unfortunately not arrive in the labs until after the Wiki-freeze. However, we will be bringing plenty of pictures of it working (hopefully!) to the Jamboree. Considering it has been constructed in a very similar manner to the Green Light Module, which is functioning in the lab, we are reasonably hopefully that we can have the Blue Light Module functioning in the lab soon after its arrival.
Red Light Module
We have successfully attached the OmpR specific promoter ompC to the cyan pigment coding region, and are now working on transforming the plasmid into EnvZ deficient cells (kindly provided to us by the Dundee iGEM 2013 Team).
This is due to OmpR and ompC being naturally present in most E. coli competent cells as part of this osmoregulation. EnvZ is the transmembrane protein which phosphorylates OmpR (to become OmpR-P) when osmolarity in the cell changes; its phosphorylation triggers the production of outer membrane porins. In our project, we only want OmpR to be phosphorylated when the cells are exposed to green or blue light, and for phosphorylation to halt when exposed to red light. Obviously, if OmpR-P is being formed outside of these rules, we will be getting pigment production (or lack thereof) when we have not allowed it, which will ruin the images we are trying to develop. Hence, we will express the Red Light Module in EnvZ deficient cells. The plasmid for the Red Light Module contains coding for EnvZ, but also for the second half of the transmembrane protein which allows our system to be light responsive; Cph1. EnvZ and Cph1 work together to form Cph8.
We came across multiple issues with the assembly of this pathway. These include: misunderstanding a part description causing cells to output the wrong colour pigment, 2012 kit plate Cph8 not being Cph8, transformation issues with home made competent cells and ligation inefficiencies brought about by attempting to ligate very small parts like [http://parts.igem.org/Part:BBa_B0034?title=Part:BBa_B0034 BBa_B0034] to longer sequences.
Our work on the red light pathway uncovered that the coding sequence for [http://parts.igem.org/Part:BBa_K322124 BBa_K322124] when taken from the 2012 kit plates is not as stated on the registry. This part should have been an RBS and the coding region for Cph8, however sequencing revealed that it is actually the coding sequence for a human oestrogen receptor.
Judging criteria
Bronze
Template:Tick mark Team registration.
U+2714 Complete Judging form.
- Team Wiki.
- Present a poster and a talk at the iGEM Jamboree.
- Document at least one new standard BioBrick Part or Device used in your project/central to your project and submit this part to the iGEM Registry (submissions must adhere to the iGEM Registry guidelines). A new application of and outstanding documentation (quantitative data showing the Part’s/ Device’s function) of a previously existing BioBrick part in the “Experience” section of that BioBrick’s Registry entry also counts. Please note you must submit this new part to the iGEM Parts Registry
Silver
In addition to the Bronze Medal requirements, the following 4 goals must be achieved:
- Experimentally validate that at least one new BioBrick Part or Device of your own design and construction works as expected.
- Document the characterization of this part in the “Main Page” section of that Part’s/Device’s Registry entry.
- Submit this new part to the iGEM Parts Registry (submissions must adhere to the iGEM Registry guidelines).
- Your project may have implications for the environment, security, safety and ethics and/or ownership and sharing. Describe one or more ways in which these or other broader implications have been taken into consideration in the design and execution of your project.
Gold
In addition to the Bronze and Silver Medal requirements, any one or more of the following:
- Improve the function of an existing BioBrick Part or Device (created by another team or your own institution in a previous year), enter this information in the Registry (in the “Experience” section of that BioBrick’s Registry entry), create a new registry page for the improved part, and submit this part to the iGEM Parts Registry (submissions must adhere to the iGEM Registry guidelines). The growth of the Registry depends on having a broad base of reliable parts. This is why the improvement of an existing part is just as important as the creation and documentation of a new part. An "improvement" is anything that improves the functionality and ease-of-use of a part, so that it is more likely to be used by the community. For instance: strengthening the expression of a part by mutating the DNA sequence; modifying one or a few parts in construct (Device) so that it performs its intended job better; improving a cloning or expression vector that can be easily used by the entire community; and of course, troubleshooting and fixing a part reported to be non-functional. Data from an experimental comparison between the original and improved part/ device is strongly recommended.
- Help any registered iGEM team from another school or institution by, for example, characterizing a part, debugging a construct, or modeling or simulating their system.
- Your project may have implications for the environment, security, safety and ethics and/or ownership and sharing. Describe a novel approach that your team has used to help you and others consider these aspects of the design and outcomes of synthetic biology efforts. Please justify its novelty and how this approach might be adapted and scaled for others to use.
 "
"


