|
- Small Phage
- March-April
- May-June
- July-August
- September-October
|
9.13 Mutagen Concentration Test - Ninth Protocol
I) Purpose
- To mutate T7 phage for different capsid sizes.
II) Expected Outcome
- A decrease in phage viability with increasing mutagen concentration.
- A few random mutations that produce smaller and larger phage that can be isolated.
III) Reagents Used
- 5-bromodeoxyuridine stock in freezer labeled T7 (10mg/mL)
- Uracil solution (2.5mg/mL)
- Adenine solution (5mg/mL)
IV) Procedure
1) Overnight (The day before) (9.13)
- Add 5mL of LB into a test tube and add 1 colony of E. Coli B into the tube using a wooden stick.
2) Applying the mutagen (9.14)
- Label 4 test tubes C, 0, 500, 1000. Add 9.8mL of LB and 40ul of adenine solution into each test tube. Then add 200ul of E coli B overnight into each test tube. Incubate on the shaker at 37 Celsius.
- Remove all the test tubes off the shaker after 2 hours. Add 40ul of adenine and 80ul of uracil to each test tube. Also add the corresponding amount in ul of 5-bromodeoxyuridine, a mutagen, to each test tube. (Ex: Add 500ul of mutagen to tube labeled 500). Don't add mutagen to C.
- Place all the tubes on the shaker at 37 Celsius.
- After 20 minutes, take only the tube labeled C from the shaker. Take 1mL from this tube and pipette it into a cuvette labeled C. Using 1mL of LB in a cuvette, blank the spectrophotometer at 600 OD. Then measure the absorbance of the cuvette labeled C. (In the actual procedure, 2 readings were done on the tube labeled C to check for consistency.
- Remove the other three tubes after 30 minutes of incubation and add 900uL of T7 phage from the 8.24 stock to each tube, except C. From this point on, tube C is irrelevant and can be discarded. (There should be a 1:10 phage to bacteria concentration. The calculations are as follows: The spectrophotometer reading was 0.315, which indicates there are 1.58E8 bacteria/ml. Because there are 10ml in each tube, there is roughly 1.585E9 bacteria per tube. This means that we need 1.58E8 phage added to each tube. Because the 8.24 stock is concentrated at 1.5E8 phage/ml [3E6 phage/20ul], 1053uL of phage stock will provide 1.58E8 phage. Only 900uL of phage stock was added to account for estimation error.)
- Incubate all the tubes on the shaker at 37 Celsius for 80 minutes.
- Remove all the tubes and add 1mL of chloroform to each. Gently shake each tube and centrifuge it at 4000rpm for 10 minutes at 7 Celsius. Remove the supernatant from each tube with a pipette and place it in a new tube with the same label. Be careful not to get the chloroform or bacteria when you remove the supernatant.
- Store the supernatants at 4 Celsius.
3) Cesium Chloride Gradients (9.16)
- The phage purification team ran 3 cesium chloride gradients:
- - Wild type
- - One that selects for small phage
- - One that selects for large phage
4) Spot Test of Gradient Samples (9.18)
- The small phage and large phage gradients were divided into 15 2ml eppendorf tubes each.
- We created a -1, -2, and -4 dilution series for each tube.
- We then spotted 5uL from each tube onto plates that had 1x top agar.
5) Plating to Check for Plaque Size (9.20)
- Create a -2, -4, -5 dilution series for 9 tubes (Small 10-15 and Large 2-4). For the Large 5 tube, make a -2 and -3 dilution series.
- Place 0.5mL of E. coli B into 20 test tubes. Add 20uL of phage from the -4 and -5 tubes of each dilution series (-2 and -3 for Large 5 series) and allow them to incubate for 10-20 minutes.
- Add 5mL of x2 top agar to each test tube and plate the solution on top of LB plates.
- Incubate at 37 Celsius for 24 hours.
6) Plating to Check for Plaque Size 2 (9.23)
- We redid the plating from step 5, but this time added a -3 dilution for some tubes (Small 11-13 and Large 3) because no plaques had formed at -4 for them. We also used x4 agar while plating.
7) Checking for Plaque Viability from Step 5 (9.23)
- We selected 4 plaques (looked bigger than normal) from the small phage plates and 6 plaques from the large phage plates (looked smaller than normal) from the plates in step 5.
- We picked each plaque with a pipet tip and placed them each in eppendorf tubes with 100mL of LB.
- We created a -1 and -2 dilution series for each plaque.
- We then put 0.5mL of E. coli B into 18 test tubes and infected each tube with 20uL of phage from the -1 and -2 dilution series tubes for about 10 minutes.
- We then added 6mL of x4 top agar to each tube and plated it.
- Allowed them to incubate for 19 hours at 37 Celsius.
8) Checking for Plaque Viability 2 (9.25)
- From the plates made in step 6, we selected more large and small plaques. We followed the same procedure as step 7 in the selection process, except we only made a -2 dilution. In total, we had 21 plaques that looked really large and 10 plaques that looked really small.
V) Results
2) Applying the mutagen
- The OD reading was 0.435A, which indicates there are 2.175E8 bacteria/ml. Because there are 10ml in each tube, there is roughly 2.175E9 bacteria per tube.
3) Cesium Chloride Gradients
- The cesium chloride gradient didn't have a visible band. Therefore, we will rely on spot tests of the gradient to determine where the phage are located.
4) Spot Test of Gradient Samples
- For the 2nd gradient, which selects for small phage, 11 tubes went to -4, while tubes 4, 6, 7, 8, 9 only went to -2. This tells us that our mutant phage are probably in tubes 2-5.
- For the 3rd gradient, which selects for large phage, 12 tubes went to -4, while tubes 5, 6, and 7 only went to -2. This tells us that our mutant phage are probably in tubes 10-15.
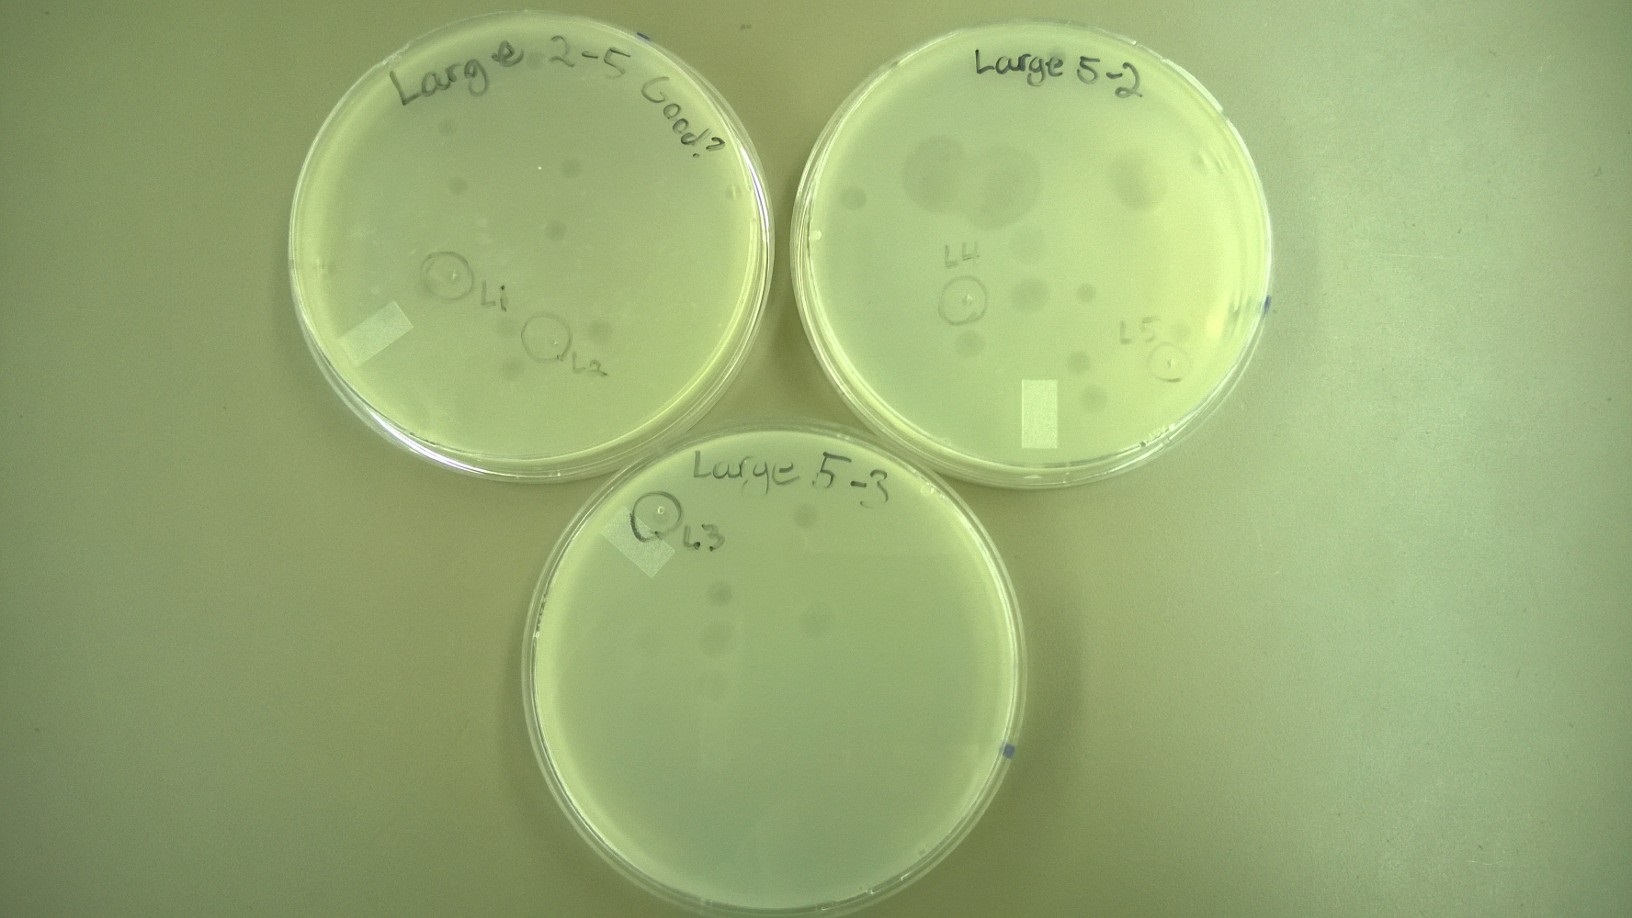
5) Plating to Check for Plaque Size
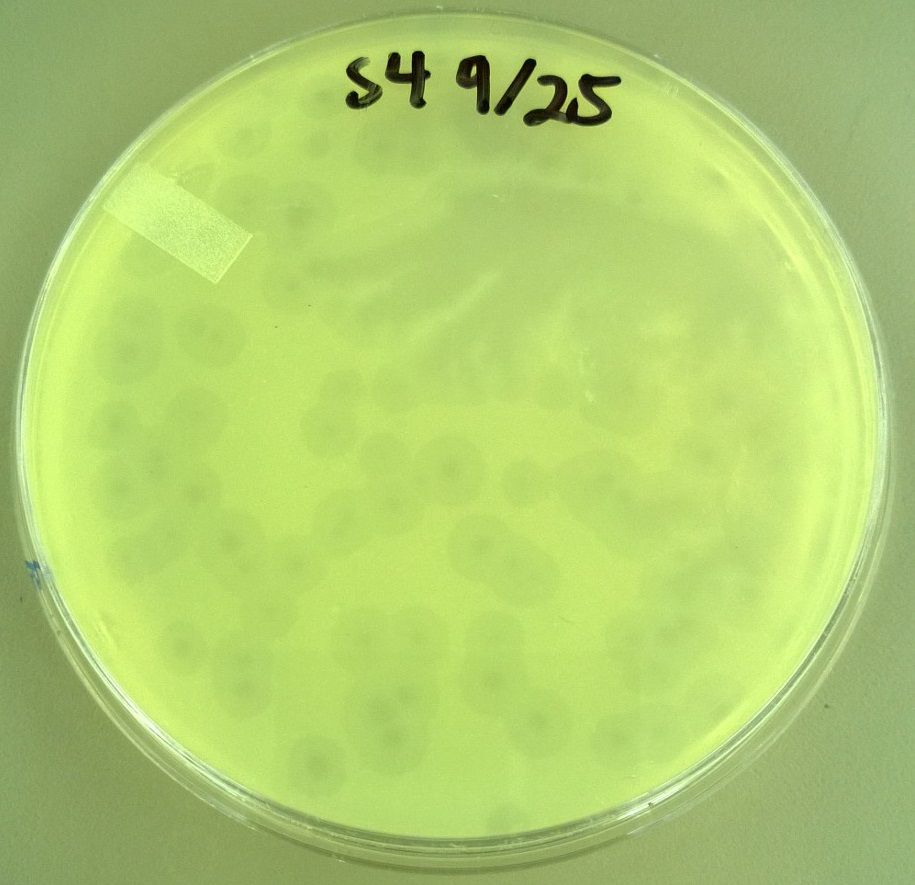
- These are the plates that we selected plaques from:
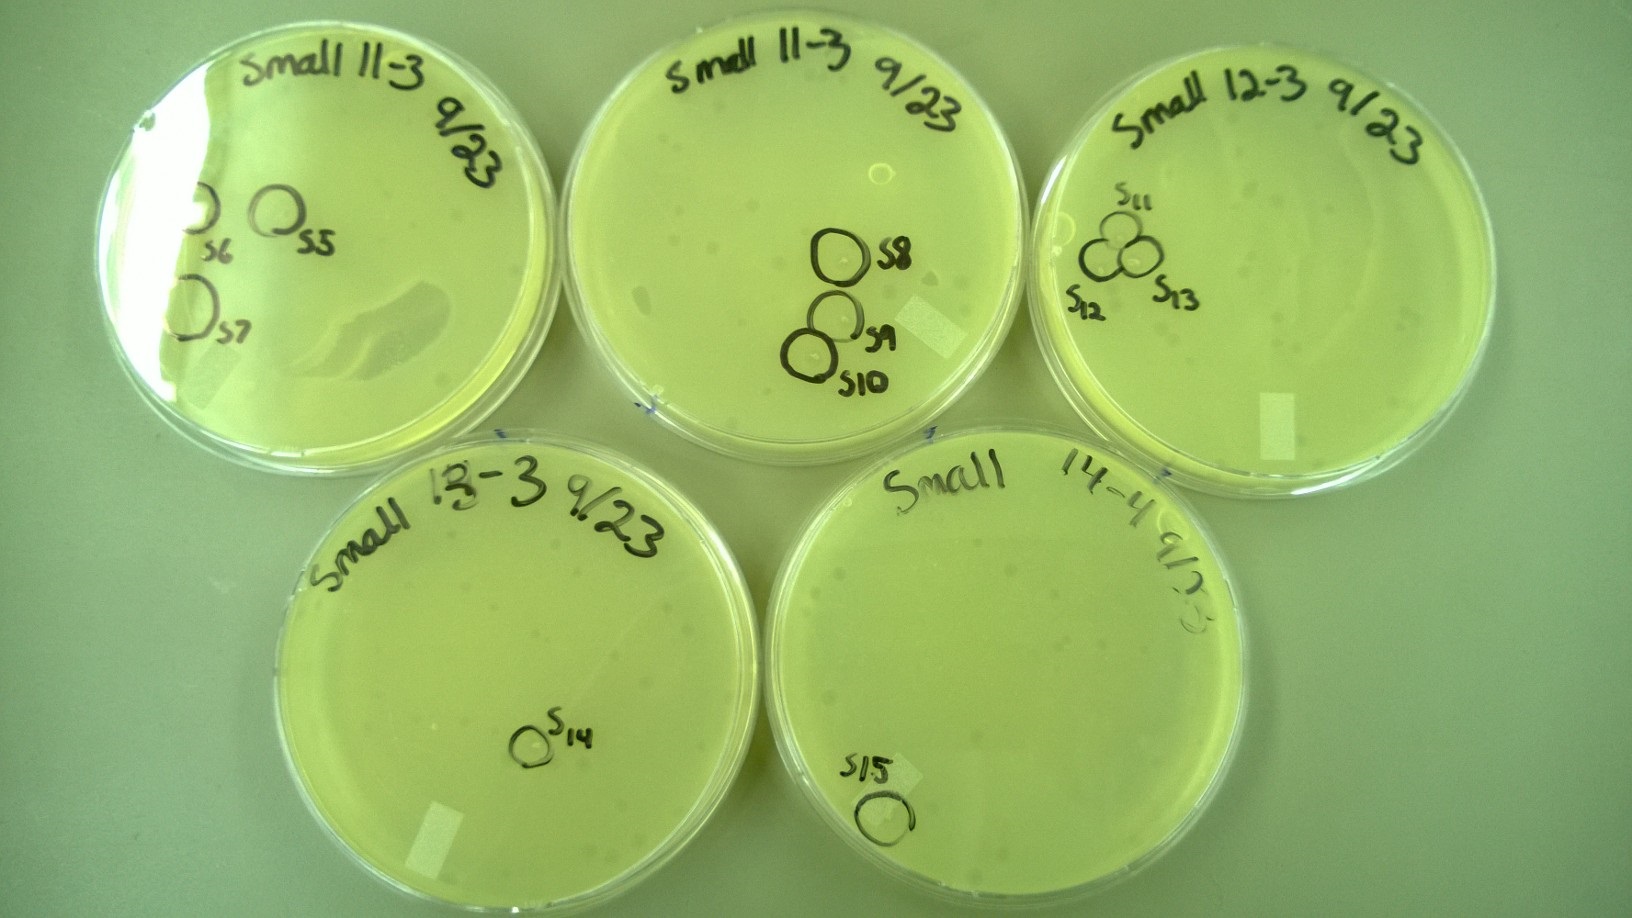
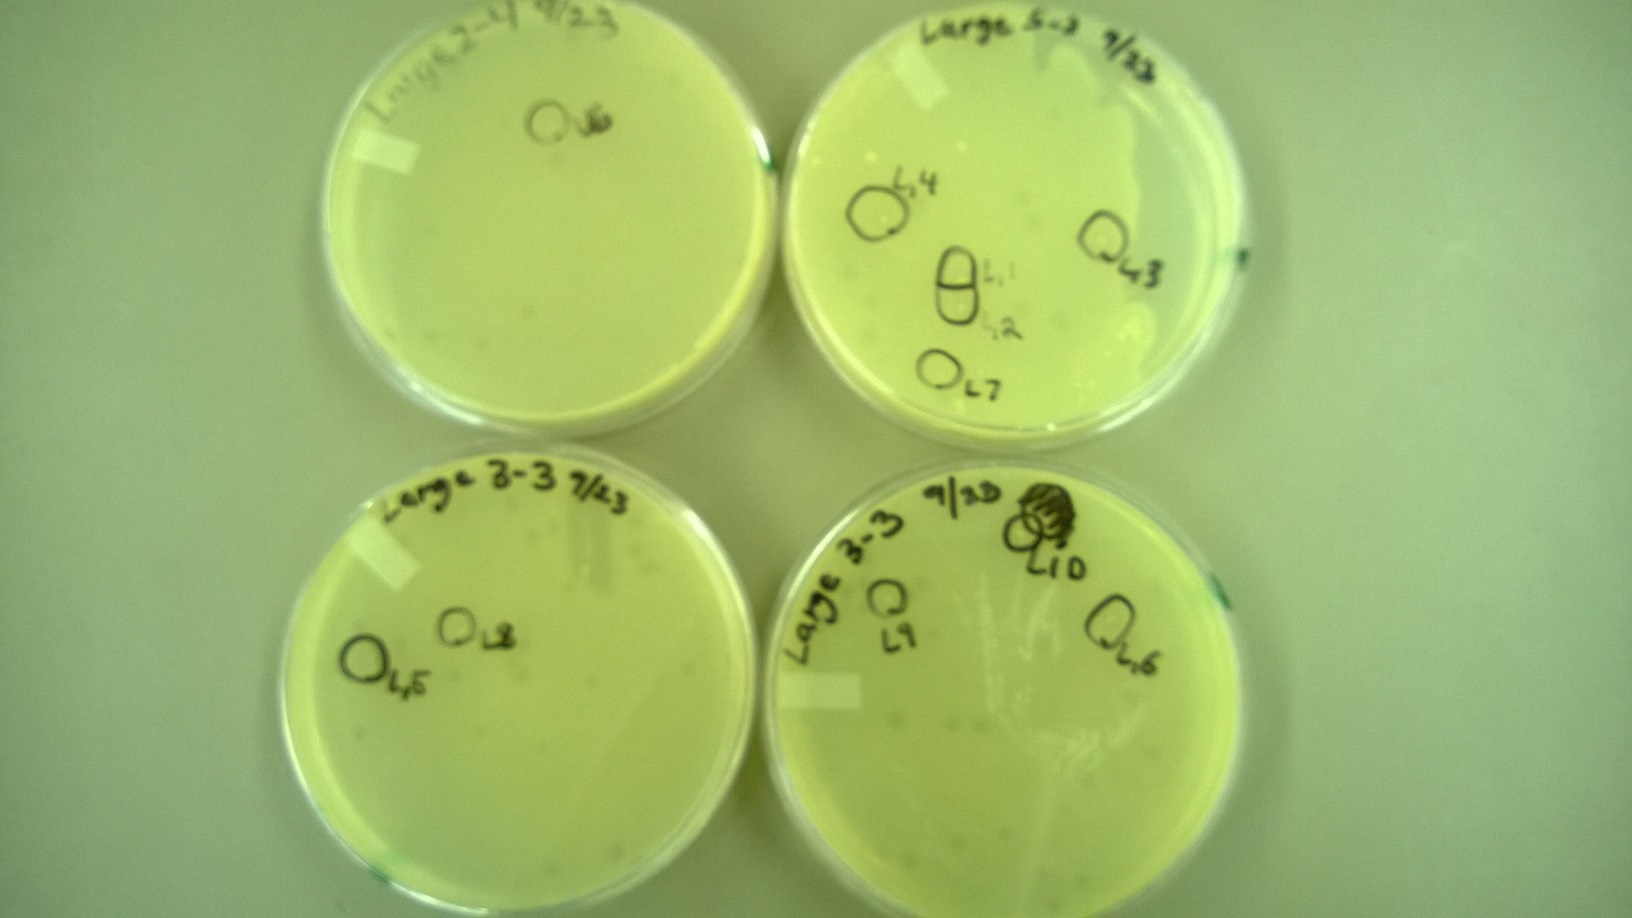
6) Plating to Check for Plaque Size 2
- These are the plates that we selected plaques from:
7) Checking for Plaque Viability from Step 5
- We couldn't tell if plaque size was held constant from the plaques we picked because we had used different types of plates and different concentrations of top agar.
8) Checking for Plaque Viability 2
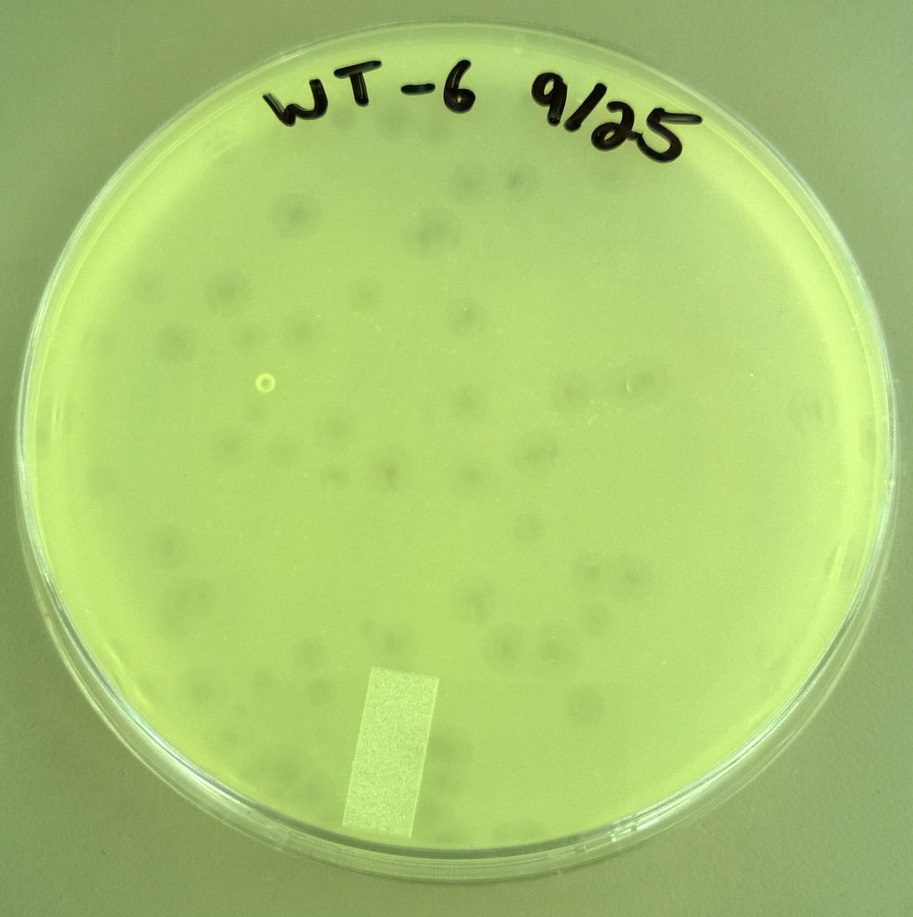
- One small phage plate had considerably larger plaques than wild type phage. Another large phage plate had much smaller plaques than the wild type phage. The plaques were also about the same size as the plaques the phages were picked from, showing that the phage maintained their phenotype of forming large plaques.
- T7 Wild type: Average plaque diameter of 0.388cm +/- 0.0997cm
- T7 Small phage: Average plaque diameter of 0.592cm +/- 0.0735cm
- T7 Large phage: Average plaque diameter of 0.264cm +/- 0.0867cm.
- There were also many plates that seemed like they could have mutant phage, but we have to run further experiments to confirm them.
VI) Conclusion
From the average plaque diameters in step 8, we conclude that we have found a smaller phage and a larger phage! The small phage made larger plaques, while the large phage made smaller plaques. The standard deviation is relatively high, but that is most likely due to the already high variability of plaque sizes. Our next steps will be to take a picture of the small and large T7 phage using an electron microscope and sequence their genomes.
|
 "
"


