Team:Newcastle/Notebook/calendar
From 2013.igem.org

June
| Sun | Mon | Tue | Wed | Thu | Fri | Sat |
|---|---|---|---|---|---|---|
|
|
|
|
|
|
|
1
|
|
2
|
3
|
4
|
5
|
6
|
7
|
8
|
|
9
|
10
|
11
|
12
|
13
|
14
|
15
|
|
16
|
17
|
18
|
19
|
20
|
21
|
22
|
|
23
|
24
|
25
|
26
|
27
|
28
|
29
|
|
30
|
|
|
|
|
|
|
July
| Sun | Mon | Tue | Wed | Thu | Fri | Sat |
|---|---|---|---|---|---|---|
|
|
1
|
2
|
3
|
4
|
5
|
6
|
|
7
|
8
|
9
|
10
|
11
|
12
|
13
|
|
14
|
15
|
16
|
17
|
18
|
19
|
20
|
|
21
|
22
|
23
|
24
|
25
|
26
|
27
|
|
28
|
29
|
30
|
31
|
|
|
|
August
| Sun | Mon | Tue | Wed | Thu | Fri | Sat |
|---|---|---|---|---|---|---|
|
|
|
|
|
1
|
2
|
3
|
|
4
|
5
|
6
|
7
|
8
|
9
|
10
|
|
11
|
12
|
13
|
14
|
15
|
16
|
17
|
|
18
|
19
|
20
|
21
|
22
|
23
|
24
|
|
25
|
26
|
27
|
28
|
29
|
30
|
31
|
September
| Sun | Mon | Tue | Wed | Thu | Fri | Sat |
|---|---|---|---|---|---|---|
|
1
|
2
|
3
|
4
|
5
|
6
|
7
|
|
8
|
9
|
10
|
11
|
12
|
13
|
14
|
|
15
|
16
|
17
|
18
|
19
|
20
|
21
|
|
22
|
23
|
24
|
25
|
26
|
27
|
28
|
|
29
|
30
|
|
|
|
|
|
Contents |
6
10
Titles
- Training
- Wiki
Details
Training
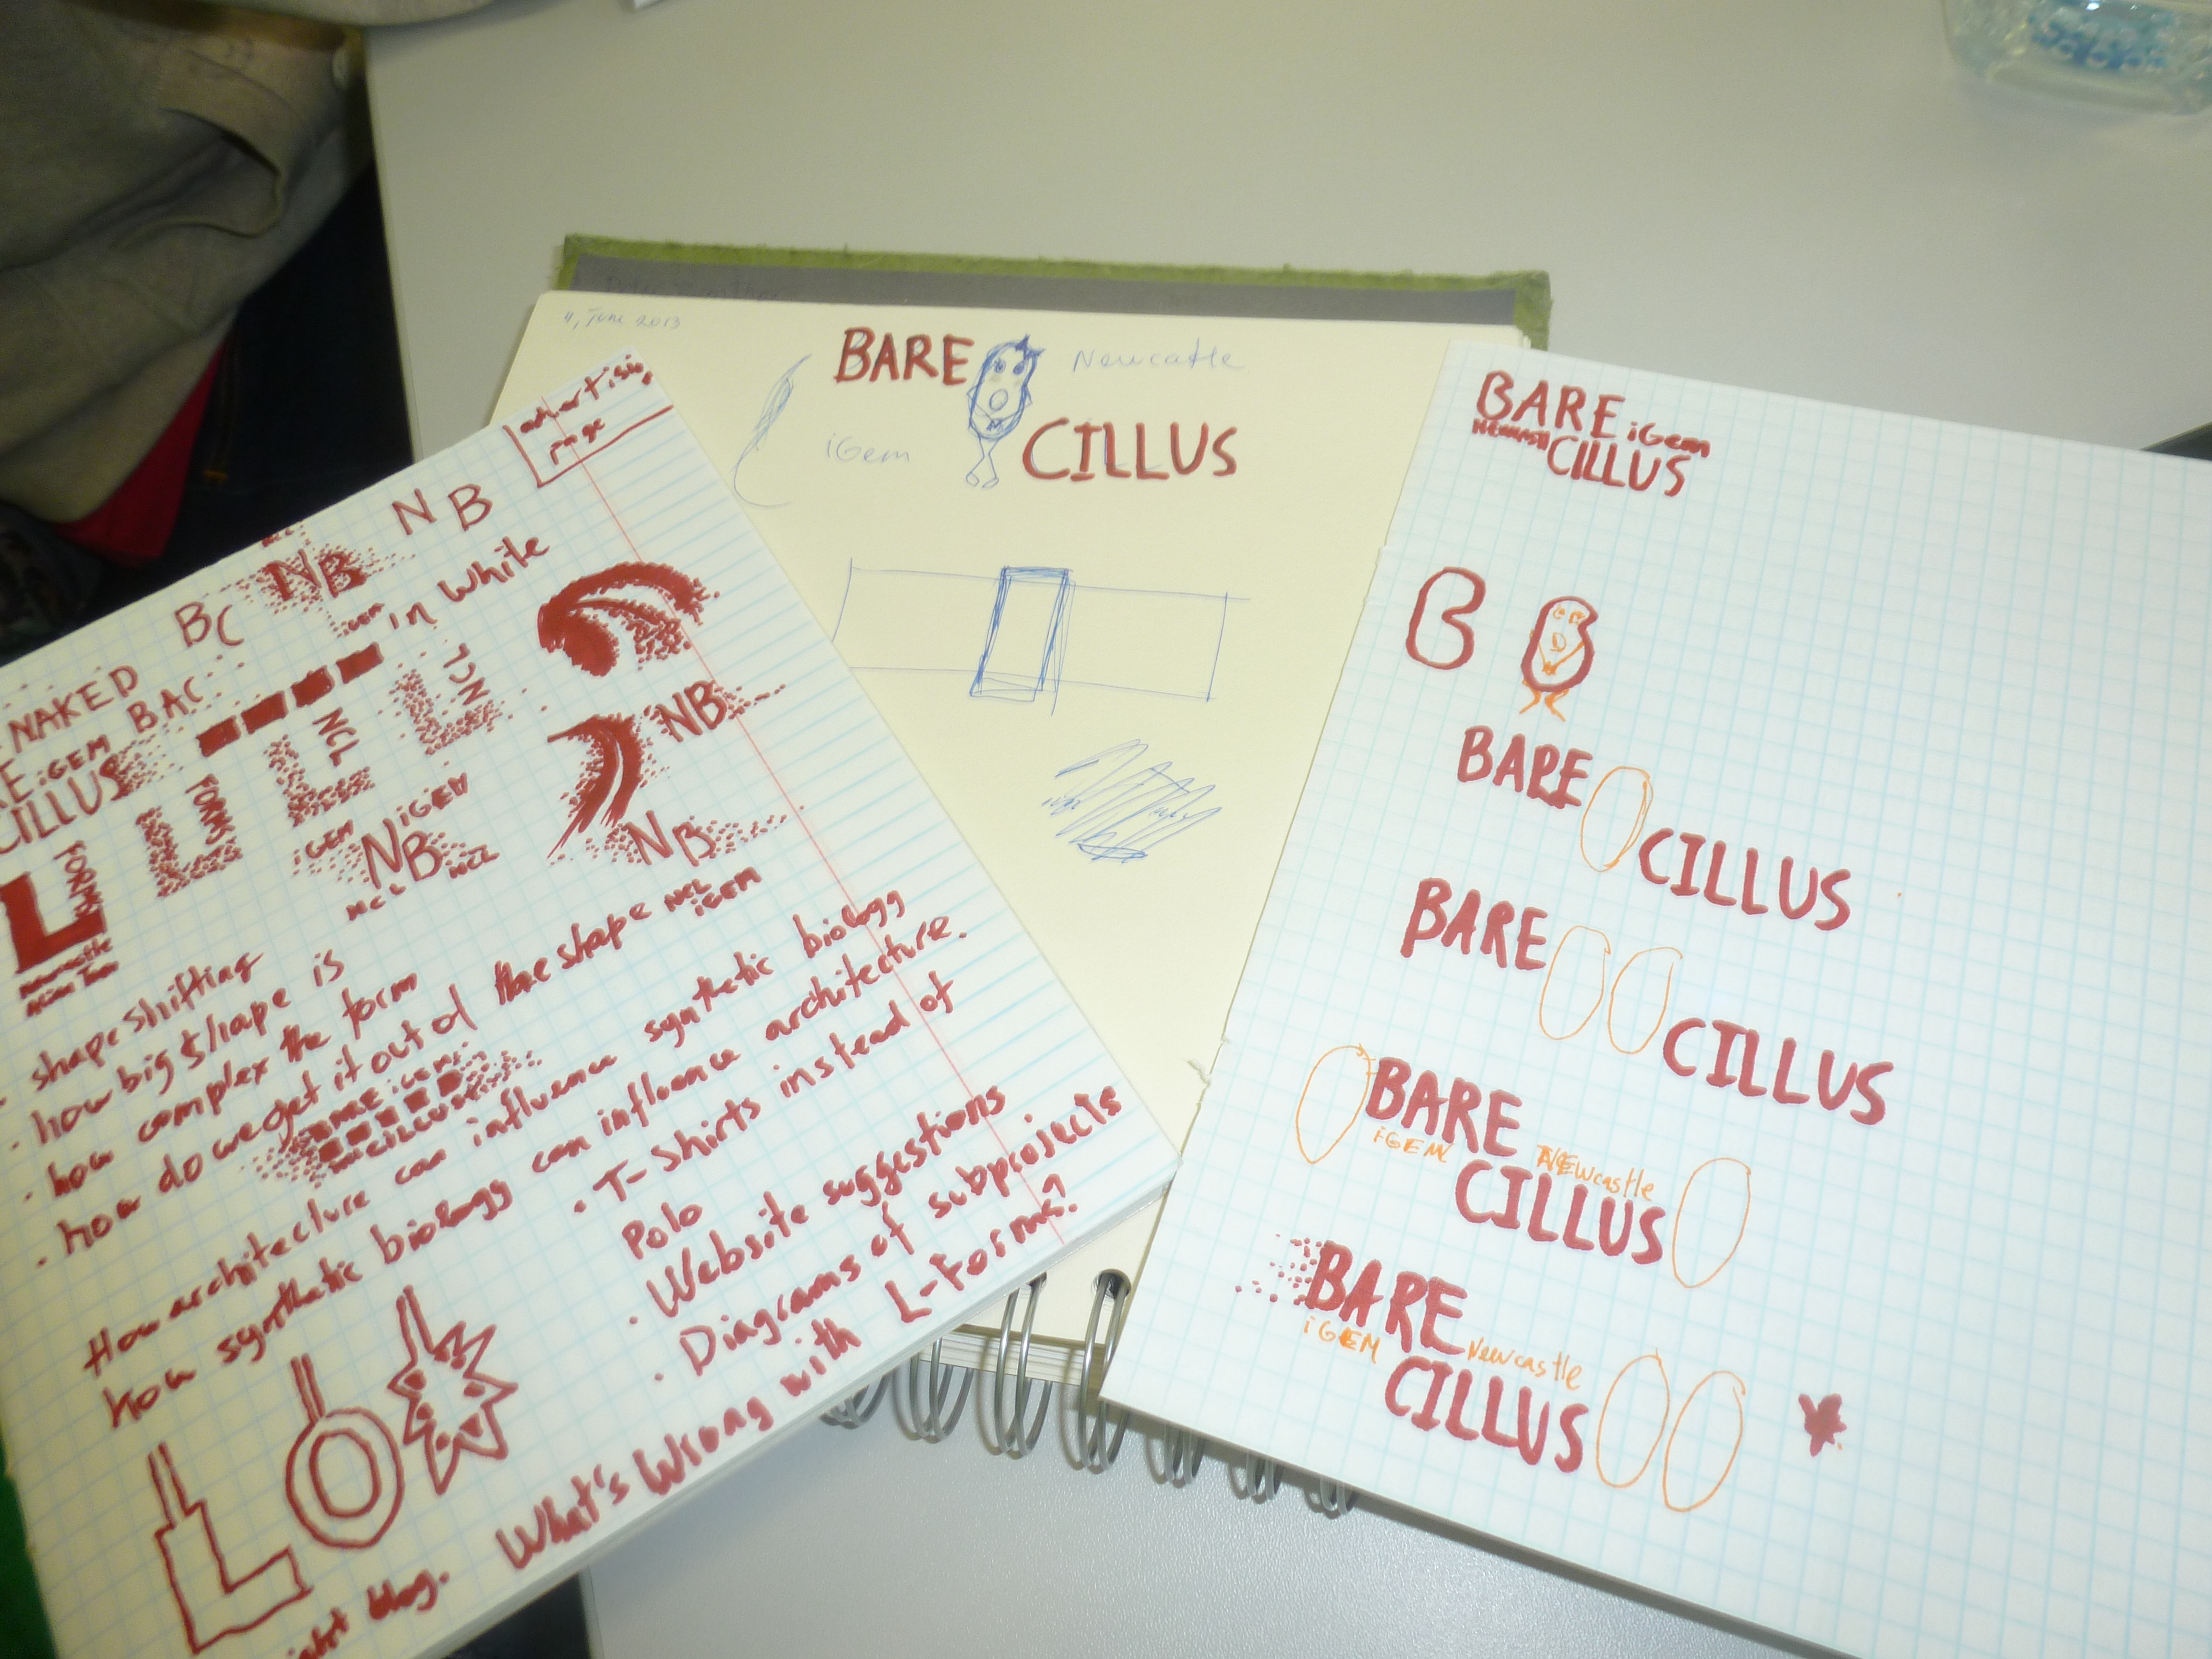
We started a discussion of our sub-projects, doing some research into project presentation including: wiki layout, t-shirt design and possible team logos. We looked at precedents for inspirational ideas.,We then learnt about Computational Modelling and BioBrick concepts. Decided to start with biophysical modelling of the lipid membrane of Bacillus subtilis and modelling of lipid synthetic pathway. Later in the day, the entire team met to discuss aims and progress of our work.
Wiki
Initial designs for the wiki have been created and uploaded. Currently all style sheets and javascript pages are stored externally until the design has been ratified by the team. Front-page image carousel has been created and initialised with blank colours to demonstrate what it shall look like until actual photographs have been taken and edited.
6
11
Modelling Training
- Modelling Training
- Wiki
Details
Modelling Training
We started off working on a Modelling Exercise to identify components and species of the subtilin biosynthesis pathway. We also sketched down some potential logo ideas and created a shortlist of favorites.
We then went on to learn about the differences and similarities between stochastic and deterministic modeling. We also used rule based modeling such as RuleBender and BioNetGen. Using the Michaelis-Menten kinetics model as an example, we alter the parameters and rates of reaction to observe the effects.
Wiki
The wiki design was agreed upon and further developed. A front-page image display has been created, developed and set up with dummy text and placeholder images. Discussions have been held over the layout for the calendar, the general consensus being that as few a clicks as possible should be needed to switch between and overall summary of what was done and the more detailed view. Designs are started with the idea being to create a large calendar holding daily headlines that spawn a non-obtrusive pop-up window containing more detail.
6
12
Modelling Training
- Modelling Training
Details
Continued learning about stochastic and deterministic modeling and looking at converting the rate parameters in RuleBender. Work was also still ongoing with the logo.
6
13
Basic Lab Skills
- Basic Lab Skills
Details
Basic Lab Skills
On our first day in the lab, we were briefed on various lab health and safety policies to ensure we maintained a safe working environment. We were then led by our supervisors on a tour around the lab to inform us about the layout. Once we were familiarised with everything, we officially started our first lab session.
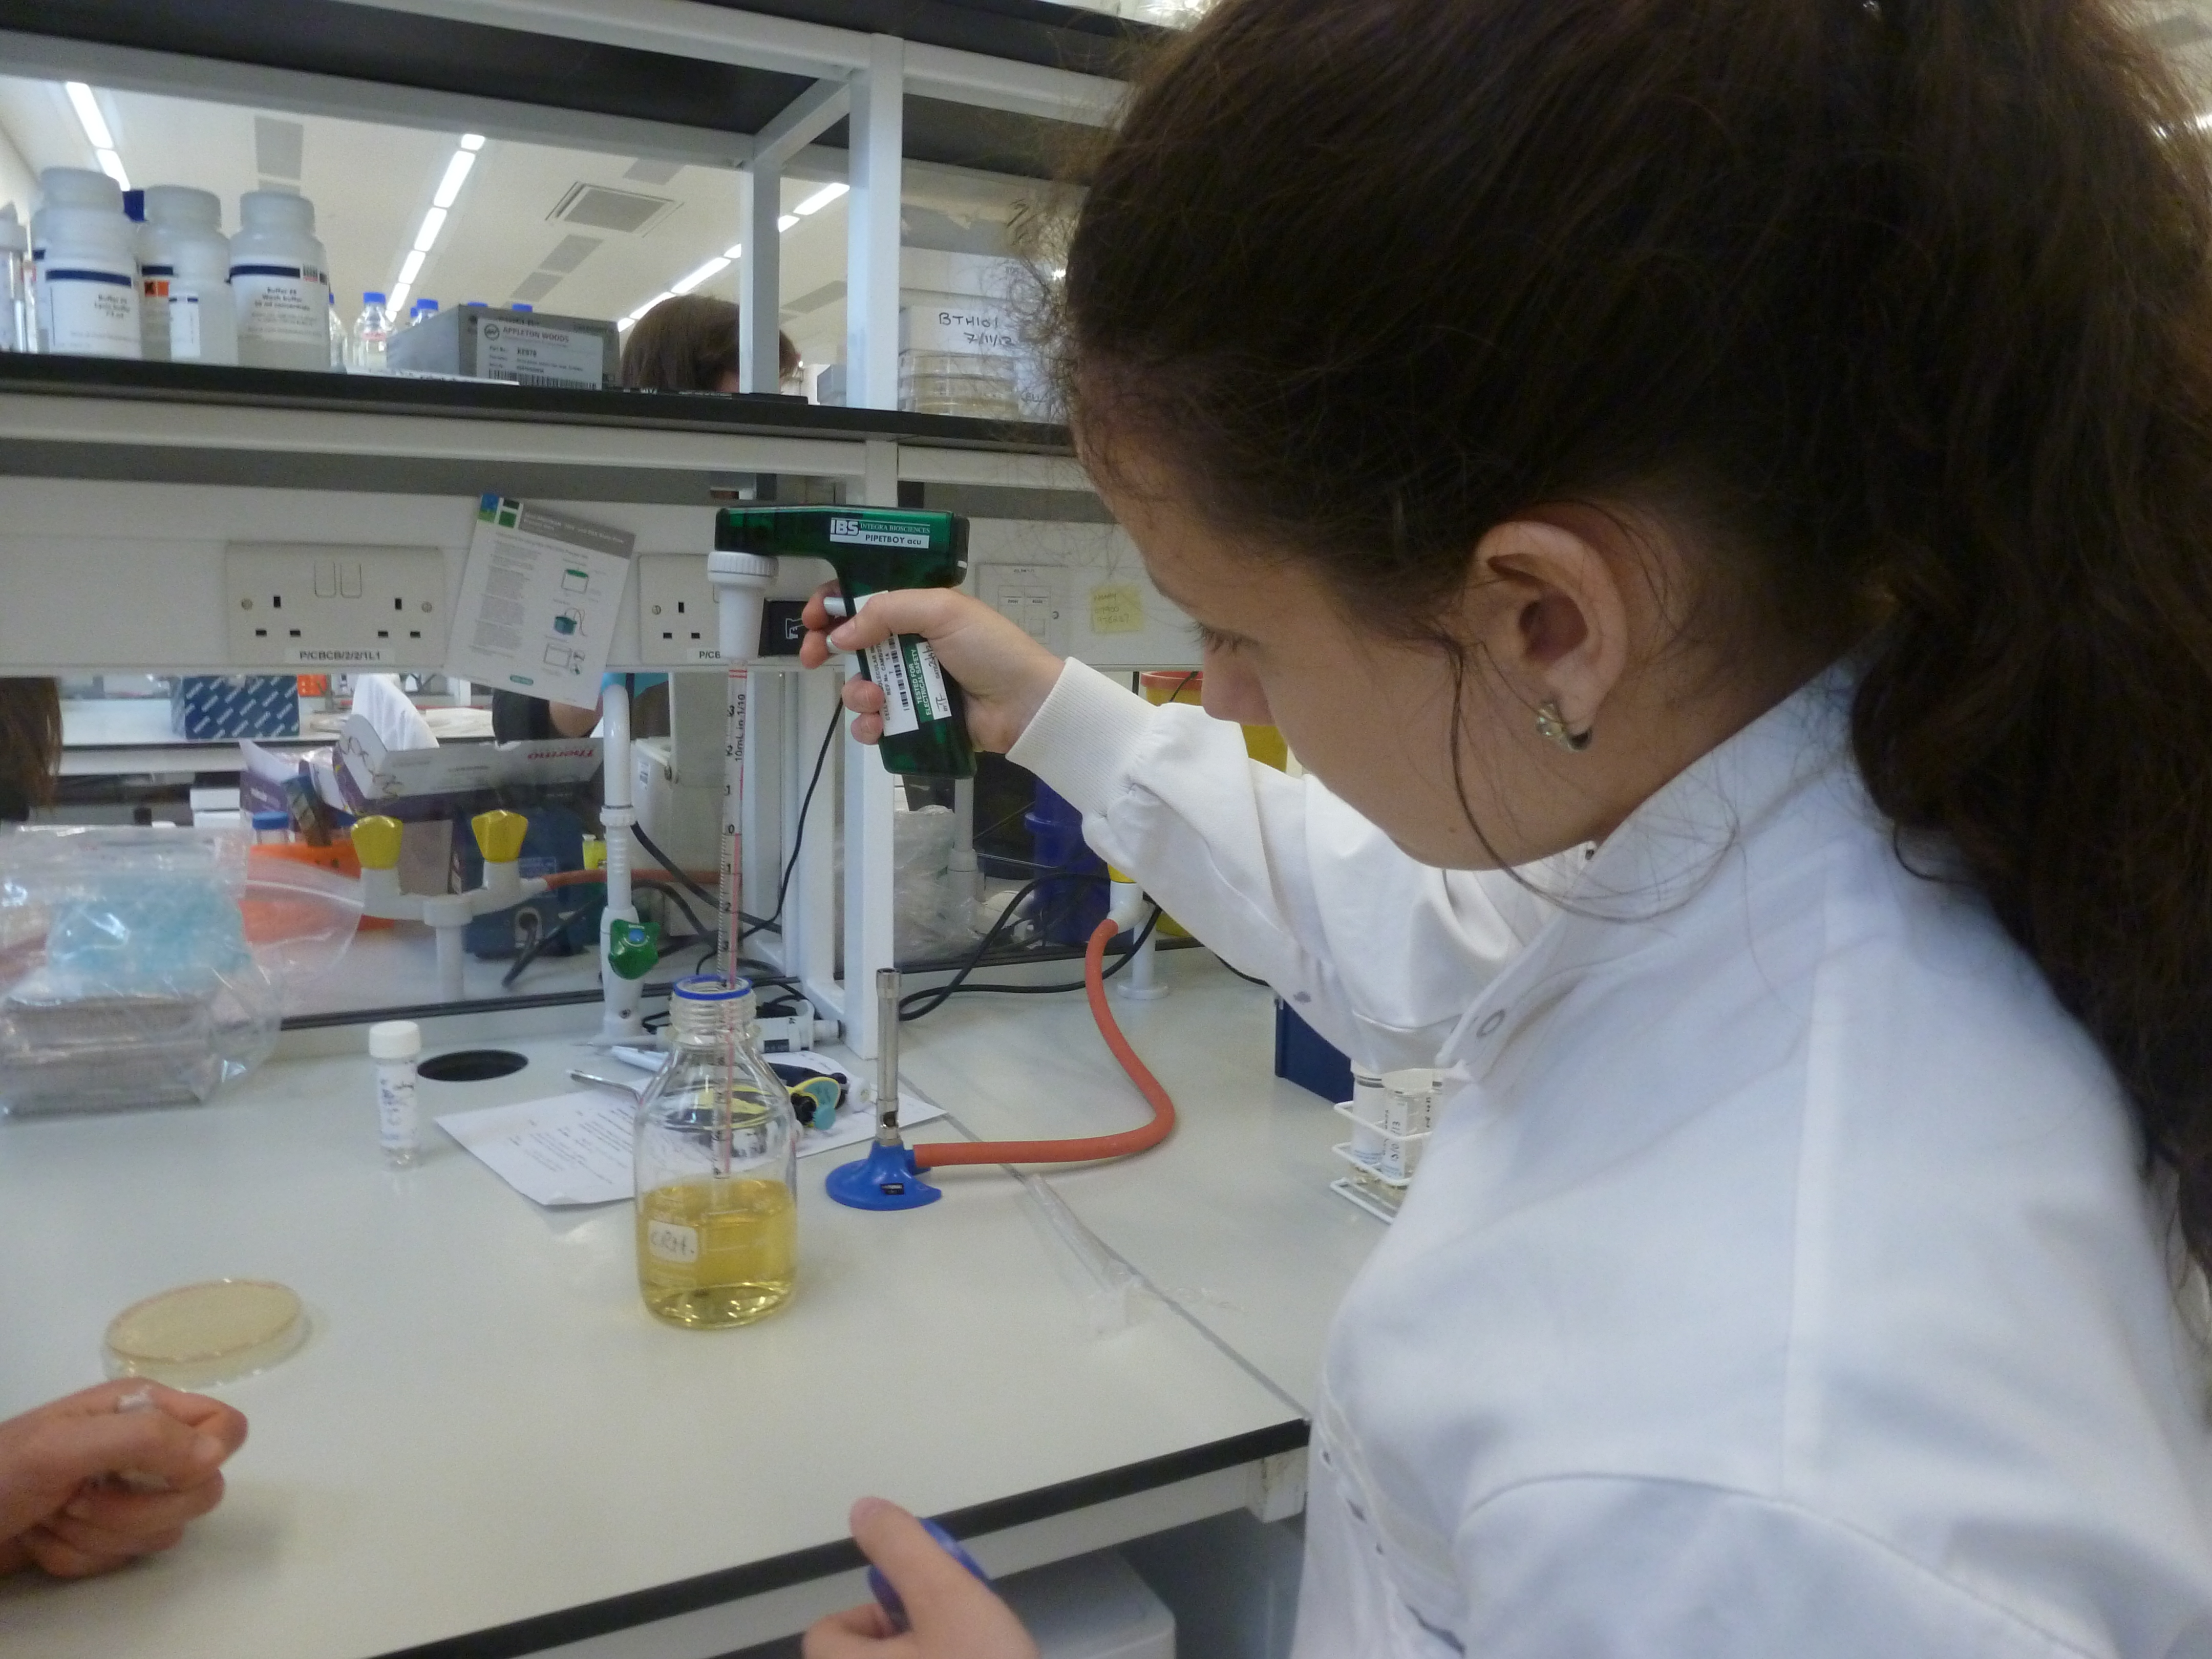
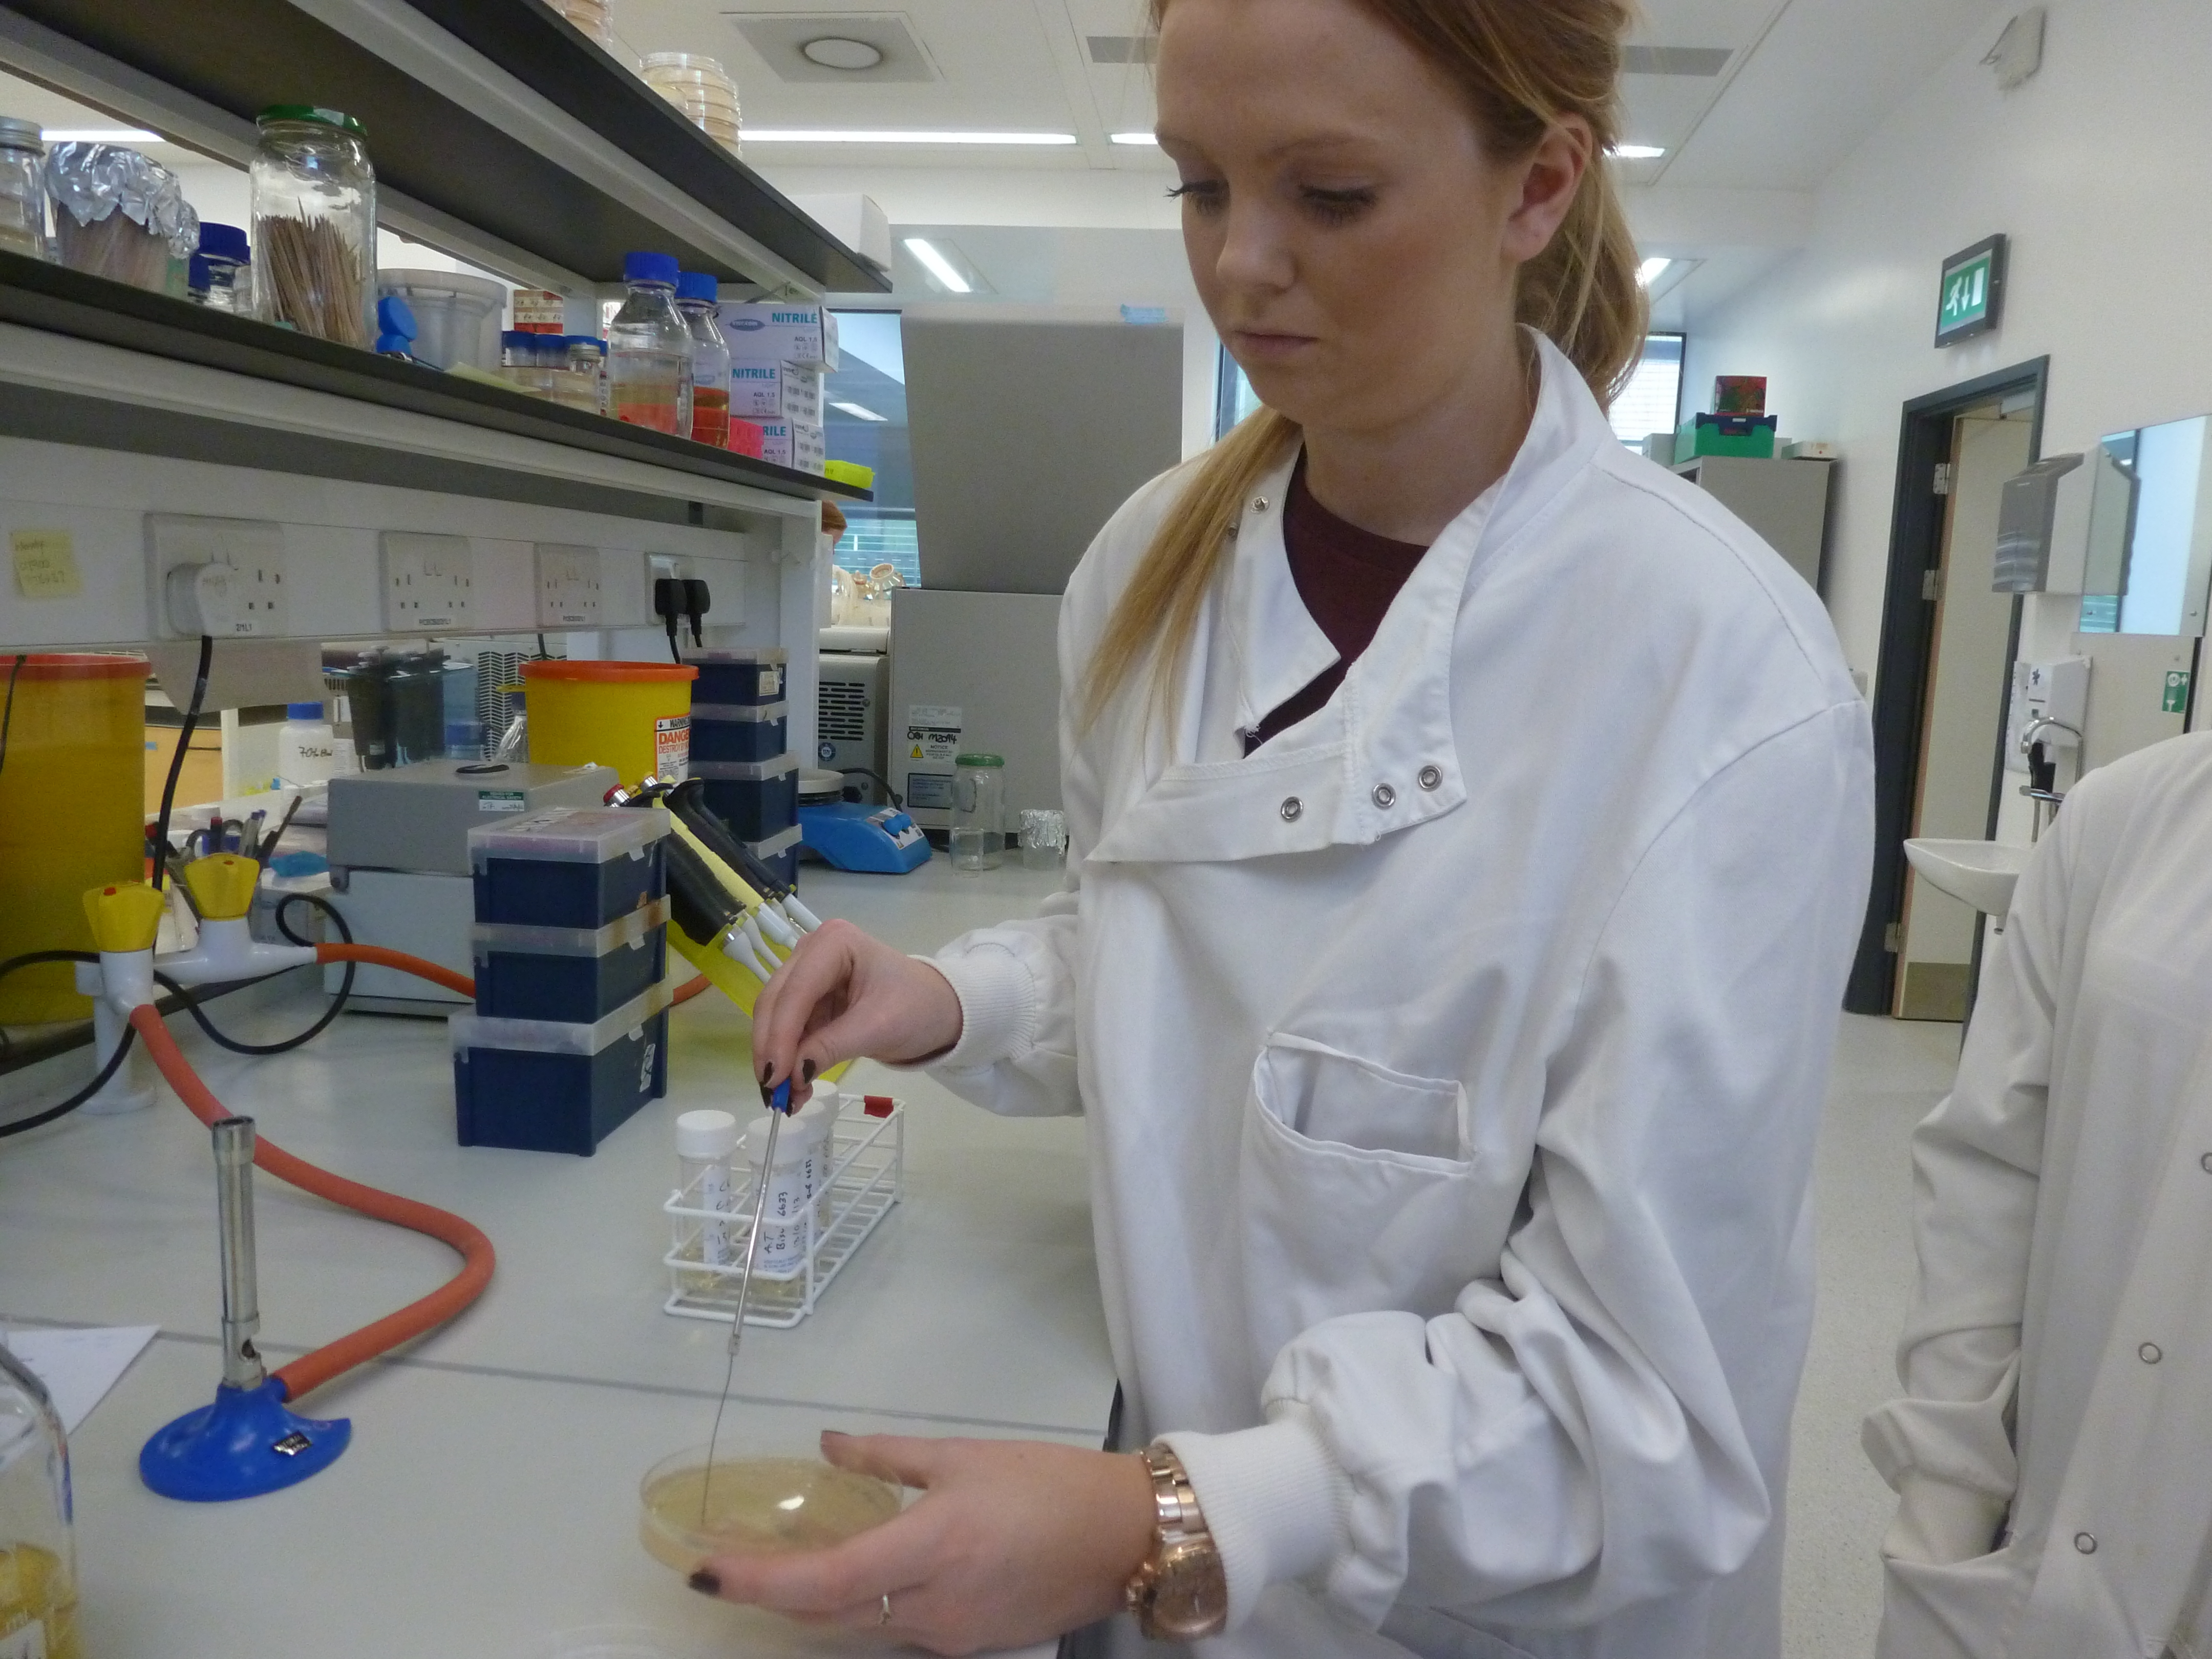
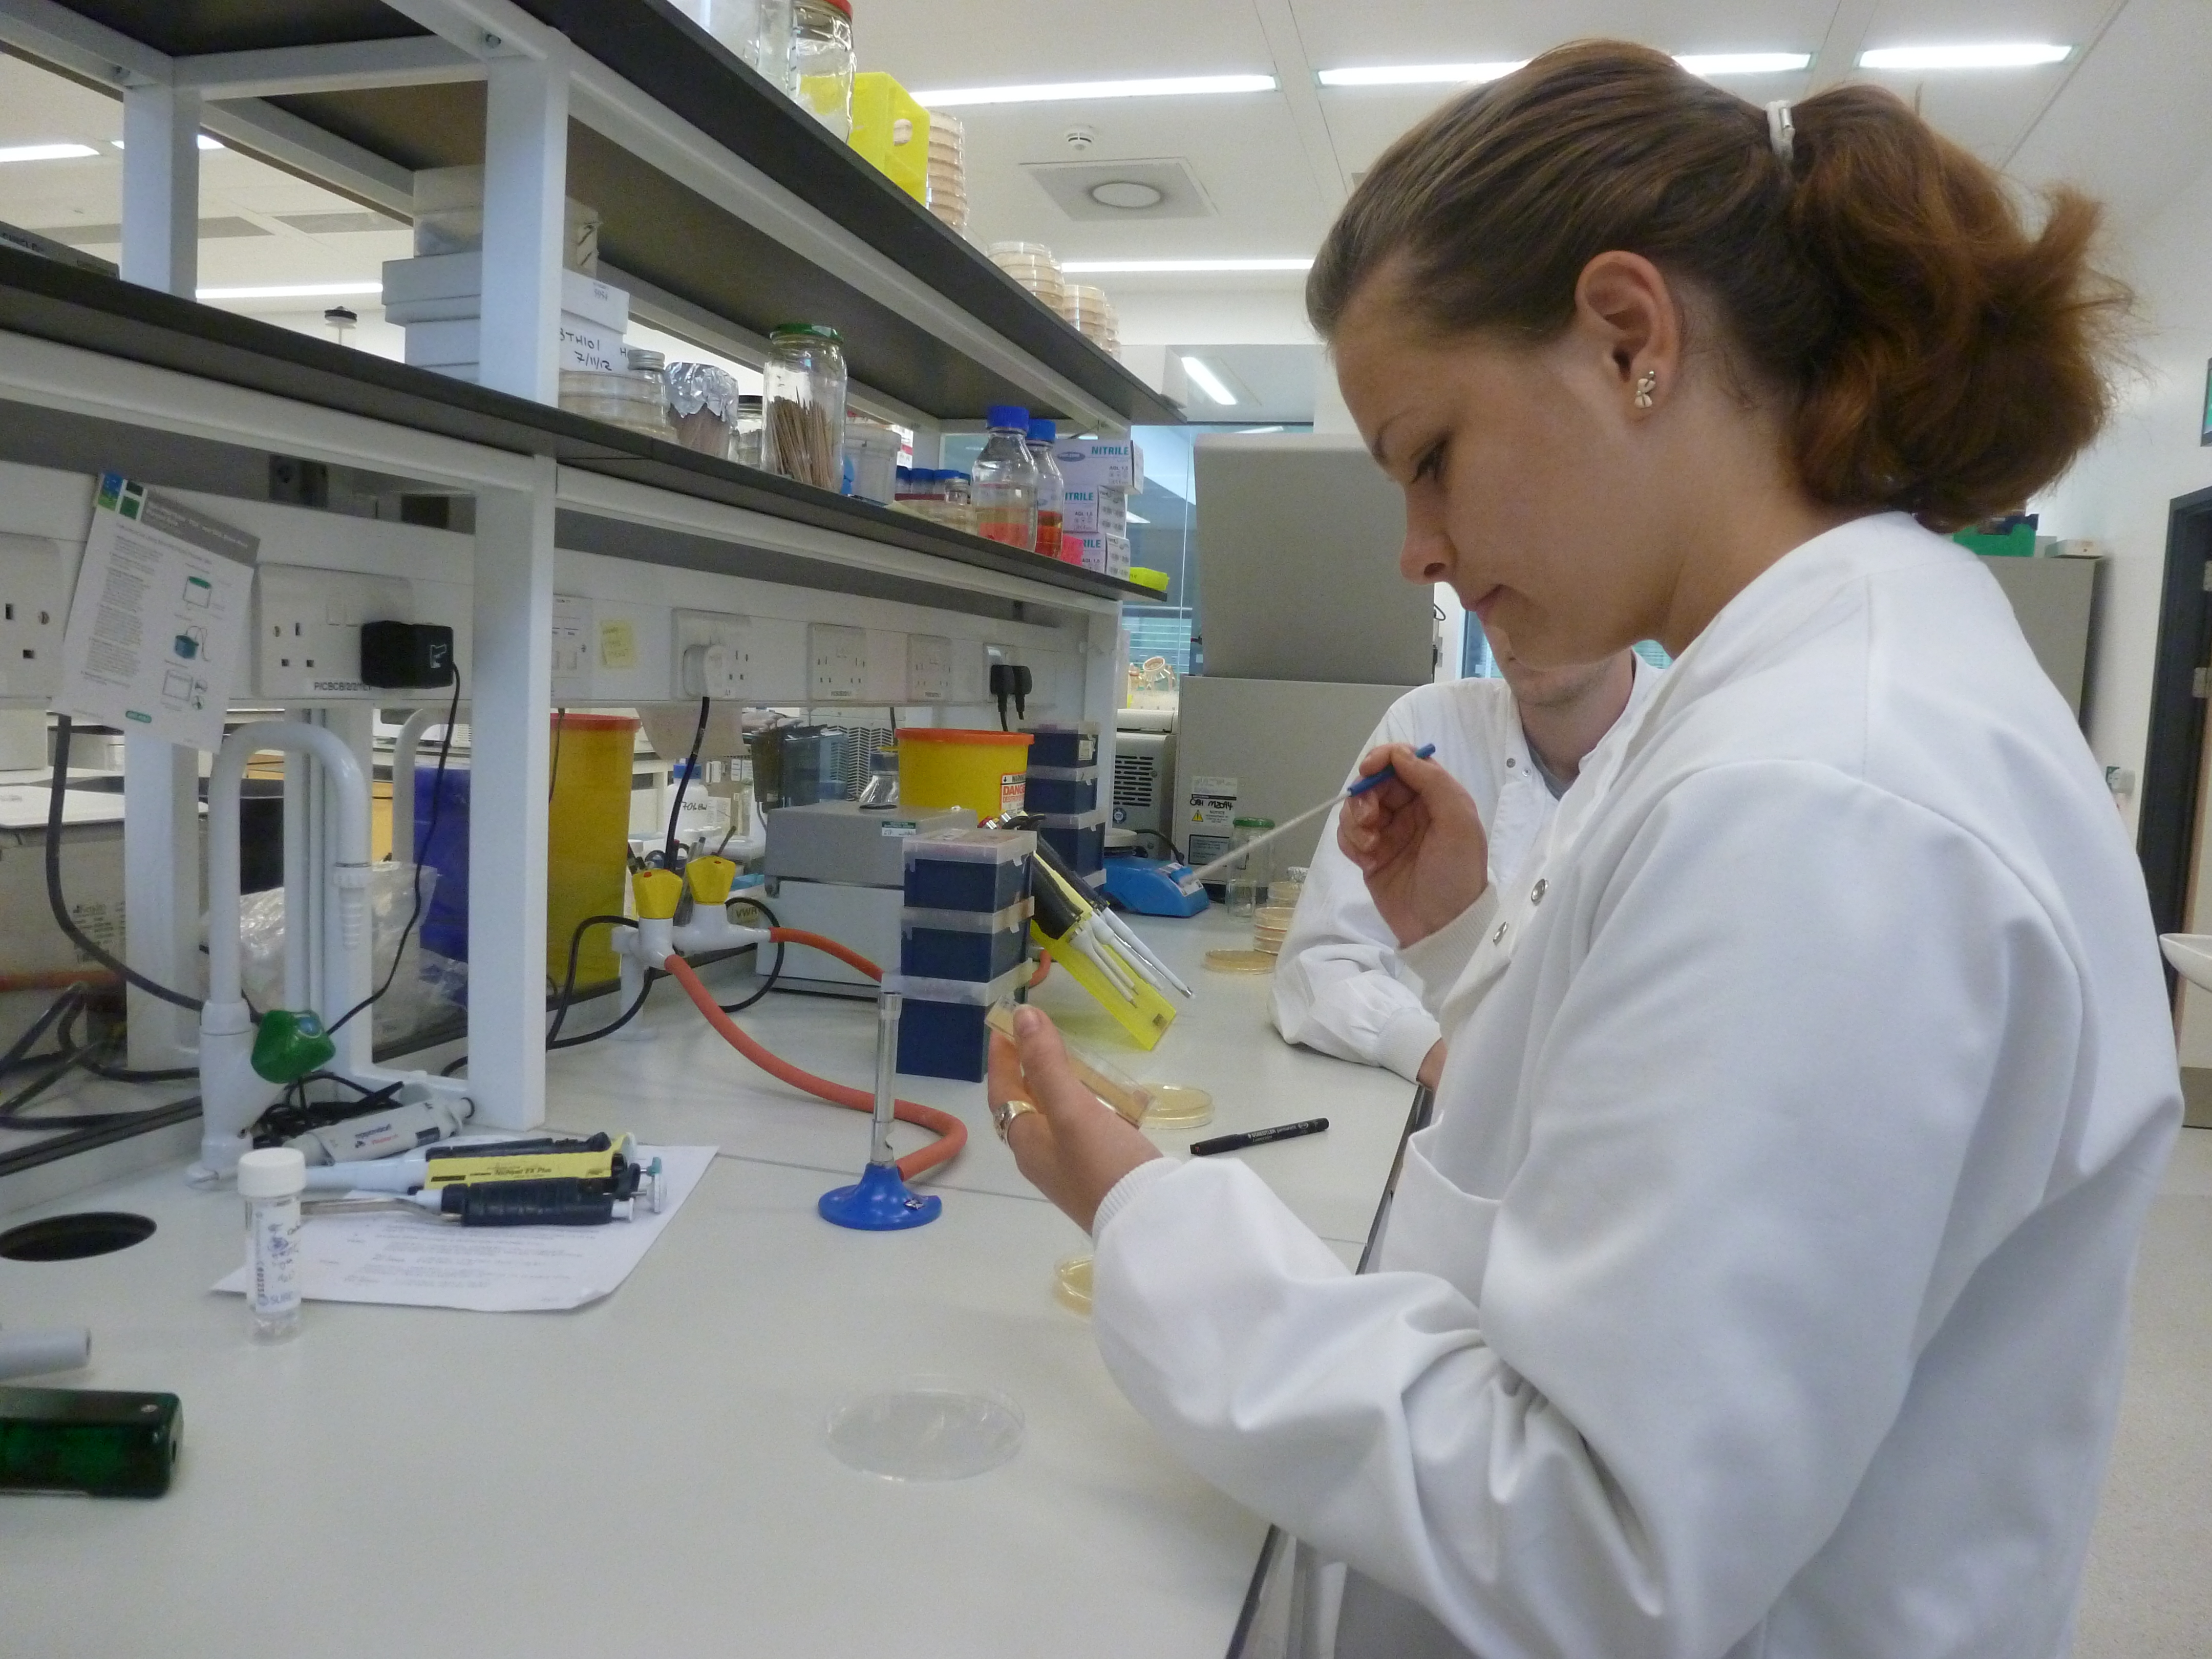
We started by callibrating our pipettes and learning how to operate them, then we were shown how to innoculate bacteria to a liquid culture. After this we prepared bacteria streak plates.
In the afternoon, we extracted GFP and RFP bricks from the iGEM 2013 biobrick plate and transformed it into competent Escherichia coli cells. These procedures were performed using the following protocols ([PROTOCOLS DESPERATELY NEED ADDING]). We then plated those cells onto LB with chloramphenicol selection marker plates.
6
14
Basic Lab Skills 2
- Basic Lab Skills
- Wiki
Details
Basic Lab Skills
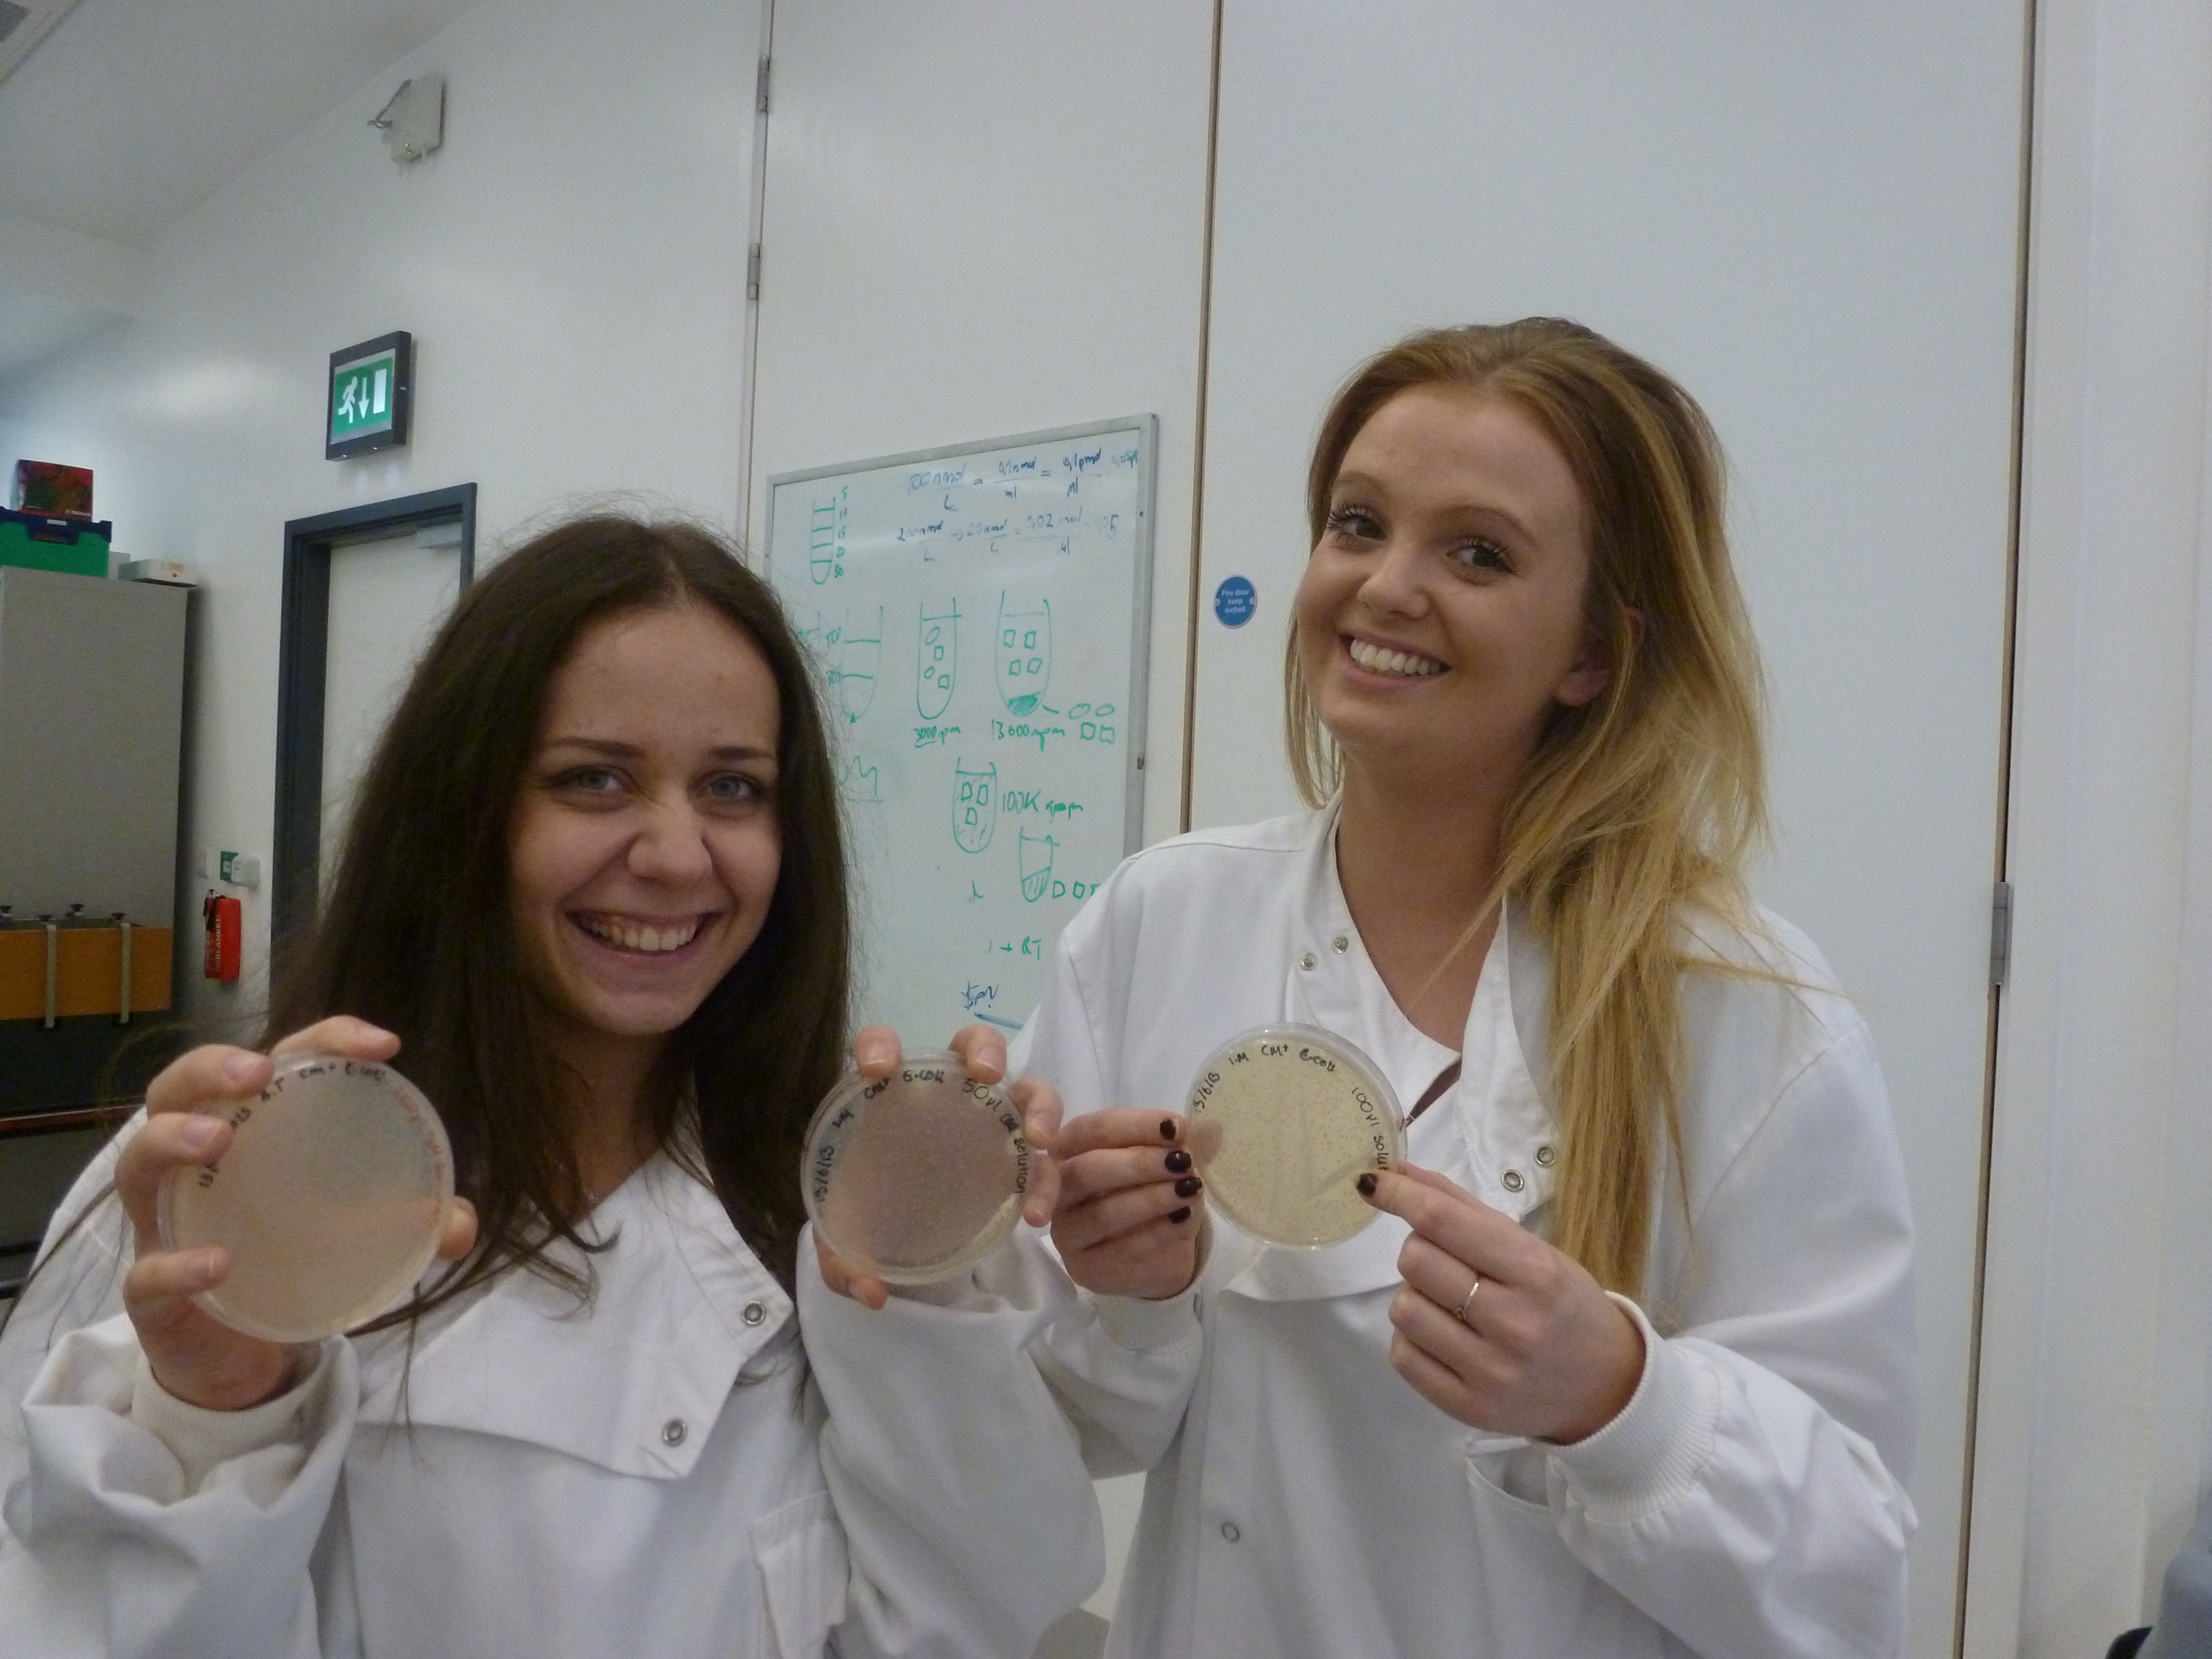
When we first arrived in the lab, we checked on our plates to see if anything grew. The RFP plates showed a lot of collonies, while the GFP plates did not work as expected. The next thing we did was too view the plates under the fluorescent inverted microscope.
We had an introductory lecture on basic molecular biology and biobrick design.
Wiki
The calendar has now been created, with the emphasis on both user interaction (simple and obvious to use) as well as ease of editing (the members of the team not familiar with HTML and JQuery should easily be able and add to the calendar). A rough JQuery script has been written to convert standard wiki MediaWiki code into the format used by the Calendar. This will need extensive debugging before the Calendar can be put into use.
6
16
Titles
- Wiki
Details =
Wiki
The Calendar was fully debugged and deployed over the weekend whilst no one was in the lab. This means that as of tomorrow the entire team will be able to edit and add to the calendar with ease. A brief document has also been written that will provide details on how to edit some of the more complex sections of the wiki. This document will be added to as more and more functionality is added into the wiki.
6
17
Basic Lab Skills 3
- Basic Lab Skills
- BioGame
- HBsu BioBrick clonning strategy
Details
Basic Lab Skills
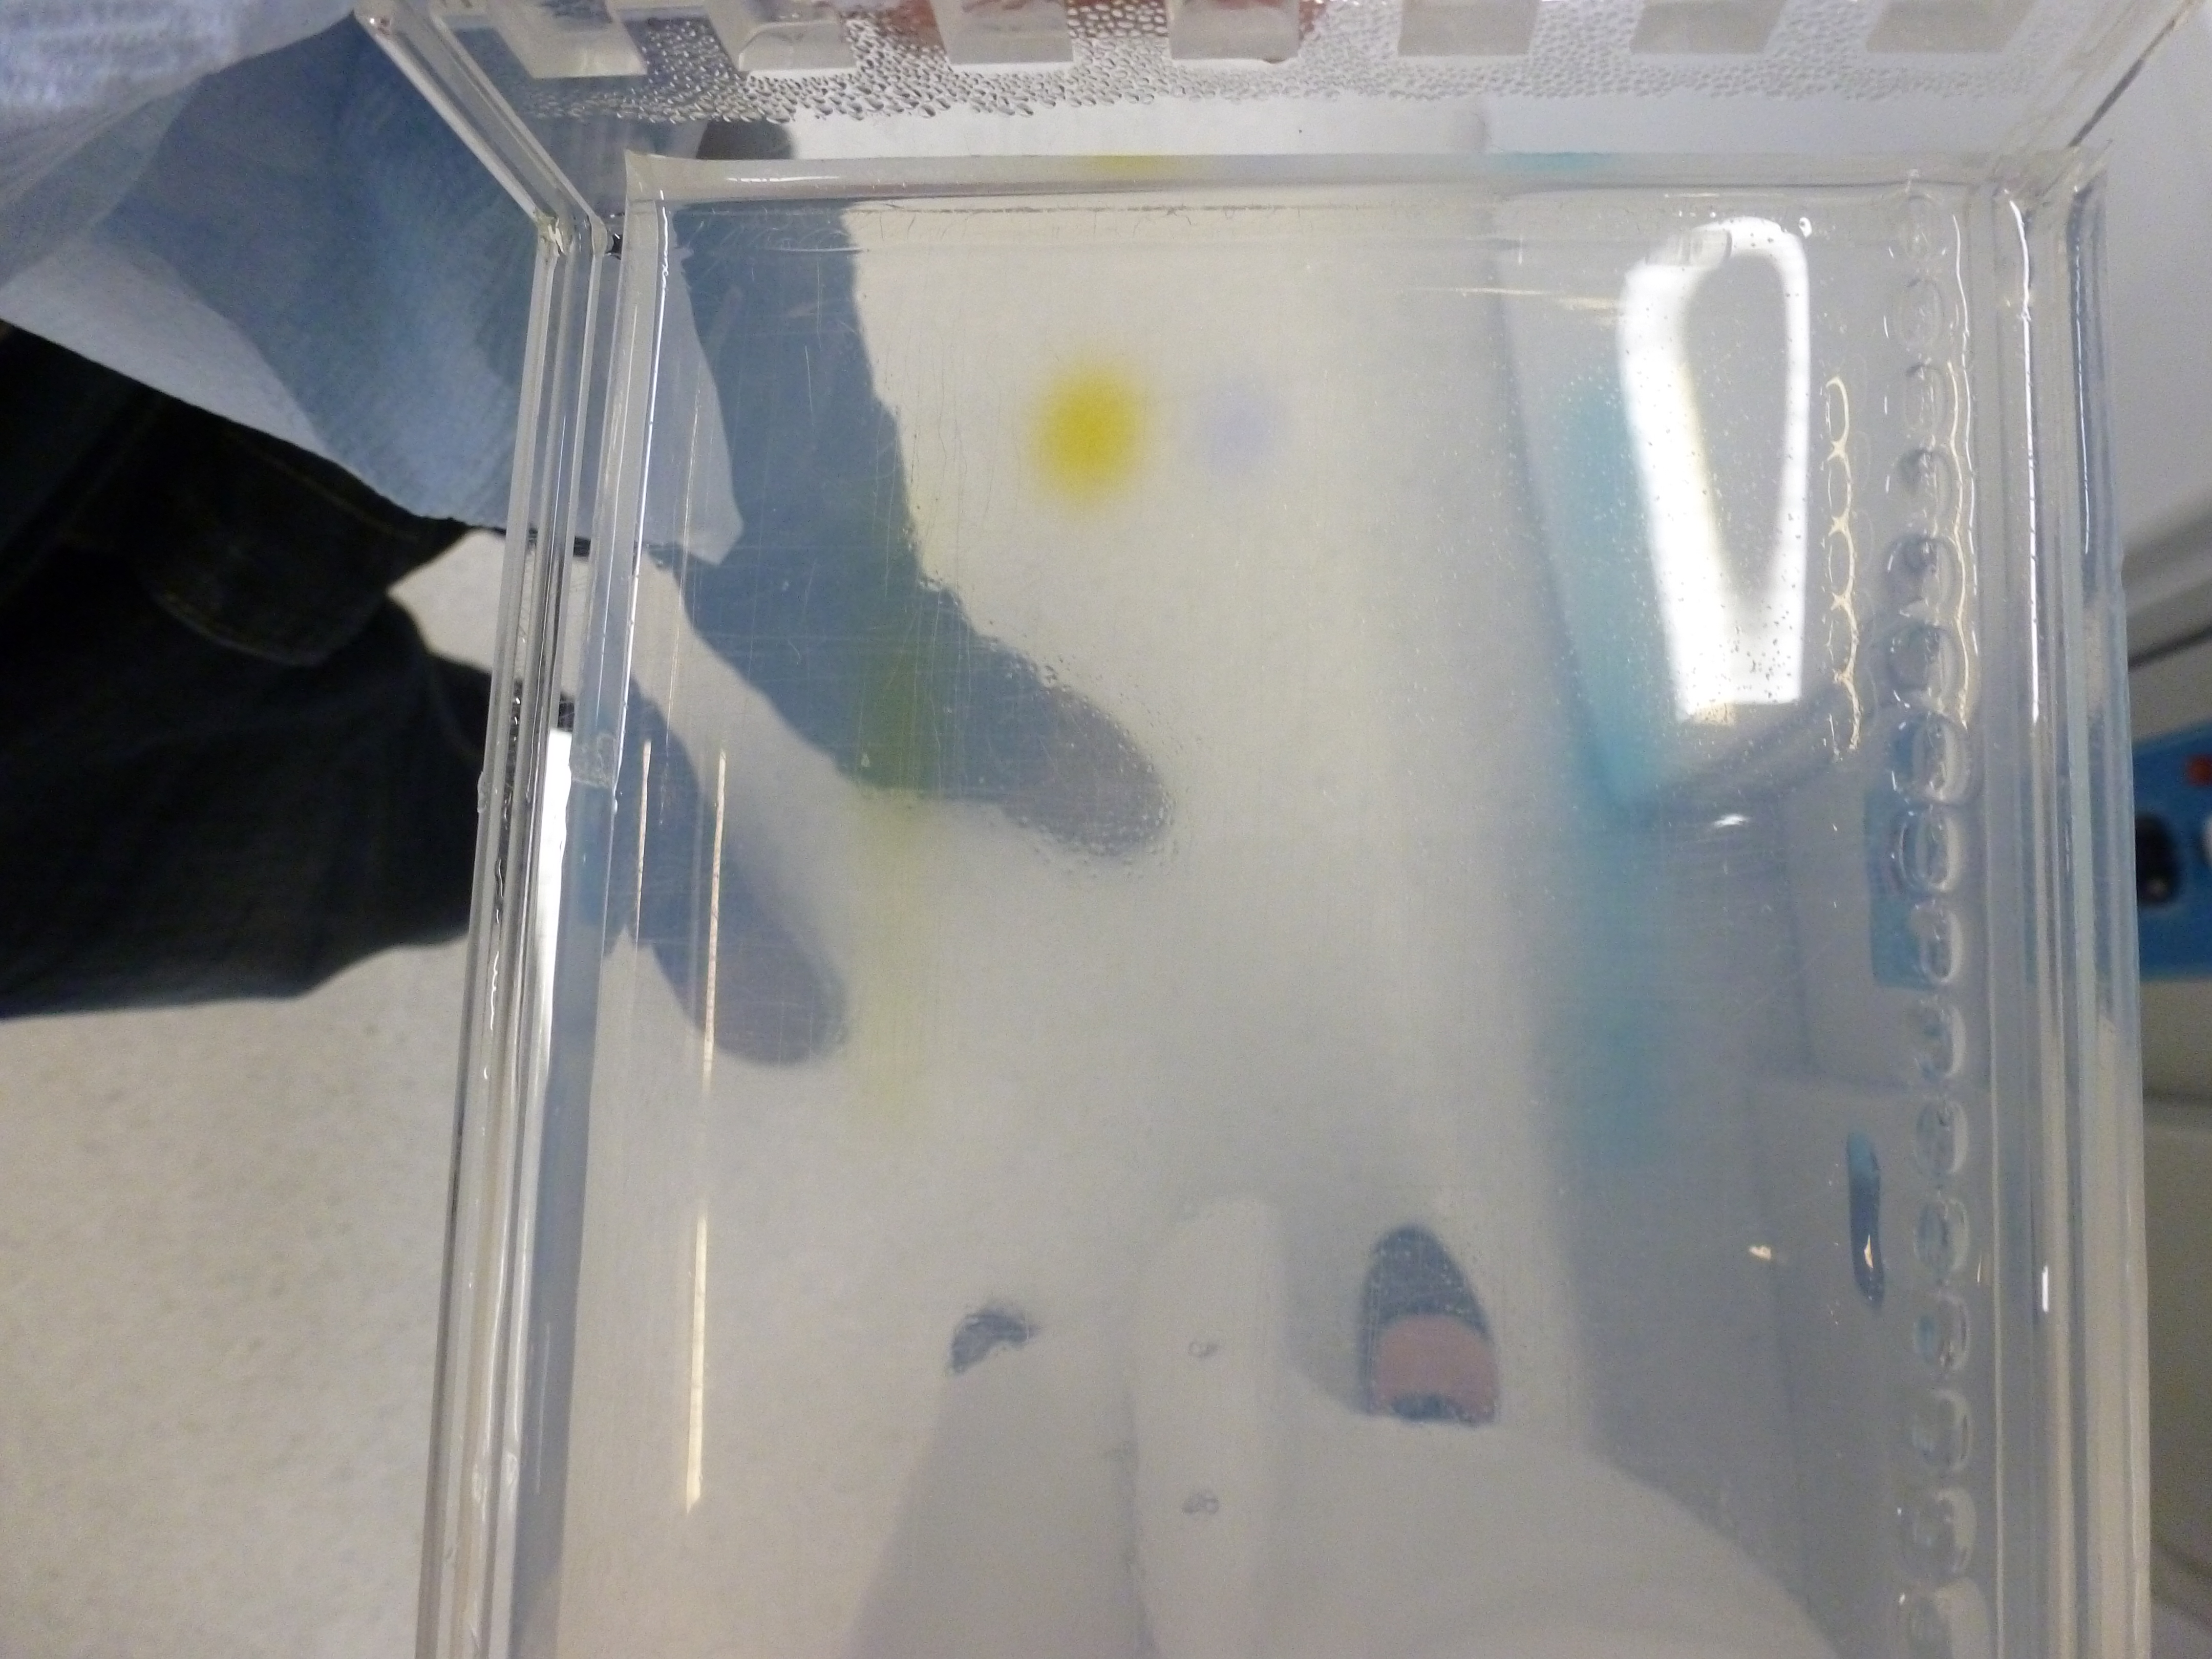
The first thing we did was to transfer collonies of bacteria into LB. Then we extracted the plasmids via (plasmid prep) protocol, and check the concentration of plasmids through the use of nanodrop spectrophotometry. Next,we prepared 1% Agarose and whilst waiting for it to set we performed a single digest with (Xbal or Pstl) and double digest with both restriction digest. Finally, we load our samples to the gel in addition with DNA ladder and control.
BioGame
Work began on the BioGame. Largely contained to simply choosing the best method of implementation for the game. Considered where:
- Android SDK (with no game engine/plug ins)
- LibGDX
- OpenGL
- LWJGL
Ultimately the choice was made to use LibGDX due to the documentation available on it, the ease at which games can be developed and the consistent structure it provides with standard gaming development. After this decision was made, a series of tutorials were found and followed to provide a base of knowledge going into developing the application itself.
HBsu BioBrick clonning Strategy
6
18
Basic Lab Skills 3
- Wiki work
Details
Wiki work
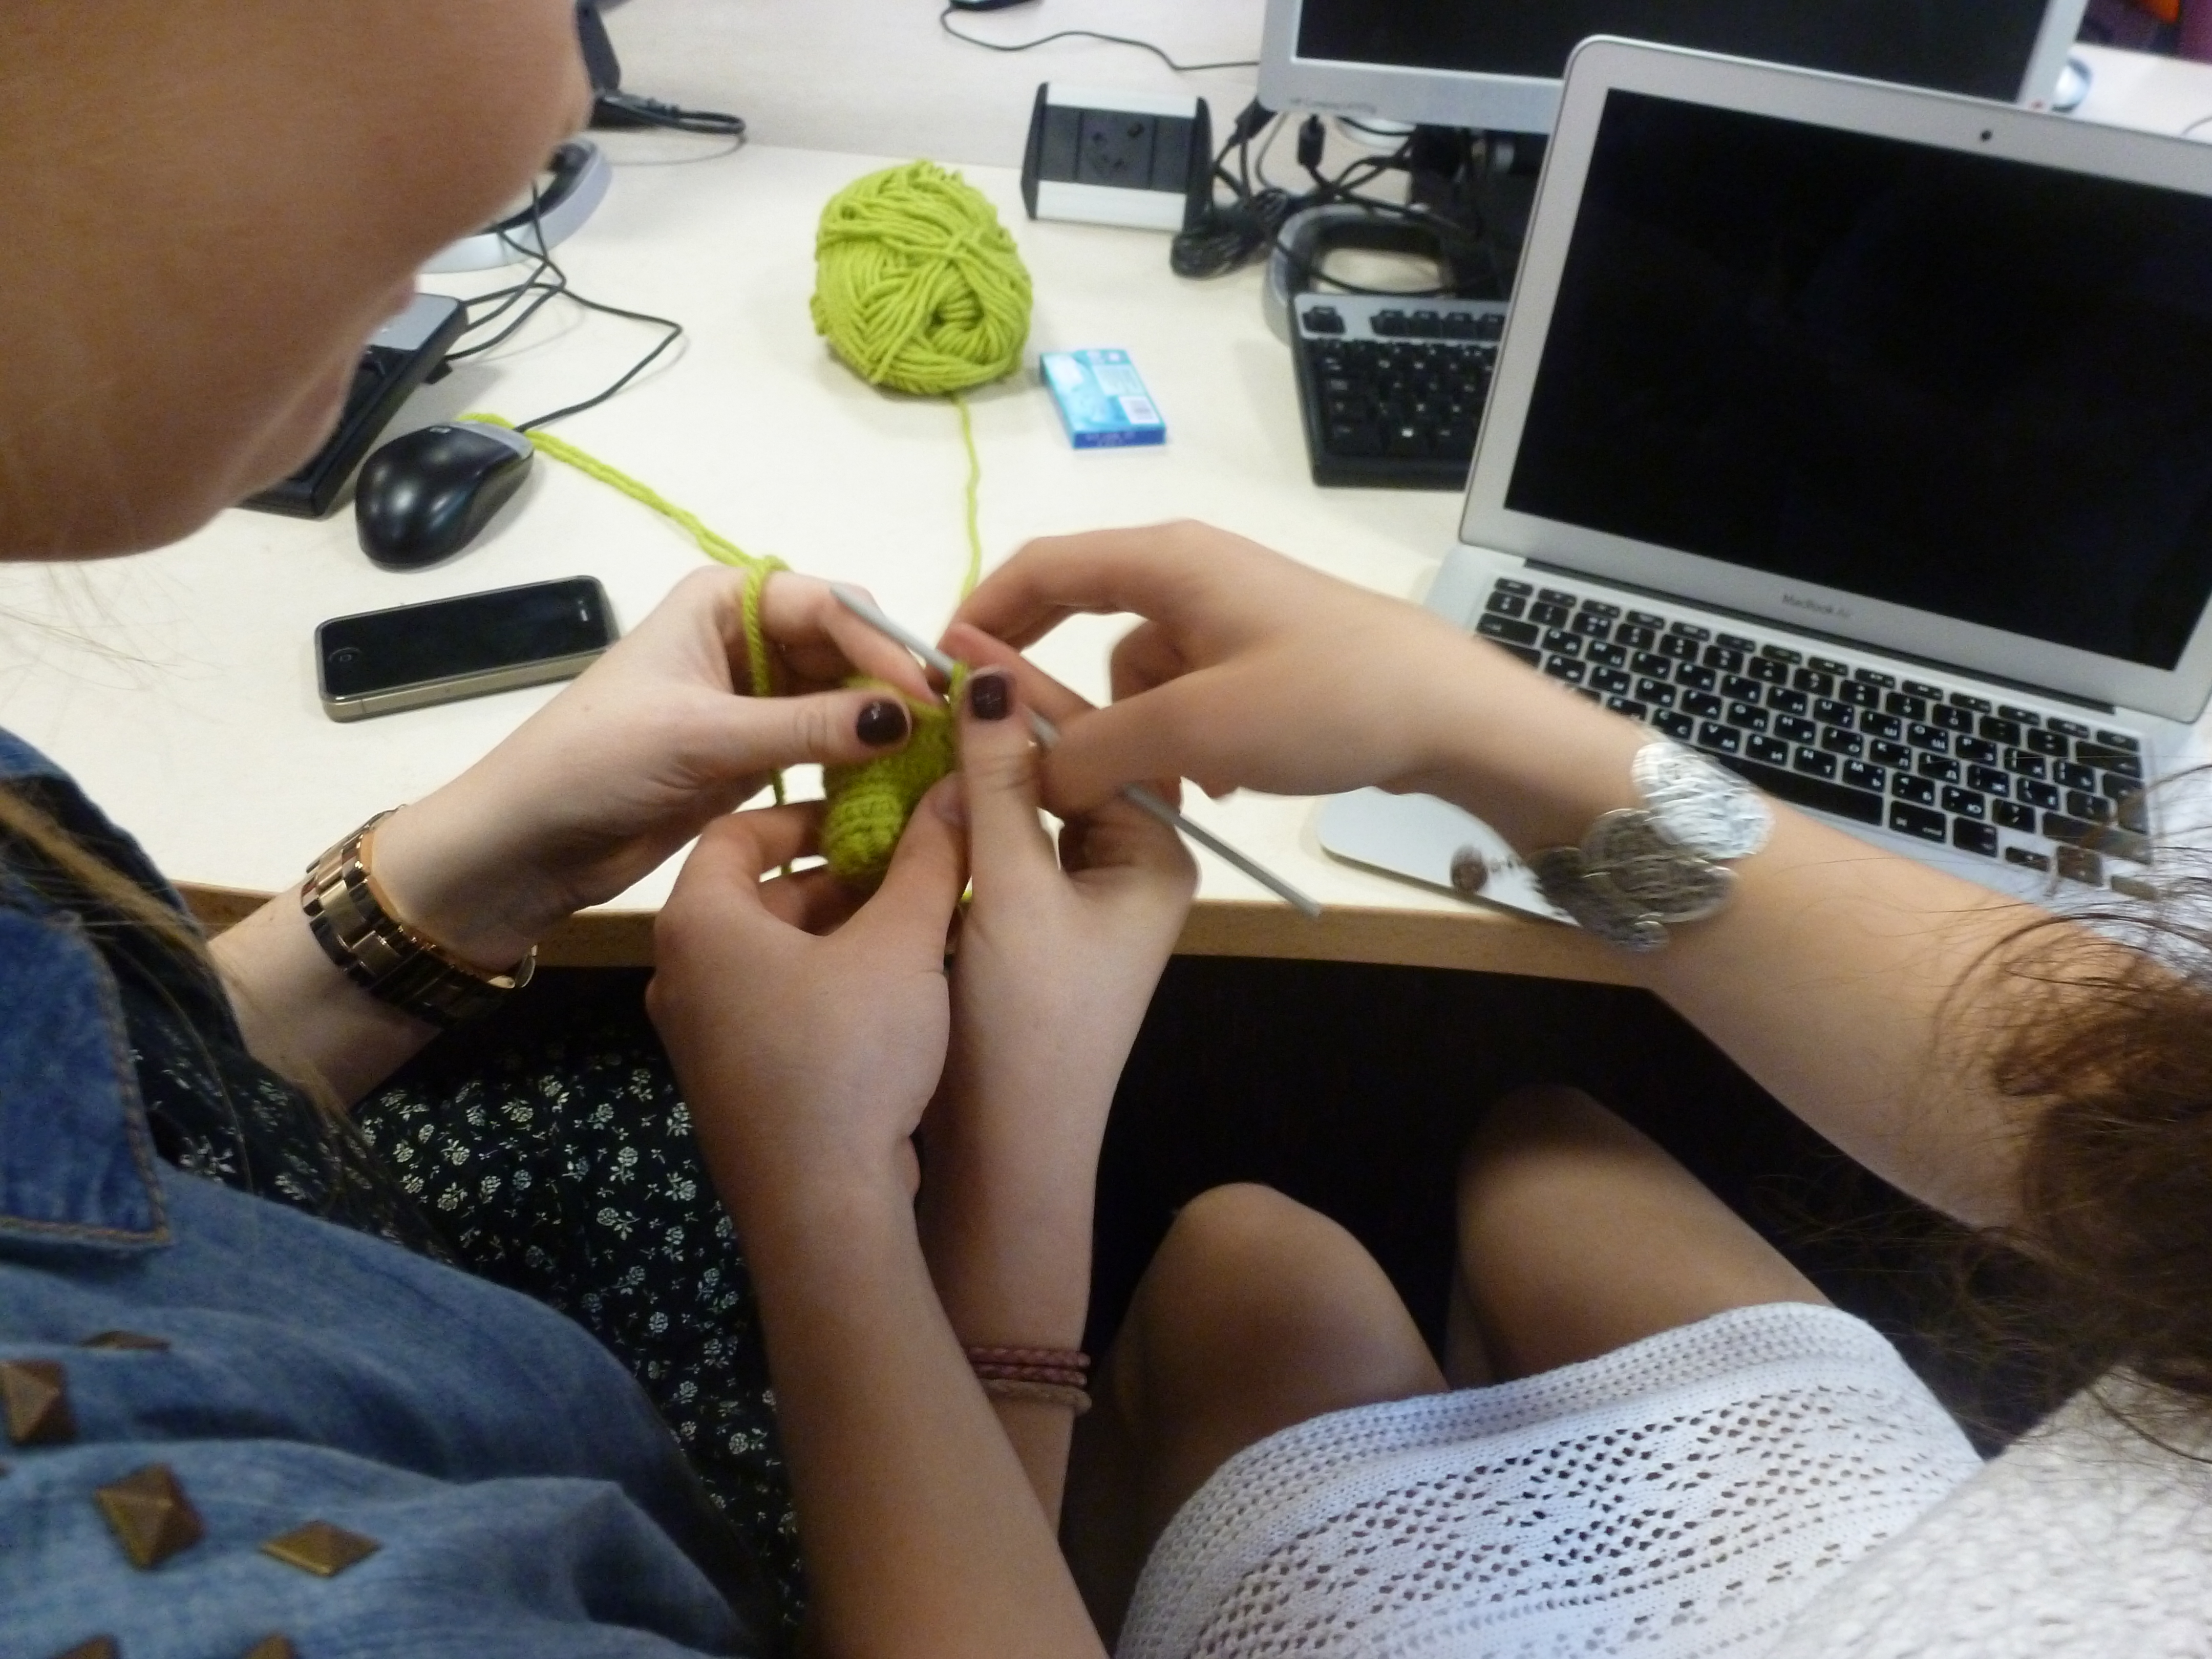
We came up with a script, story board and a list of materials needed for the introductory video on our wiki. We had fun learning to crochet in order to create characters for the video. Furthermore, we updated the team profile page on the wiki by adding individual pictures of all team members.
6
19
Cloning strategies 1
- Gus Reporter BioBrick
- BioGame
Details
Gus Reporter BioBrick
~~ DETAILS OF THE INITIAL STEPS/THOUGHTS INVOLVED IN THE GUS REPORTER BIOBRICK CLONING STRATEGY ~~
Morning
The group started thinking about their cloning strategies for each theme of the project. We also discussed idea for human practices and came up with the idea of an educational game based on synthetic biology. At the end of the day we had a group meeting to discuss our progress and our ideas for the modelling workshop for the UCL meet up.
BioGame
Today the game project was set up, created using the LibGDX-setup GUI in order to make projects for Android, Desktop and HTML deploym ent, all utilising LibGDX's built in features to run off a single "core" project. This was a big deciding factor in the choice to go with LIBGdx for developing the game as it allows us to quickly deploy across multiple platforms should we wish to do so. With the project set up, we have started to create assets such as textures and fonts to be loaded in and used within the game.
6
20
Cloning strategies 2
- Cloning strategies 2
- BioGame
Details
Morning
We continued work on the cloning strategies as well as starting modelling the subtilin two component system for the UCL workshop and the gus reporter system using BioNetGen. We also researched how L-Forms are made through research papers.
Afternoon
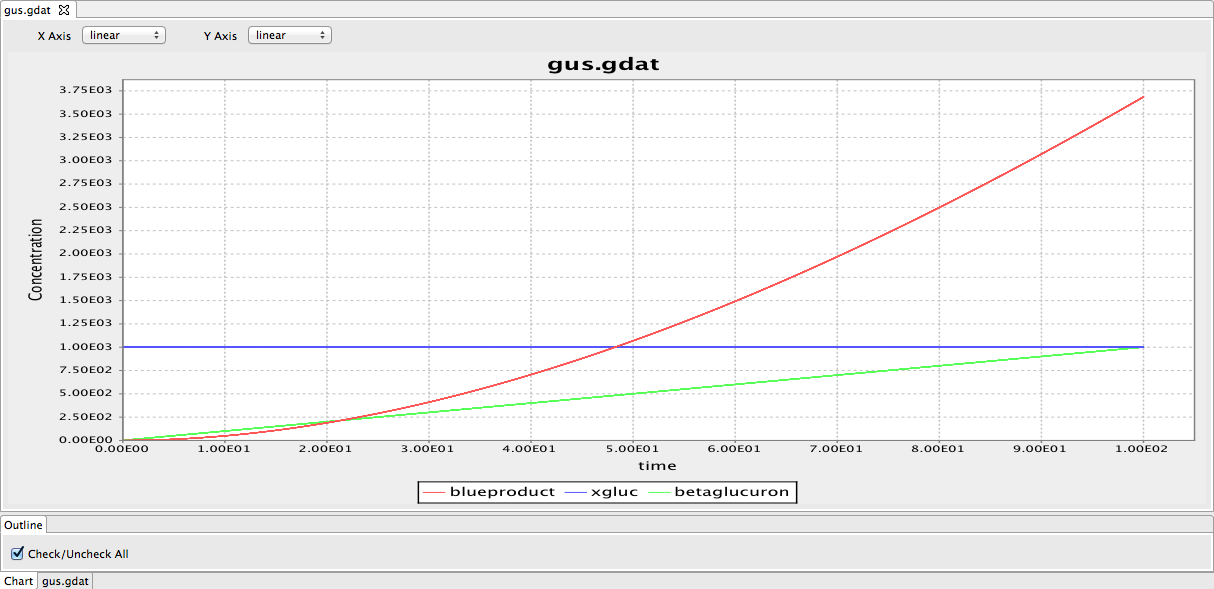 We produced a preliminary model of the gus reporter system. However, this model needs to be modified by adding parameters. We have also looked through some papers to find parameters required for the model.
BioGame
The Asset class has been created and all currently designed assets loaded into the game. A very simple (and temporary) cartoon bacteria has been loaded in and displayed on the screen along with the team logo. The pre-loading screen itself has not yet been developed but all constructs to create it are now in place. The percentage of loading done is simply outputted to the Java console for debugging purposes.
6
21
Cloning strategies 3
- Cloning strategies 3
Details
Morning
We further developed our cloning strategies and decided on the basic design of our construct. We made a preliminary design of the construct using Gene Designer to give a visual representation of how our construct should look like. From this image, we could see the positioning of all the parts, which will be more convenient for us when we want to devise a method to produce this.
We also improved the logo so it's ready for T-shirt printing.
6
24
Progress
- Groningen plasmid Mini-prep
- BioGame
Details
Groningen plasmid Mini-prep
We performed a mini prep of the Groningen 2012 integration plasmid DNA grown in E.coli overnight at 37 degrees. The purity was tested using a NanoDrop. Introduction to microfluidics. Start work on designing Master Molds. Check the extracted pDNA to confirm the outcome of the purification of plasmid using the electrophoresis.
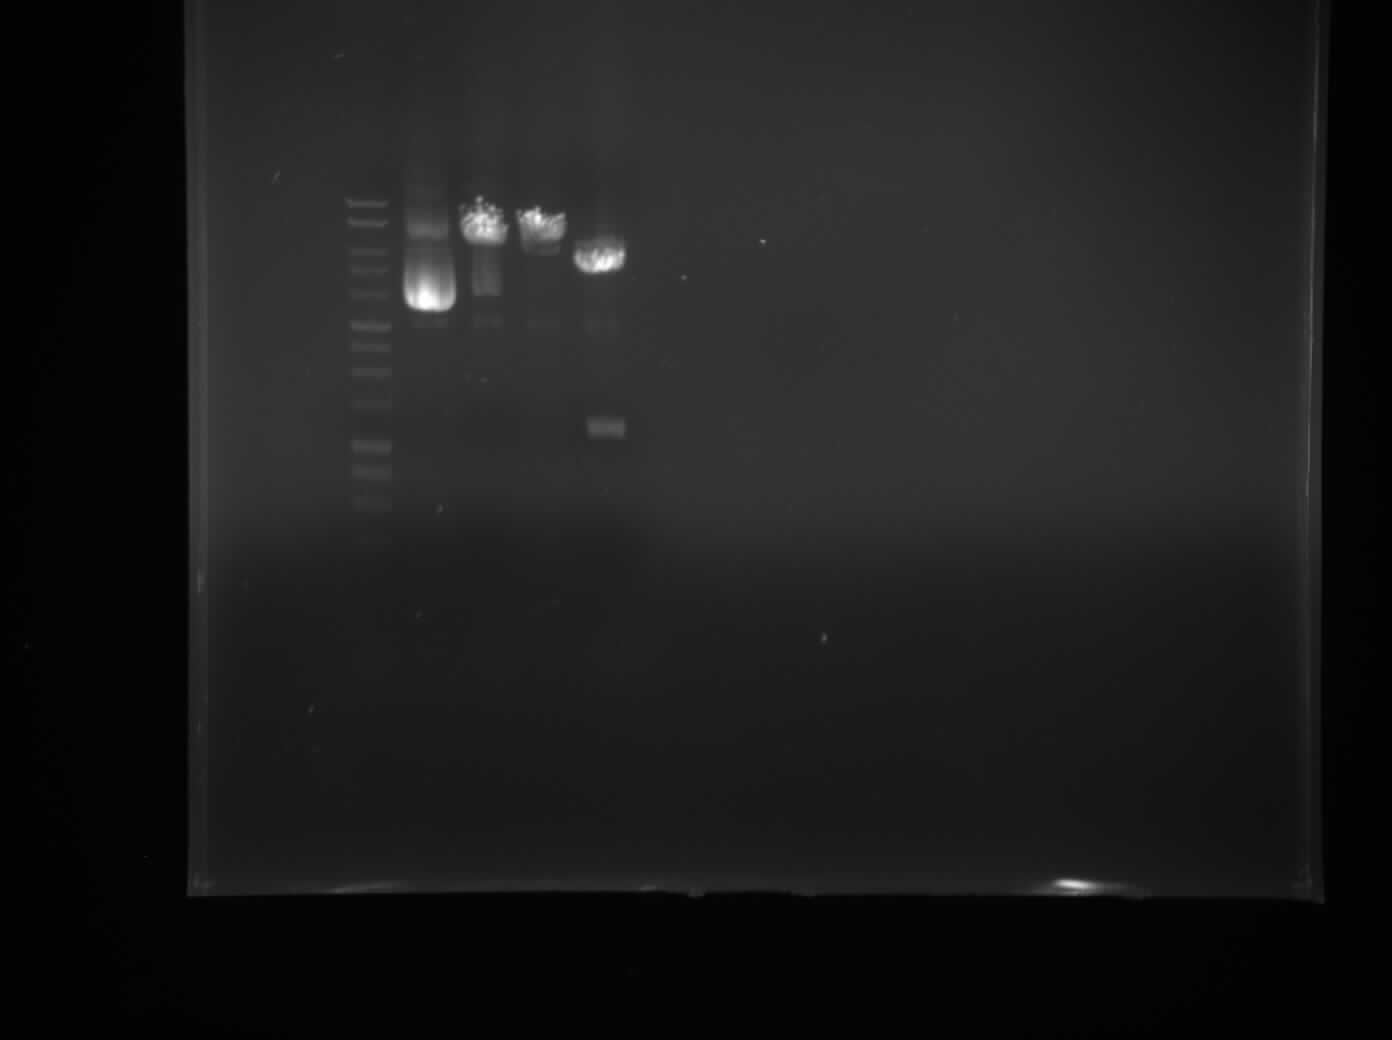
The plasmid has been cut with fast digest XbaI and BamHI to confirm the presence of the plasmid in the purified pDNA. Plasmid which has been cut by XbaI or BamHI only gives a linear piece of DNA. The gel shows that well with the DNA cut with both enzymes contains two pieces of DNA. One - plasmid backbone and the other - RFP reporter gene previously inserted into the plasmid. This confirms its identity.
BioGame
Further work on the game architecture has been done today. The main BioBrick class been created to provide common methods that all BioBricks will use. A very basic BioBrick has been created, and can be added upon touch to the Bacteria. This is simply to demonstrate what will happen when a BioBrick is added and the possibilities therein.
6
25
Modelling
- Preparation for UCL
- B.subtilis Transformation
- Microfliuidics Introduction
Details
Preparation for UCL
We started preparing for our project presentation at UCL, and we have also started to prepare a presentation for our workshop about BioNetGen modelling.
B.subtilis Transformation
~~ DETAILS NEEDED HERE ~~
Microfluidics Introduction
Our iGEM team attended a talk about microfluidics given by Sunny Park. Microfluidics is vital to some of our sub-projects, therefore we looked into mechanism of operation and possible used including creation of designs for master moulds on the silicon wafer.
6
26
Modelling
- Preparation for UCL
- Transformation
- Growing inducible L-form Bacillus subtilis
Details
Preparation for UCL
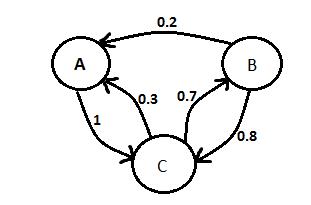
The team continued work on our modelling presentation for the UCL meetup. We added information about ordinary differential equation vs stochastic modelling and about Markov chain.
Transformation
The preparation of competent B.subtilis 168 was finished and the cells were transformed with the Groningen plasmid and streaked them out on the plates with negative controls. We also made some frozen competent B.subtilis 168 in glycerol.
Growing inducible L-form Bacillus subtilis
~~DETAILS NEEDED HERE~~
6
27
Modelling
- Preparation for UCL
- Transformation Prep
- Growing inducible L-form B.subtilis
Details
Preparation for UCL
~~ DETAILS NEEDED~~
Transformation Prep
Unfortunately the results of the Wednesday transformation have shown no growth on the chloramphenicol plasmid apart from a single colony.
Growing inducible L-form B.subtilis
~~ DETAILS NEEDED ~~
6
28
Titles
- Transform B.subtilis 168 with Groningen 2012 plasmid and RFP
- list item two
Details
In attempts to characterise the Groningen 2012 integration plasmid we tried to transform B.subtilis 168 once again to check for integration at the SacA gene. The transformation was done using the protocol for competent Bacillus subtilis with positive control using the RFP plasmid and negative control with the water. The colonies were selected for using the chloramphenicol agar plates.
6
29
Titles
- Quick Check up on cultures and plates.
Details
Put any details you want here. Paragraphs... Lists... Images... Go nuts :)
6
30
Titles
- Check on the cultures
Details
There needs to be details here
7
1
Titles
- Grow B.subtilis 168 for transformation
- Set up the sucrose test
Details
Prep for Transformation
Inoculated 5 ml of freshly prepared MM media with B.subtilis 168 colonies. to grow overnight
Sucrose Test
To check whether the colony on the Cm plate with B.subtilis 168 containing Groningen 2012 integration plasmid actually contained transformant cells rather than a random mutant/contaminant we have decided to perform a sucrose metabolic test, by transferring the culture of into LB + 1% sucrose media and leaving it to grow over night.
7
2
Titles
- Transforming B.subtilis 168
- Results of sucrose test
Details
Sucrose Test
We have checked the pH of the solution of cells from the Cm plate with Groningen 2012 integration plasmid incubated in sucrose rich media overnight to check for presence of acidic metabolites of sucrose and hence the activity of AmyE. The results were not comforting, the pH of the both samples we have prepared was the same as the pH of the +ve control (i.e. Bacillus 168 cells): 4.7, 4.8, 5.04.
Transformation
We have finished transforming B.subtilis 168 cells with Groningen 2012 integration plasmid and with pGMP (+ve control) and no plasmid at all (-ve control). Plated the colonies out according to the protocol and left to grow over night.
7
3
Titles
- Check the results of transformation
- Set up the test for Amylase
Details
Transformation Results
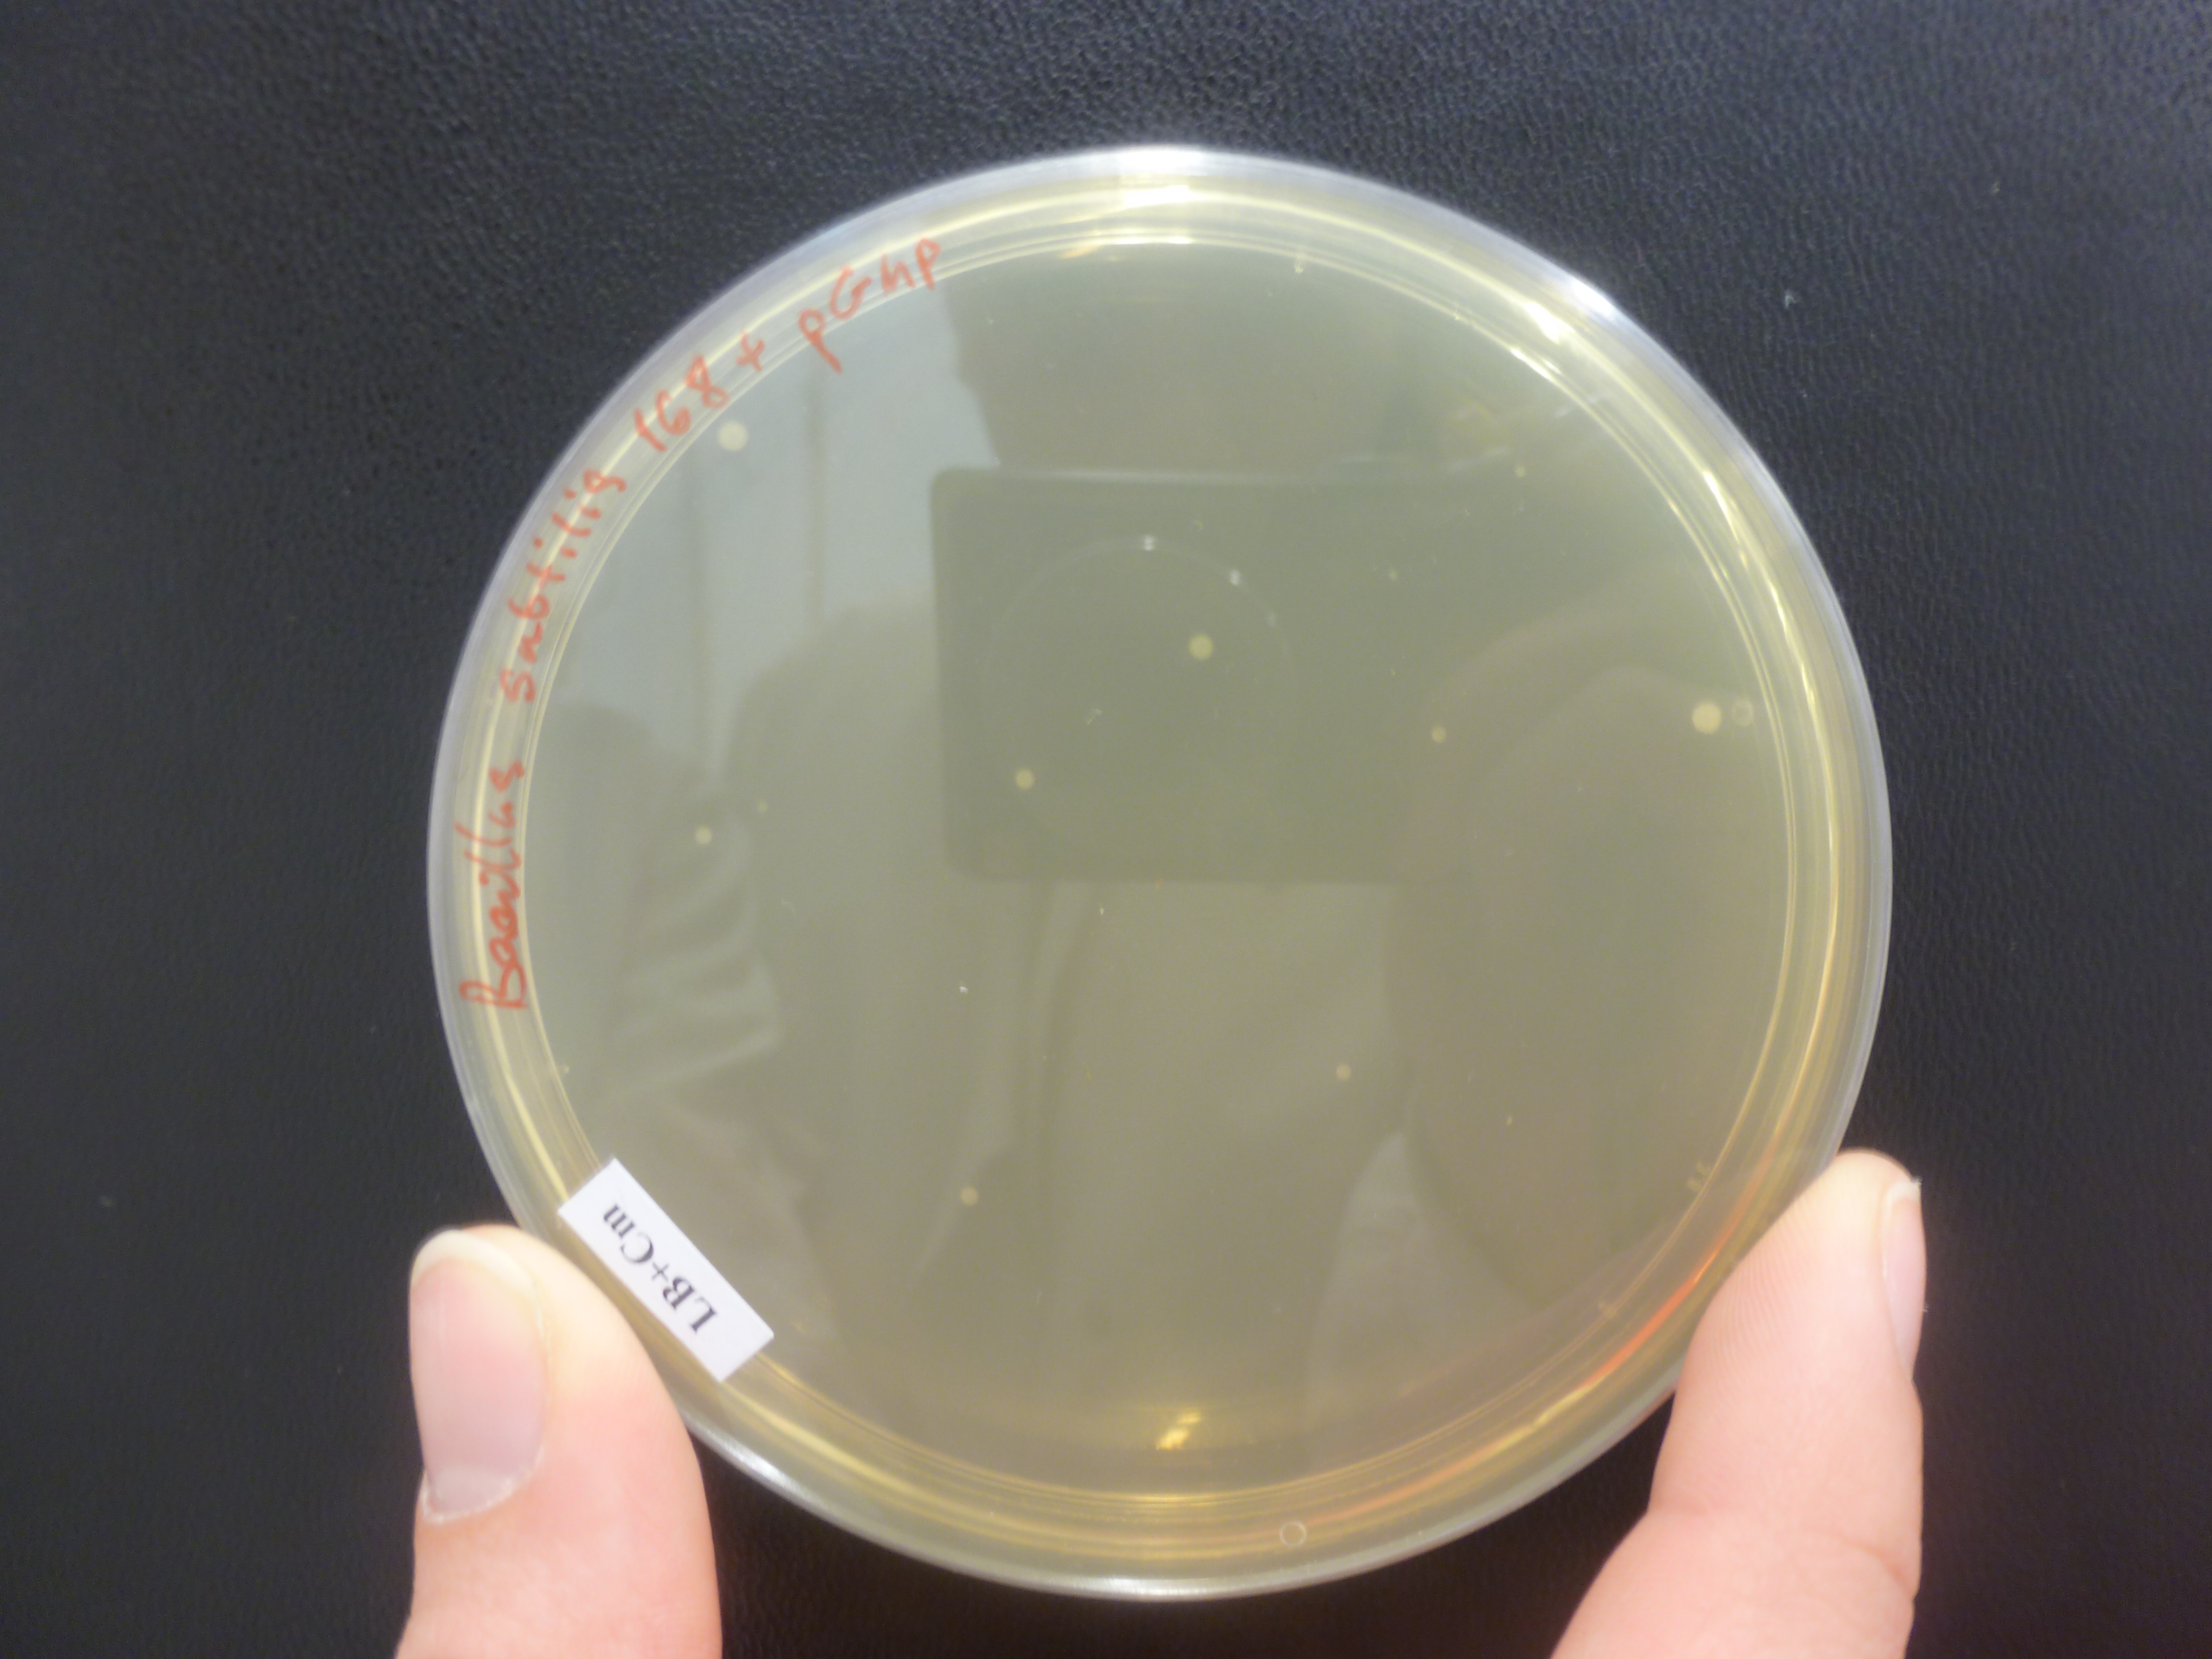
Still no colonies on the chloramphenicol plates B.subtilis 168 with Groningen 2012 plasmid, however there were a few colonies on the positive control B.subtilis 168 with pGMP integration plasmid plates and no colonies on B.subtilis 168 LB + chloramphenicol plates.Amylase Test
Just to make sure that the pGMP plasmid was integrated in all of the colonies, we have transferred a few colonies onto a freshly made LB + Starch agar plates for tomorrow, to check the amylase function using the iodine test for starch.
7
4
Titles
- Modelling Presentation
Details
Modelling Presentation
We made a few changes to our modelling presentation and practised our delivery in preparation for the presentation to members of the school of bioinformatics.
7
5
Titles
- Workshop Practice Presentation
Details
Workshop Practice Presentation
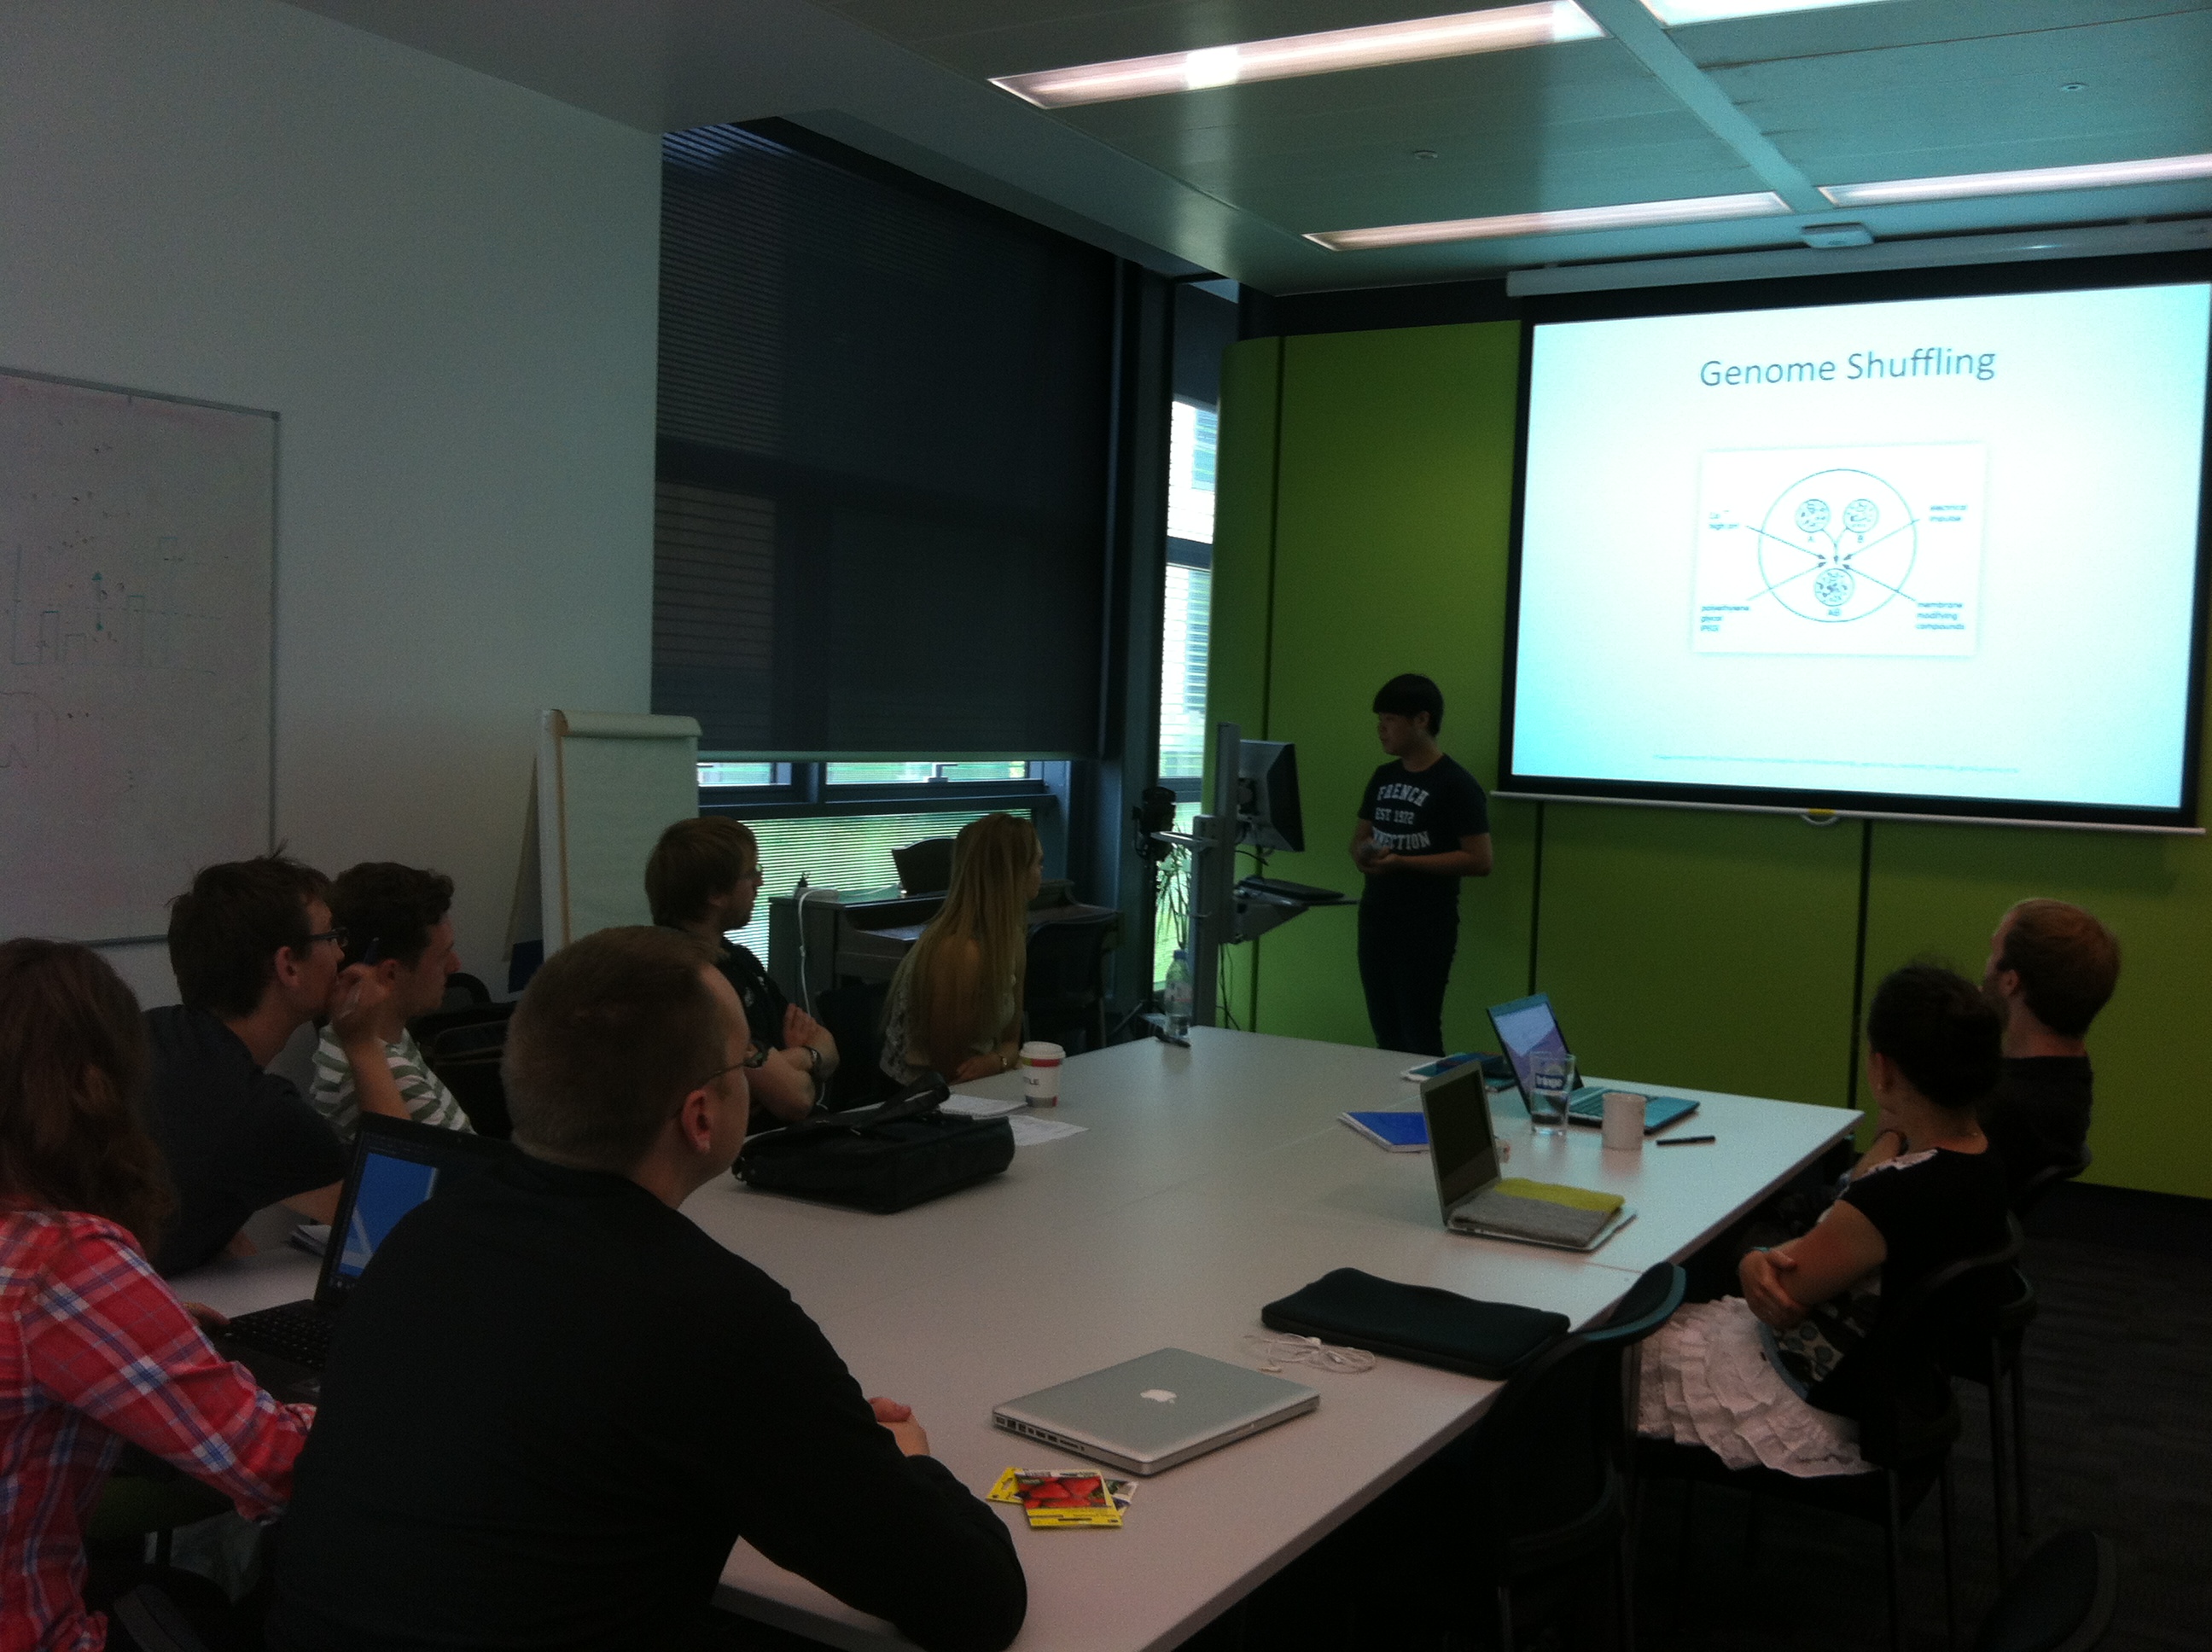
We gave a workshop practice presentation to members of the school of bioinformatics. It was decided that we shouldn't talk about the subtilin two-components system model, because it might be too complex for our workshop. It was suggested that our workshop needed to be a little less like a presentation, with more interaction for the participants.
7
8
Titles
- Updated SGM tutorial
- Finalized workshop presentation
Details
SGM tutorial
We incorporated a section in the SGM tutorial about modelling. It is difficult deciding what information is best to include, and what to leave out. We were also thinking about using same exercises we are going to use in the workshop.
UCL Presentation Practice
We went through the UCL presentation with everyone on the team. After the presentation, everyone on the team gave feedback on how to improve certain slides and made note of what changes to make.
Workshop presentation
The slides for the workshop were edited accounting for Friday's feedback, and the finishing touches made. We also began producing a handout with exercises to complete during the workshop.
We incorporated our modelling into the SGM tutorial
7
16
Titles
- Making Plant Agar Plates
Details
Making Agar Plates for our Plants
Today, we made up some Murashige and Skoog Medium (M&S Medium). This medium was ordered in powder form and water had to be added to it to be made into a solution. The solutions were then autoclaved to be used to make the agar for growing plants. After the solutions are done autoclaving, we made some agar with the M&S Medium. We weighed out 3.0g of agar no.2 into 2x500mL bottles. 250mL of M&S Medium was then added and mixed. The agar was then autoclaved and then cooled at 50 degree Celsius. When it is ready to be poured, we poured the agar onto 25 plates and left it to set.
7
9
Titles
- Modelling Workshop
Details
Modelling Workshop Feedback Form
We produced a feedback form for attendees of our Workshop. This will be useful to access our workshops success and to improve its content for any future occasions we deliver a modelling workshop.
 "
"
