 "
"
Team:TU-Munich/Results/How To
From 2013.igem.org
PSchneider (Talk | contribs) m (→Assembly) |
PSchneider (Talk | contribs) (→Assembly) |
||
| Line 253: | Line 253: | ||
<div class="box-center"> | <div class="box-center"> | ||
<ul class="bxgallery"> | <ul class="bxgallery"> | ||
| - | <li><img src="https://static.igem.org/mediawiki/2013/d/d7/TUM13_Arduiono_Assembly_1.png" /></li> | + | <li><img src="https://static.igem.org/mediawiki/2013/d/d7/TUM13_Arduiono_Assembly_1.png" /></li><li><img src=" |
| - | + | ||
| - | + | https://static.igem.org/mediawiki/2013/thumb/d/d7/TUM13_Arduiono_Assembly_1.png/350px-TUM13_Arduiono_Assembly_1.png" /></li><li><img src=" | |
| - | + | https://static.igem.org/mediawiki/2013/thumb/c/c4/TUM13_Arduiono_Assembly_2.png/350px-TUM13_Arduiono_Assembly_2.png" /></li><li><img src=" | |
| + | https://static.igem.org/mediawiki/2013/thumb/2/21/TUM13_Arduiono_Assembly_3.png/350px-TUM13_Arduiono_Assembly_3.png" /></li><li><img src=" | ||
| + | https://static.igem.org/mediawiki/2013/thumb/9/9b/TUM13_Arduiono_Assembly_4.png/350px-TUM13_Arduiono_Assembly_4.png" /></li><li><img src=" | ||
| + | https://static.igem.org/mediawiki/2013/thumb/9/9c/TUM13_Arduiono_Assembly_5.png/350px-TUM13_Arduiono_Assembly_5.png" /></li><li><img src=" | ||
| + | https://static.igem.org/mediawiki/2013/thumb/f/f8/TUM13_Arduiono_Assembly_6.png/350px-TUM13_Arduiono_Assembly_6.png" /></li><li><img src=" | ||
| + | https://static.igem.org/mediawiki/2013/thumb/8/83/TUM13_Arduiono_Assembly_7.png/350px-TUM13_Arduiono_Assembly_7.png" /></li><li><img src=" | ||
| + | https://static.igem.org/mediawiki/2013/thumb/b/b0/TUM13_Arduiono_Assembly_8.png/350px-TUM13_Arduiono_Assembly_8.png" /></li><li><img src=" | ||
| + | https://static.igem.org/mediawiki/2013/thumb/e/e4/TUM13_Arduiono_Assembly_9.png/350px-TUM13_Arduiono_Assembly_9.png" /></li><li><img src=" | ||
| + | https://static.igem.org/mediawiki/2013/thumb/8/86/TUM13_Arduiono_Assembly_10.png/350px-TUM13_Arduiono_Assembly_10.png" /></li><li><img src=" | ||
| + | https://static.igem.org/mediawiki/2013/thumb/d/d0/TUM13_Arduiono_Assembly_11.png/350px-TUM13_Arduiono_Assembly_11.png" /></li><li><img src=" | ||
| + | https://static.igem.org/mediawiki/2013/thumb/1/18/TUM13_Arduiono_Assembly_12.png/350px-TUM13_Arduiono_Assembly_12.png" /></li><li><img src=" | ||
| + | https://static.igem.org/mediawiki/2013/thumb/9/99/TUM13_Arduiono_Assembly_13.png/350px-TUM13_Arduiono_Assembly_13.png" /></li><li><img src=" | ||
| + | https://static.igem.org/mediawiki/2013/thumb/e/e8/TUM13_Arduiono_Assembly_14.png/350px-TUM13_Arduiono_Assembly_14.png" /></li><li><img src=" | ||
| + | https://static.igem.org/mediawiki/2013/thumb/d/d9/TUM13_Arduiono_Assembly_15.png/350px-TUM13_Arduiono_Assembly_15.png" /></li><li><img src=" | ||
| + | https://static.igem.org/mediawiki/2013/thumb/d/d0/TUM13_Arduiono_Assembly_16.png/350px-TUM13_Arduiono_Assembly_16.png" /></li><li><img src=" | ||
| + | https://static.igem.org/mediawiki/2013/thumb/6/6d/TUM13_Arduiono_Assembly_17.png/350px-TUM13_Arduiono_Assembly_17.png" /></li><li><img src=" | ||
| + | https://static.igem.org/mediawiki/2013/thumb/7/75/TUM13_Arduiono_Assembly_18.png/350px-TUM13_Arduiono_Assembly_18.png" /></li><li><img src=" | ||
| + | https://static.igem.org/mediawiki/2013/thumb/4/4b/TUM13_Arduiono_Assembly_19.png/350px-TUM13_Arduiono_Assembly_19.png" /></li><li><img src=" | ||
| + | https://static.igem.org/mediawiki/2013/thumb/f/fd/TUM13_Arduiono_Assembly_20.png/350px-TUM13_Arduiono_Assembly_20.png" /></li> | ||
| + | |||
</ul> | </ul> | ||
</div> | </div> | ||
</html> | </html> | ||
| - | + | ||
| - | + | ||
| - | + | ||
| - | + | ||
| - | + | ||
| - | + | ||
| - | + | ||
| - | + | ||
| - | + | ||
| - | + | ||
| - | + | ||
| - | + | ||
| - | + | ||
| - | + | ||
| - | + | ||
| - | + | ||
| - | + | ||
| - | + | ||
| - | + | ||
| - | + | ||
<div class="visualClear"></div> | <div class="visualClear"></div> | ||
Revision as of 16:52, 4 October 2013
Our Tutorials
During our iGEM summer we have learned some skills which are useful for iGEM and also for any synthetic biologist. In order to conservate and spread this knowledge we created some How To Tutorials. We hope that these Tutorials help iGEM teams in the future to present their project in a more colorful fashion.
Generation of Annimated Gifs showing PDB files in 3D
The generation of animated Gif from PDB files was done sice some time in the iGEM competition. Here we present an easy to reproduce tutorial for iGEMers which are interested in such figures.
- If there is no PDB file availible for your protein of interest, you may use a homology search to find the most homologue structure. For this homology search you have to enter the amino acid sequece for example into HHpred
- The entry for the best matching structure was used for the figure. If it is only a homologous structure please cite this together with the homology when presenting the resulting Gif.
- You can save the PDB file of the homologous structure on your computer
- If you do not have PyMol (freeware) installed on your computer download and install it.
- Start PyMol software and open the PDB-file by clicking File>Open
- The following approach was adapted from a PyMol-Tutorial [Wong]
- The following commands were entered into the command line:
PyMOL> orient

PyMOL> hide everything, all

PyMOL> show cartoon, all

PyMol> bg_color white

click> Settings>Rendering>Shadows>Occlusion

PyMOL> color purple, ss h; color yellow, ss s; color green, ss ""

PyMOL> show surface, all

PyMOL> set transparency, 0.75

PyMOL> set surface_quality, 1    (command will prolongue the process significantly, you may skip it)

PyMOL> set ray_trace_frames=1    (command will prolongue the process significantly, you may skip it)

PyMOL> mset 1 x180

PyMOL> util.mroll 1,180

PyMOL> mpng frame
- Afterward the *.png files were automatically converted to *.tif files using XnConvert
- The program Animake was used to generate the annimated GIFs
- The Animake software was started
- A new working folder was generated (File>New) and the *.gif files were imported (Edit>Import_from_file)
- The background was set to white (Annimation>Settings)
- The range of colors was set to 256 (Edit>Select_all and Edit>Change_Color)
- The size of the file has to be reduced in order to be able to upload it on the iGEM wiki. This can be done by clicking Edit>Change_size. We suggest a size of 320x240 px or even samler if the resulting Gif becomes to big.
- Finally the annimated Gif can be saved in the programm format (.abp) and as Gif (File>Save_as)
- If you have problems to upload the file on the iGEM server you may try a reduced size (e.g. 300x225 px)
This is how your protein of interest could look like:
Wiki tips & tricks
Below is a list of iGEM wiki related tips and tutorials for future teams.
Picture viewer
Maybe you have not noticed it yet, but if you clicked any of the pictures on our wiki, you were not redirected to the ugly wiki page of the file. Instead a nice picture viewer opened and after you closed it, you did not have to go back to the site you saw the picture on. To get the same effect on your wiki follow the steps listed below:
- Get the files!
We modified the original slimbox 2 viewer to work with the wiki and to not exceed the browser viewport, so it is recommended to use our versions, which can be found at Team:TU-Munich/TUM13_slimbox2.css and Team:TU-Munich/TUM13_slimbox2.js. - Embed the files in your wiki!
The two files mentioned above and jQuery have to be embedded on all the pages that should use the picture viewer. - Include the autoload code block!
A bit of JavaScript code that attaches the viewer to the right pictures needs to be executed on all the pages that use it. This code attaches the picture viewer to all images on the page which are embedded with the[[File:xxx.png|thumb|caption]]wiki code and it adds the corresponding caption to the viewer.
$(document).ready(function(){
	$("div.thumbinner > a img").slimbox({/* Put custom options here */}, function(el) {
		url = el.src;
		if (url.indexOf('thumb') != -1) {
			url = url.substring(0, url.lastIndexOf('/'));
			url = url.replace('/thumb/', '/');
		}
		description = $(el).parents("div.thumbinner").children("div.thumbcaption").text();
		return [url, description];
	}, function(el) {
		return (this == el);
	});
});
- Test it!
Below is an example picture, click on it to see what the picture viewer looks like.
Slideshow
To create a good looking slideshow just follow the instructions below:
- Get the files!
You can get the Stylesheet and Javascript for the slideshow either from bxSlider or from our wiki: Team:TU-Munich/TUM13_bxslider.css and Team:TU-Munich/TUM13_bxslider.js.
- Embed the files in your wiki!
The two files mentioned above and jQuery have to be embedded on all the pages that should use the slideshow.
- Include the initializing code block!
A bit of JavaScript code that activates the slideshow needs to be executed on all the pages that use it. This code changes all unordered lists of the class bxslider into slideshows.
$(document).ready(function(){
	$('.bxslider').bxSlider({
		responsive: false,
		auto: true,
		autoHover: true
	});
});
- Add the slideshow to the page!
To add a slideshow just put the pictures you want to include in an unordered list like shown below:
<html>
<ul class="bxslider">
	<li><img src="https://static.igem.org/mediawiki/2013/9/97/TUM13_slider_team1.jpg" /></li>
	<li><img src="https://static.igem.org/mediawiki/2013/3/30/TUM13_slider_team2.jpg" /></li>
	<li><img src="https://static.igem.org/mediawiki/2013/3/30/TUM13_slider_moos.jpg" /></li>
	<li><img src="https://static.igem.org/mediawiki/2013/6/66/TUM13_slider_kampen.jpg" /></li>
</ul>
</html>
- Test it!
Below is an example picture, click on it to see how the slideshow looks.


Setting up a basic Arduino measuring device
Introduction
Since the Arduino Due was released in autumn 2012, this is the first IGEM-year this very powerful device can be used. We found it a useful supervising tool for short- and long-time experiments. It can be used in as well as outside the lab. The improvements that were made from Uno to Due are considerable.
It is capable of handling many things at once, such as a WiFi Shield, a Display, a SD-Card and multiple Sensors. At this point the Uno didn't match up any longer. To establish the usage of Arduino in IGEM even more we'd like to share our experiences and help you building up a basic device that can collect and view sensor data on its display and upload them to a server.
Part Description


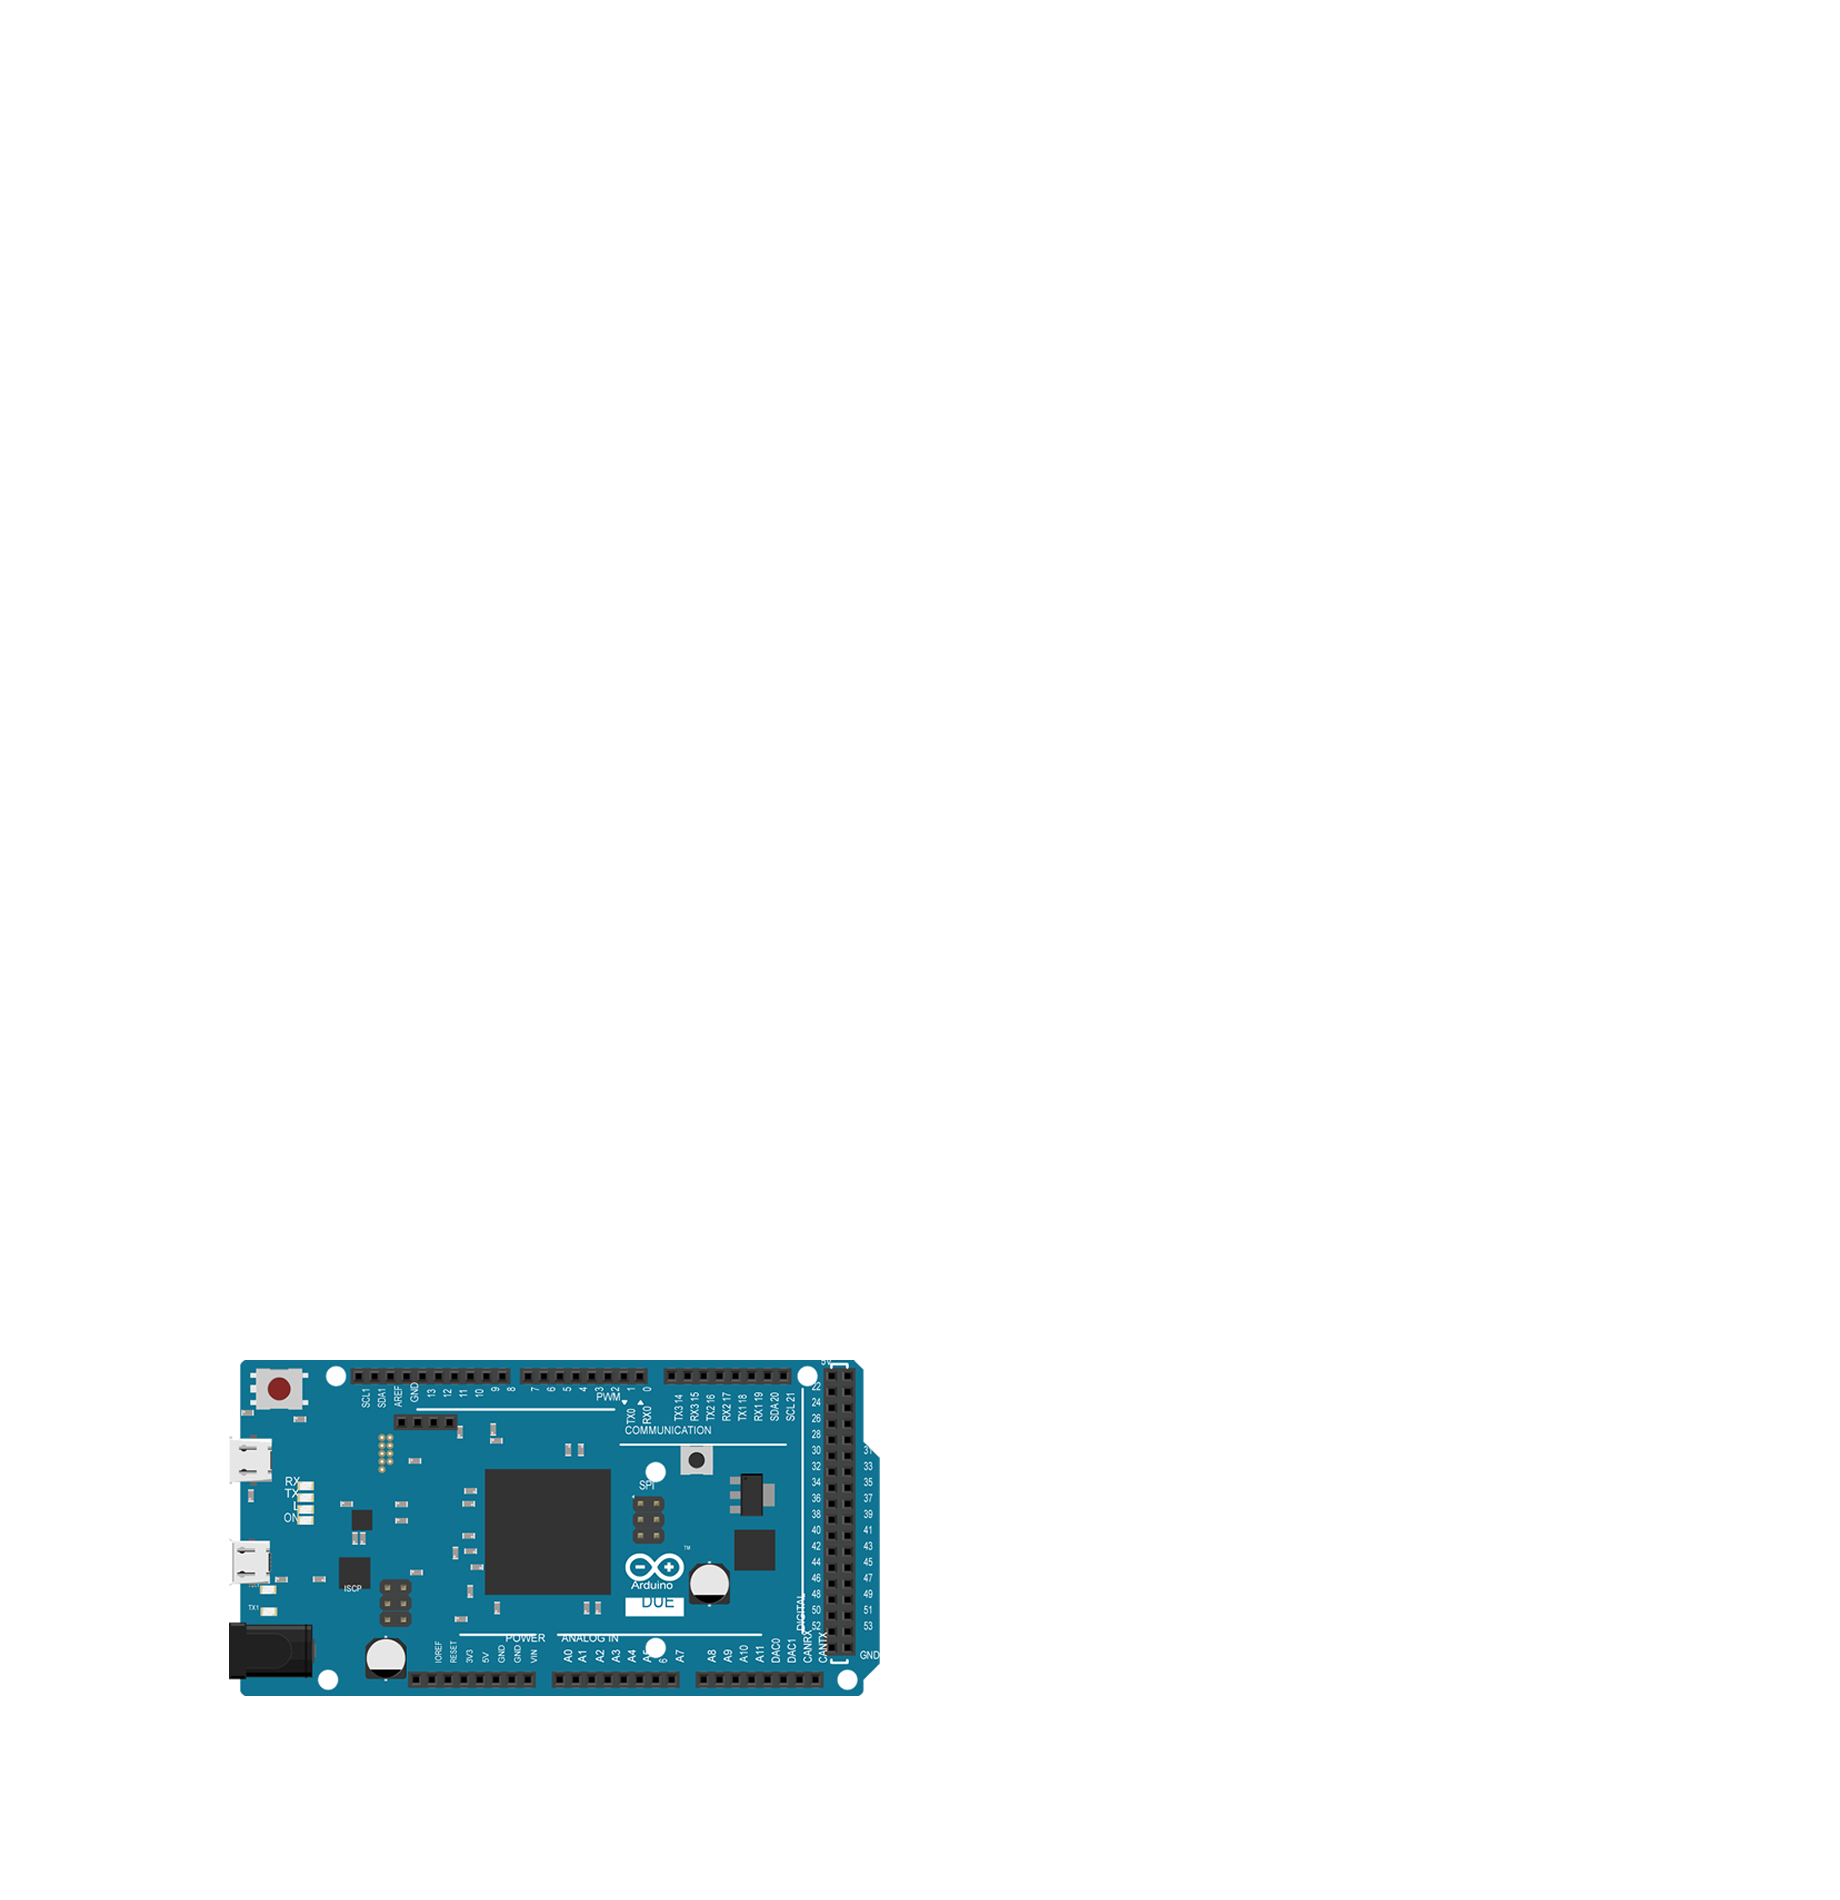
Arduino Due
The Arduino Due is the most powerful Arduino board. It's underlying 32bit-processor is the Atmel SAM3X8E. Contrary to the other boards which run at 5V, a power supply of 3.3V is sufficiant. It was released in October 2012.
Data:
 84 Mhz	CPU Clock
 96 	KBytes of SRAM.
512 	KBytes of Flash memory.
 54 	Digital I/O Pins
 12 	Analog Input Pins
  2 	(DAC)Analog Outputs Pins
Arduino WiFi Shield
The Arduino WiFi Shield is an attachable shield that provides Wireless LAN 802.11b/g to the Arduino. It scans and connects to networks and opens TCP and UDP sockets for data transfer. It also supports WEP and WPA2 encryption. It was released in August 2012. The WiFi Shield is fully supported by the Arduino Due and Arduino supplies a suitable stock WiFi-library. There is also an on-board SD-card socket to store received data. As the SD-card is accessible separately, it can also be used as a storage for any data generated by the Arduino. The SD-card socket is also supported by a stock library. The communication between Arduino Due and the WiFi Shield runs via an SPI/ICSP interface.
Pin usage:
Pin  4	SS for SD card (Slave Select)
Pin  7	Handshake between Arduino and WiFi Shield
Pin 10	SS for WiFi
Pin 74	SPI MISO (Master in, Slave out)
Pin 75	SPI MOSI (Master out, Slave in)
Pin 76	SPI SCK  (Serial clock)
    gnd
    3.3V
    5V
Watterott mega msd-shield
The mega msd-shield was designed by Watterott and consists of a couple of components. The components are one real time clock, one SD-card socket (we won't use), a small battery and a socket for a touch display. To get it ready to run, the shield must be assembled. The stackable headers and the quartz must be soldered to the board and the battery must be inserted. Unluckily the mega msd-shield and therefore also the MI0283QT-9 touch display don't come with a working library for the Arduino Due. The existing library only supports all boards up to the Arduino Uno. Therefore all libraries have to be rewritten. The touch display and the SD-card-slot communicate with the Arduino Due via SPI/ICSP. The real time clock transmit its data via I²C.
Pin usage:
Pin  4	SS for SD card
Pin  6	SS for the touch of the touch display
Pin  7 (25)SS for the LCD (Workarround of the double usage of pin 7 by the WIFI Shield)
Pin  8	reset LCD
Pin  9	LCD LED
Pin 20	RTC (real time clock) 	I²C	SDA (Serial Data Line)
Pin 21	RTC  			I²C	SCL (Serial Clock)
Pin 50	SPI MISO
Pin 51	SPI MOSI
Pin 52	SPI SCK
    gnd
    3.3V
Display MI0283QT-9
The MI0283QT-9 is a multicolor touch display. It comes already attached to a board, where only the pin headers are left to be soldered. Once assembled it can easily be plugged into the mega msd-shield. It has an on-board touch controller (TI ADS7846). The display size is 2.83"(43.2 x 57.6mm) with a resolution of 240x320. It supports 262k colors. The pin usage is already considered in the mega msd-shield description.
Light sensor TSL2561
The light sensor is a small, so called, breakout board. It is usually connected by wires instead of directly plugged to the Arduino. The light sensor has two photo-diodes on-board that measure visible and infrared light. Similar to the RTC, the TSL2561 is addressed via I²C. Once you get the I²C library working on your Arduino Due working it takes only little effort to integrate additional I²C devices. Just very few lines of the library have to be rewritten here. The photo-diodes can be addressed separately or both at one. Their output is already converted to Lux.
pin usage:
Pin 20	TSL2561		 	I²C	SDA (Serial Data Line)
Pin 21	TSL2561			I²C	SCL (Serial Clock)
    gnd
    3.3V
Temperature sensor DS18B20
The temperature sensor is embedded into a water proof cable. It is addressed via a One-Wire interface. The provided data are digital raw data, which need to be converted into degrees Celsius. Information about the conversion are given by the manufacturer. Similar to the I²C (TwoWire) bus, you only have to get the One-Wire interface working once. After that, you can easily set up One-Wire more devices. Again, just very few lines of the library have to be rewritten.
pin usage:
Pin 14 	One-Wire DS18B20 (pin was randomly chosen)
Pin gnd
Pin 3.3V
Water sensor
Setting up the water sensor is very easy. If and how much water the sensor registered can be measured via an analog pin.
pin usage:
Pin A5	Water sensor
    gnd
    3.3V
Photo-diodes
We disassembled a broken "Biorad 550"-photometer and recovered a halogen lamp, a small number of wavelength filters, three of eight photo-diodes and their fitting Resistors.
Tools
- Breadboard
- Soldering bolt
- Solder
Assembly
Keep everything clear during your assembly. If you have different colored linking cables, always try to use the same color code. For example: brown cable for 3.3V etc. Troubleshooting can get nasty.


AutoAnnotator:
Follow us:
Address:
iGEM Team TU-Munich
Emil-Erlenmeyer-Forum 5
85354 Freising, Germany
Email: igem@wzw.tum.de
Phone: +49 8161 71-4351